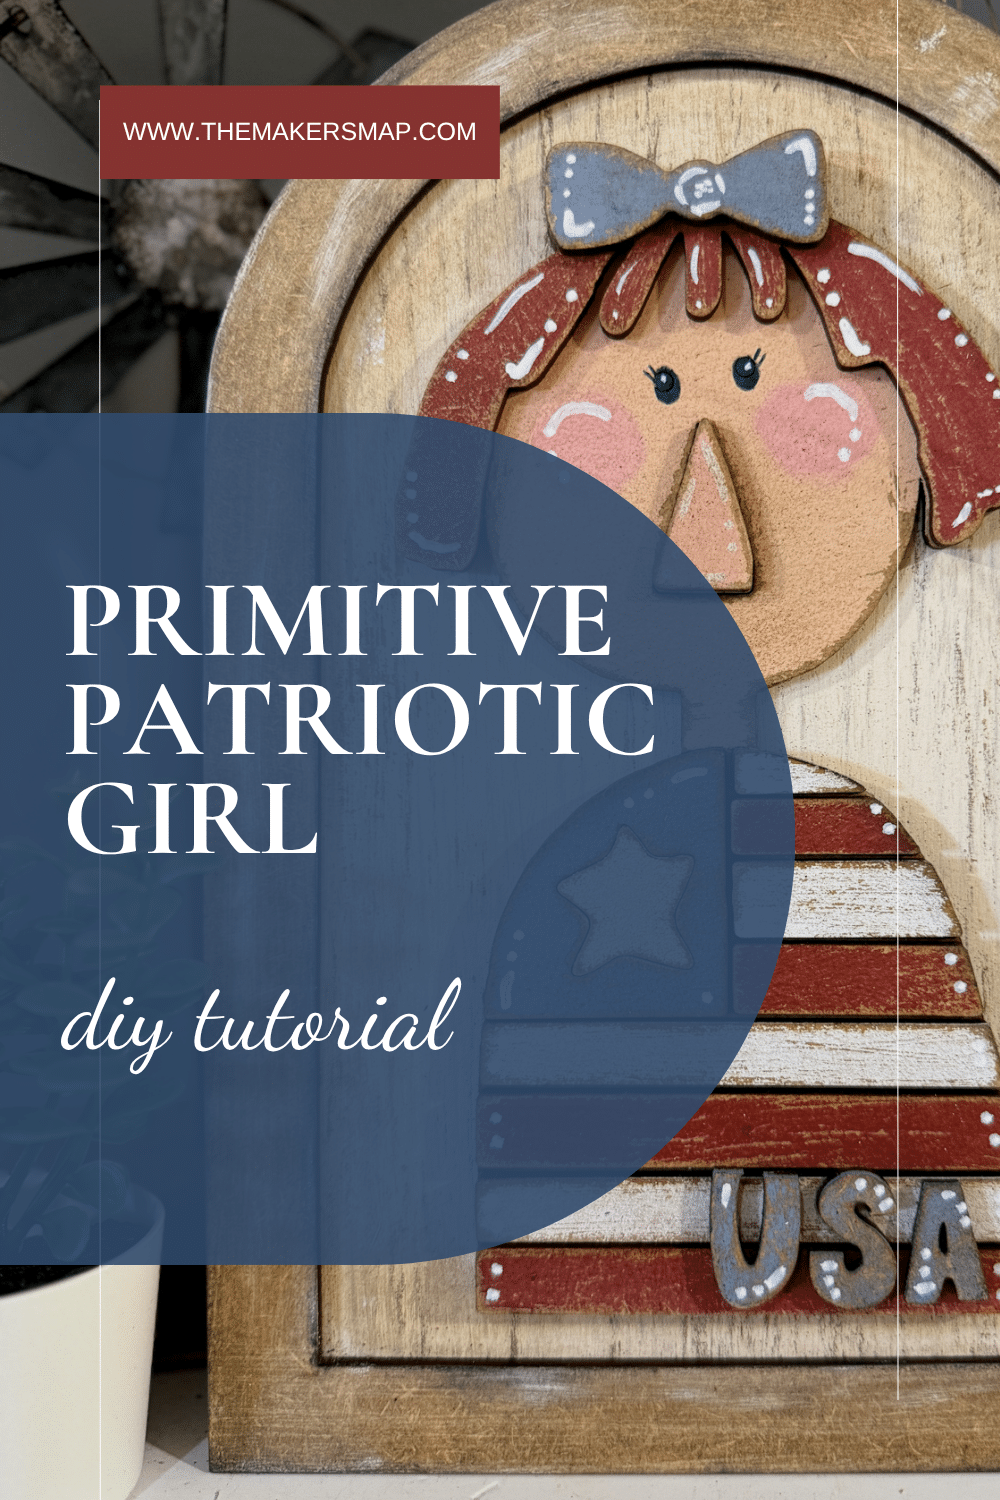
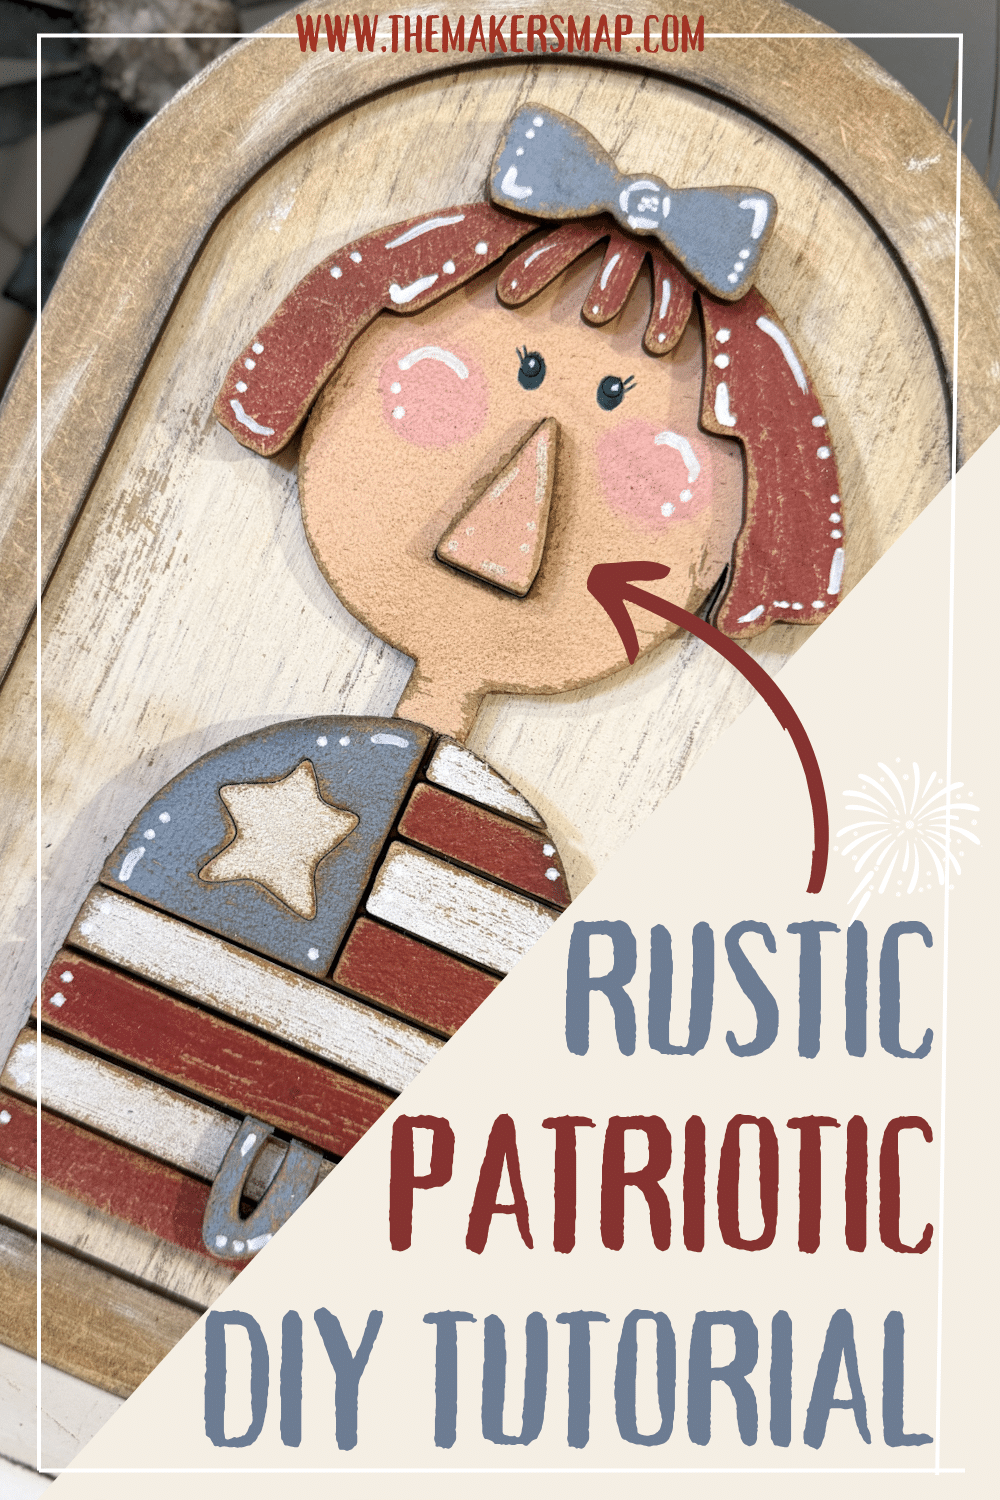
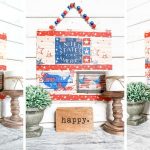
How to: Primitive Patriotic Girl DIY Tutorial
This Primitive Patriotic Girl DIY Tutorial is the perfect place to start if you are looking for an easy 4th of July craft that actually looks beautiful when you’re finished!
In this step-by-step tutorial, you will learn how to paint, distress, and assemble this patriotic wood craft using beginner-friendly techniques.
This is a perfect project for summer decorating, handmade gifts, or anyone wanting to create beautiful Americana decor without needing advanced skills!
We design our craft kits to be simple to follow while still giving you a finished piece you are proud to display or gift.
If you enjoy this project, you can find this kit and many others in our shop, all designed with beginners in mind.
Prefer to follow along visually? Watch the full tutorial below.

More inspiration for you!
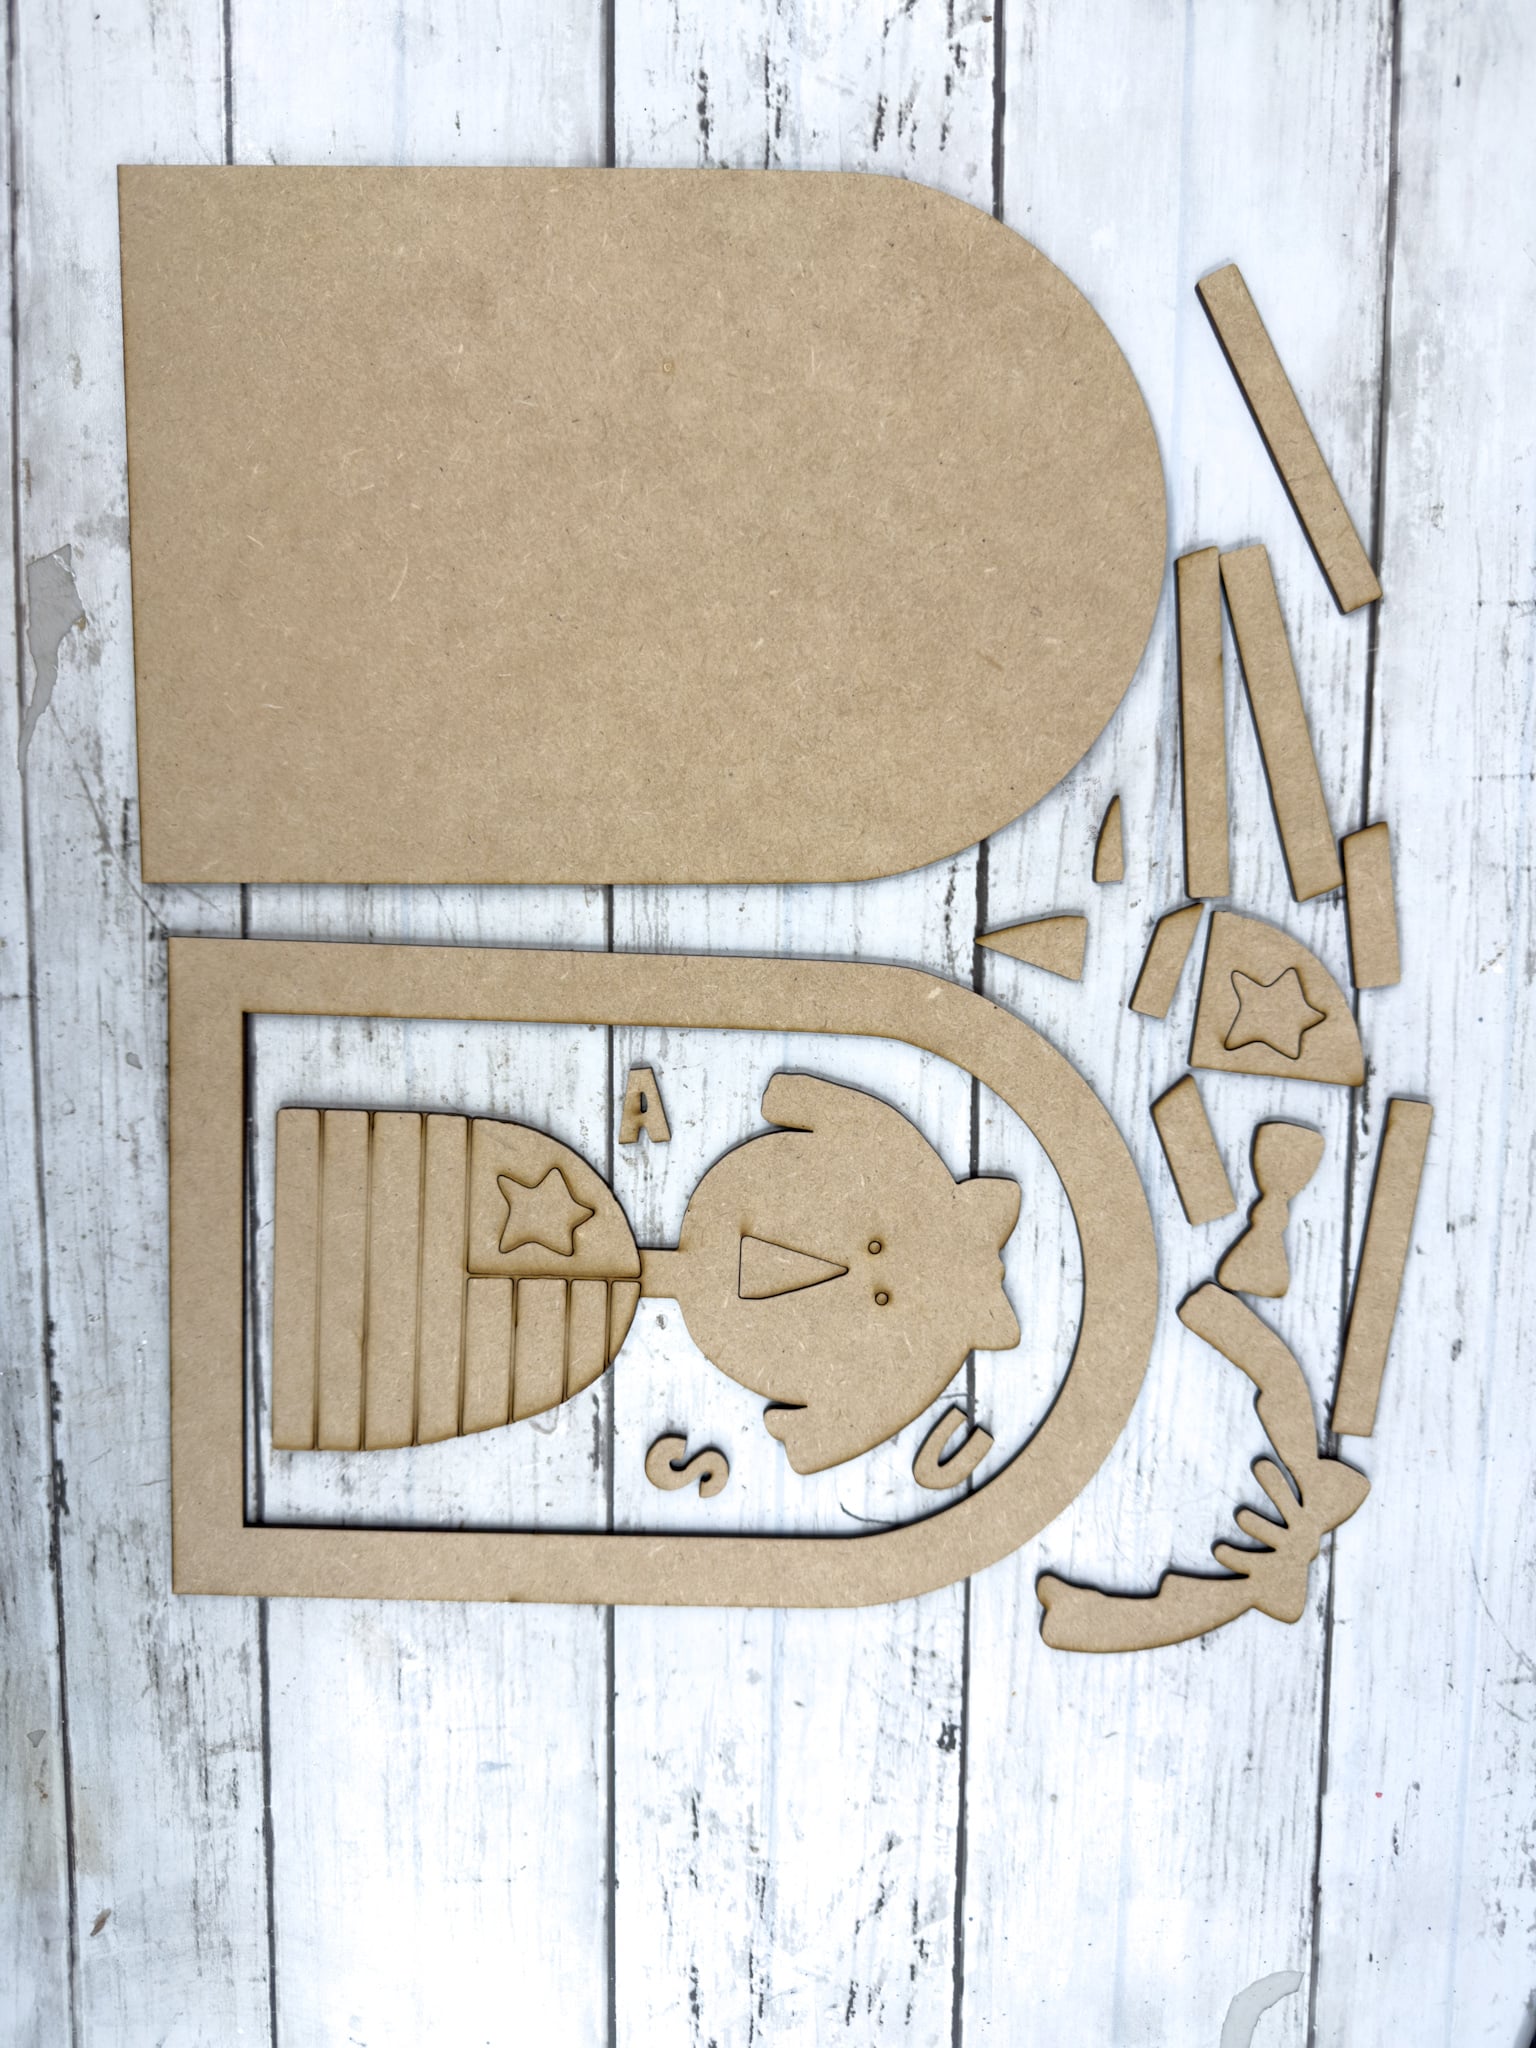
Supplies for Primitive Patriotic Girl DIY Craft Kit
Before getting started, gather your supplies.
Additional supplies needed:
- Primitive Patriotic Girl DIY Kit
- Kilz Wax
- Paint colors:
- Sponge
- Paint brushes
- Baby wipes
- Sandpaper or Sanding Sponge
- Stickfast Super Glue
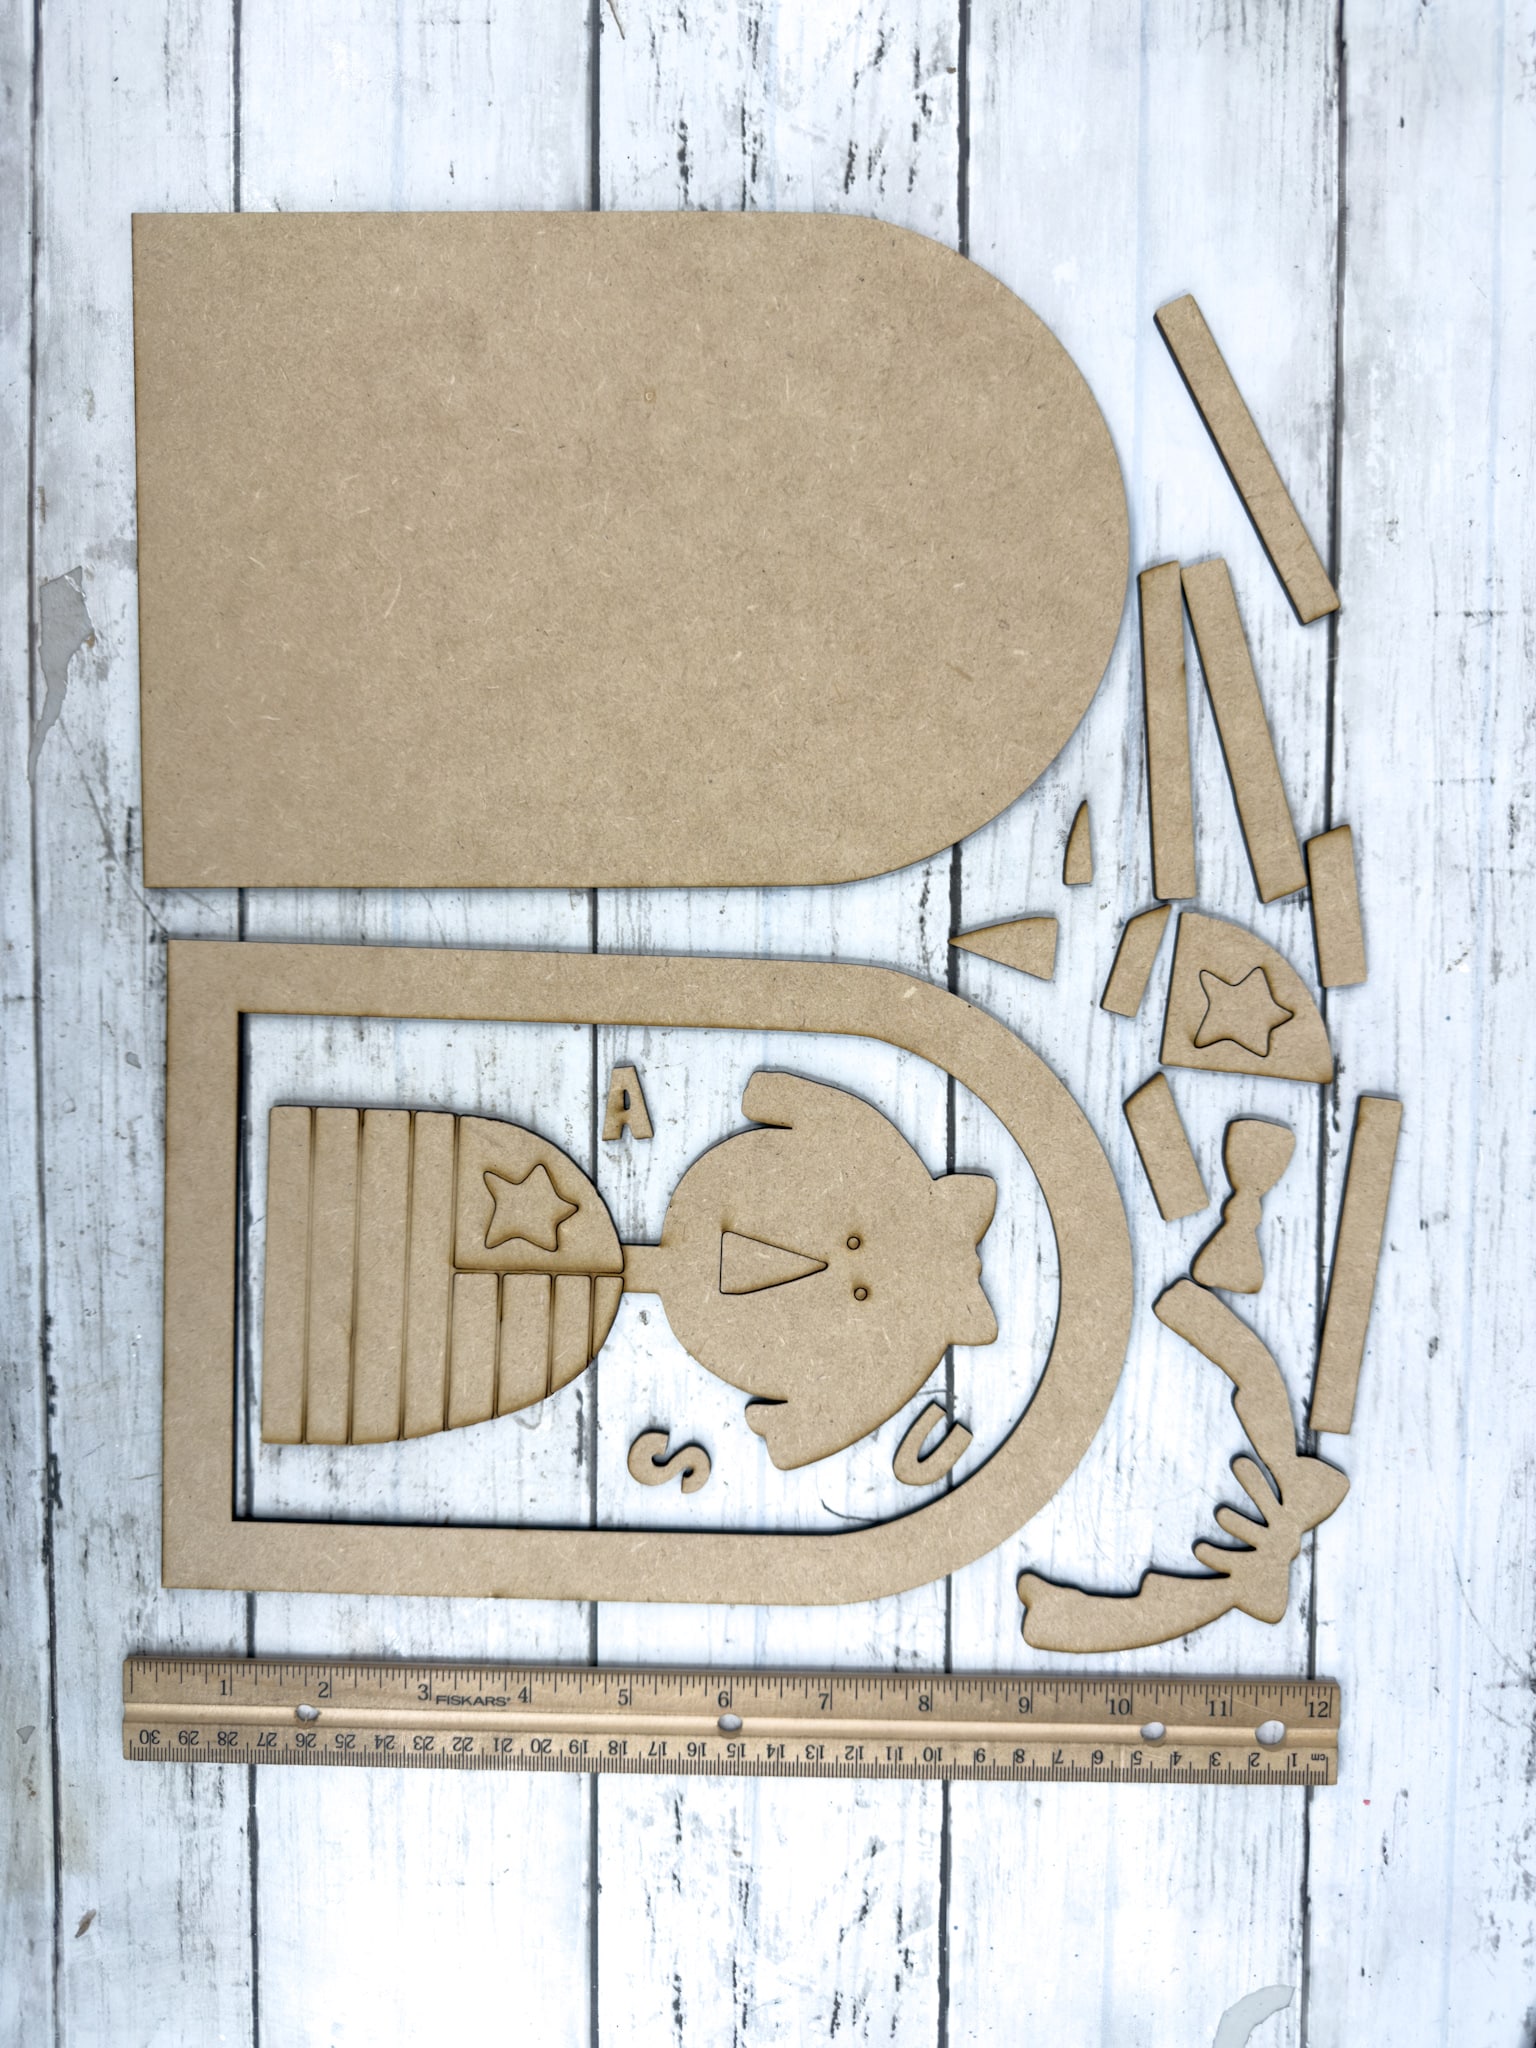
Sanding and Prep
Start by sanding all of your wood pieces.
This step removes any residue from the laser cutting process and helps your paint and stain apply smoothly.
- Lightly sand all surfaces and edges
- Wipe away any dust before moving on
Proper prep will make a noticeable difference in your finished project.
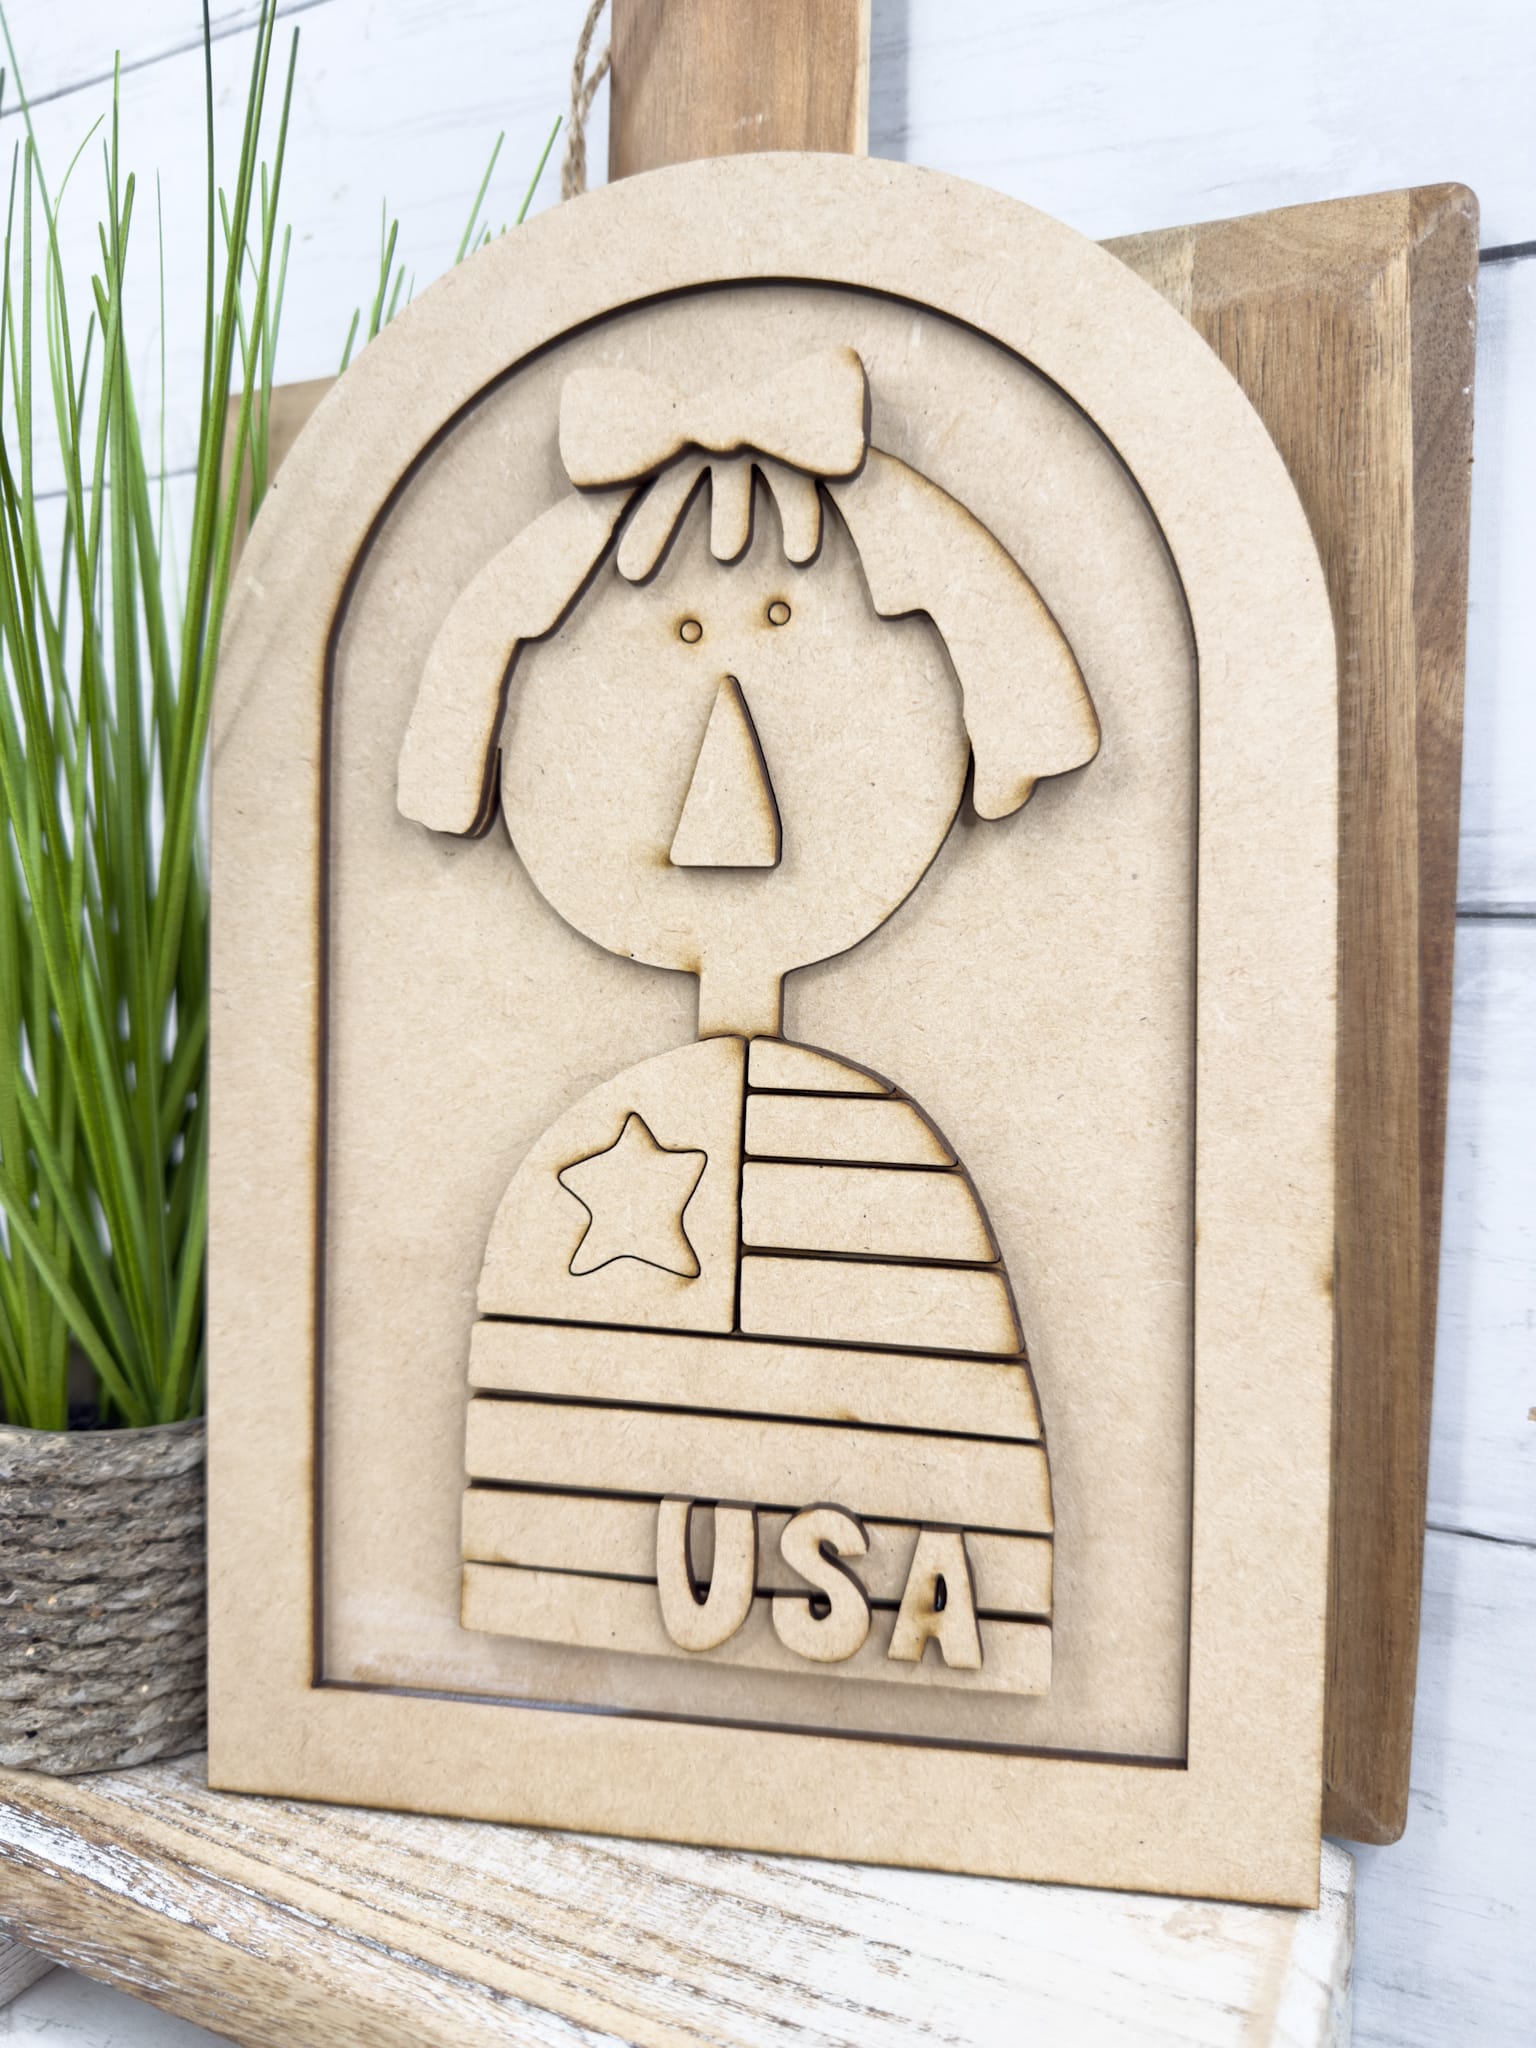
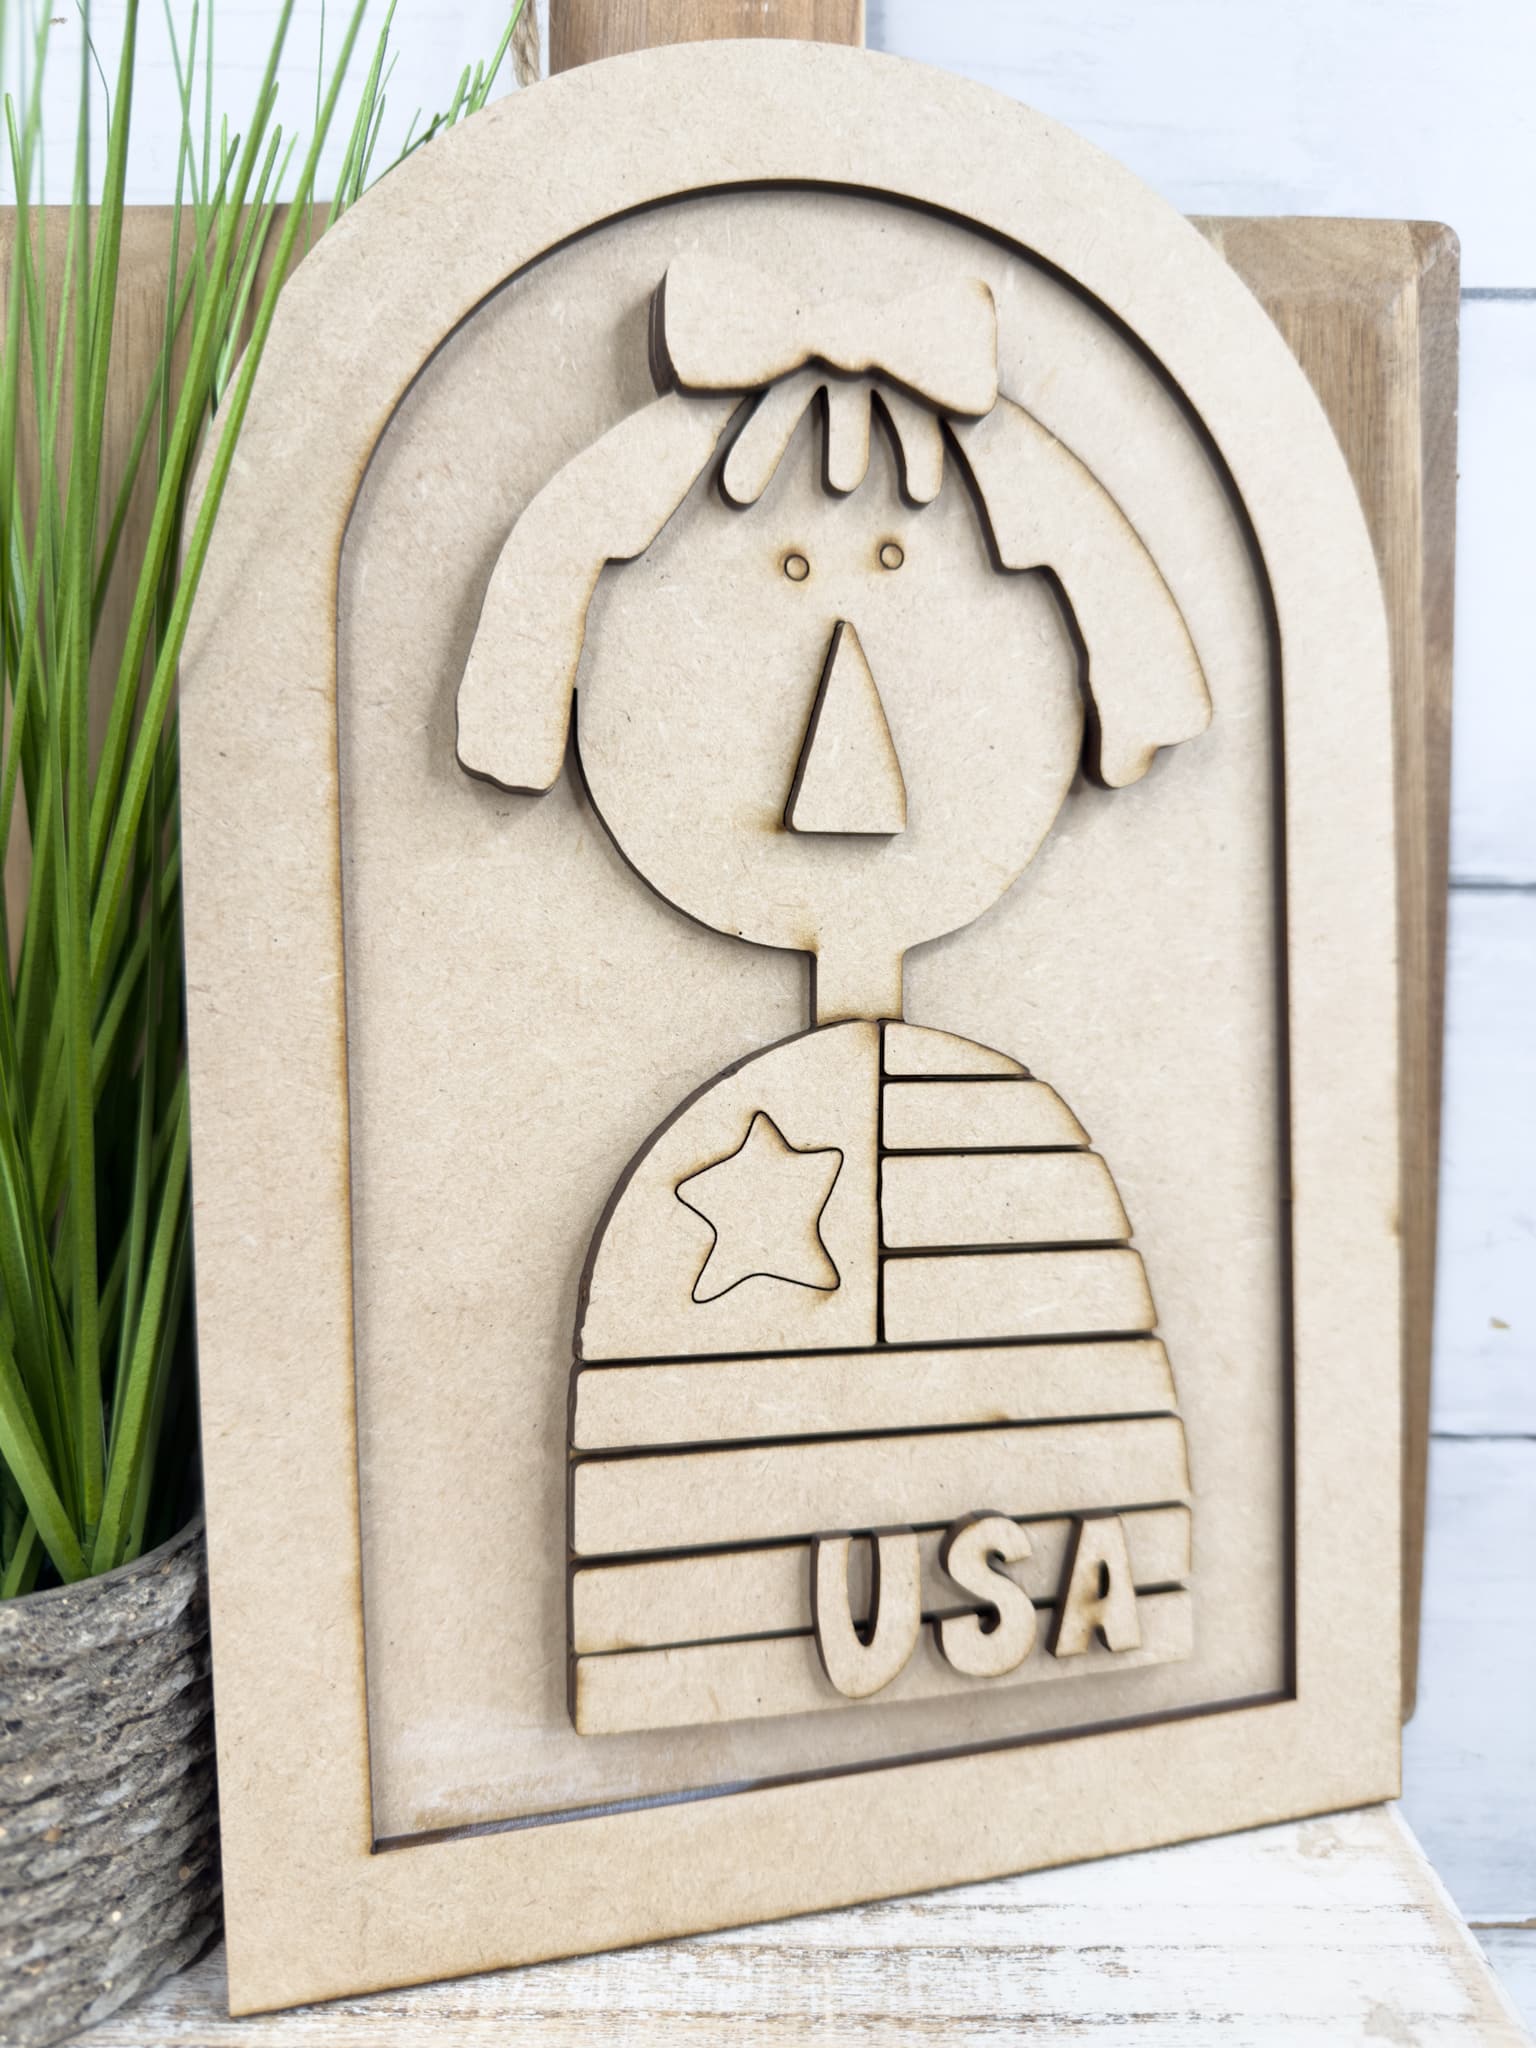
Staining the Wood
Next, stain all of your pieces using Kilz Wax.
- Apply the wax using a brush
- Use a baby wipe to remove excess and spread evenly
This technique gives the wood a soft, aged look while still allowing the natural grain to show through.
Allow all pieces to dry completely before moving on.
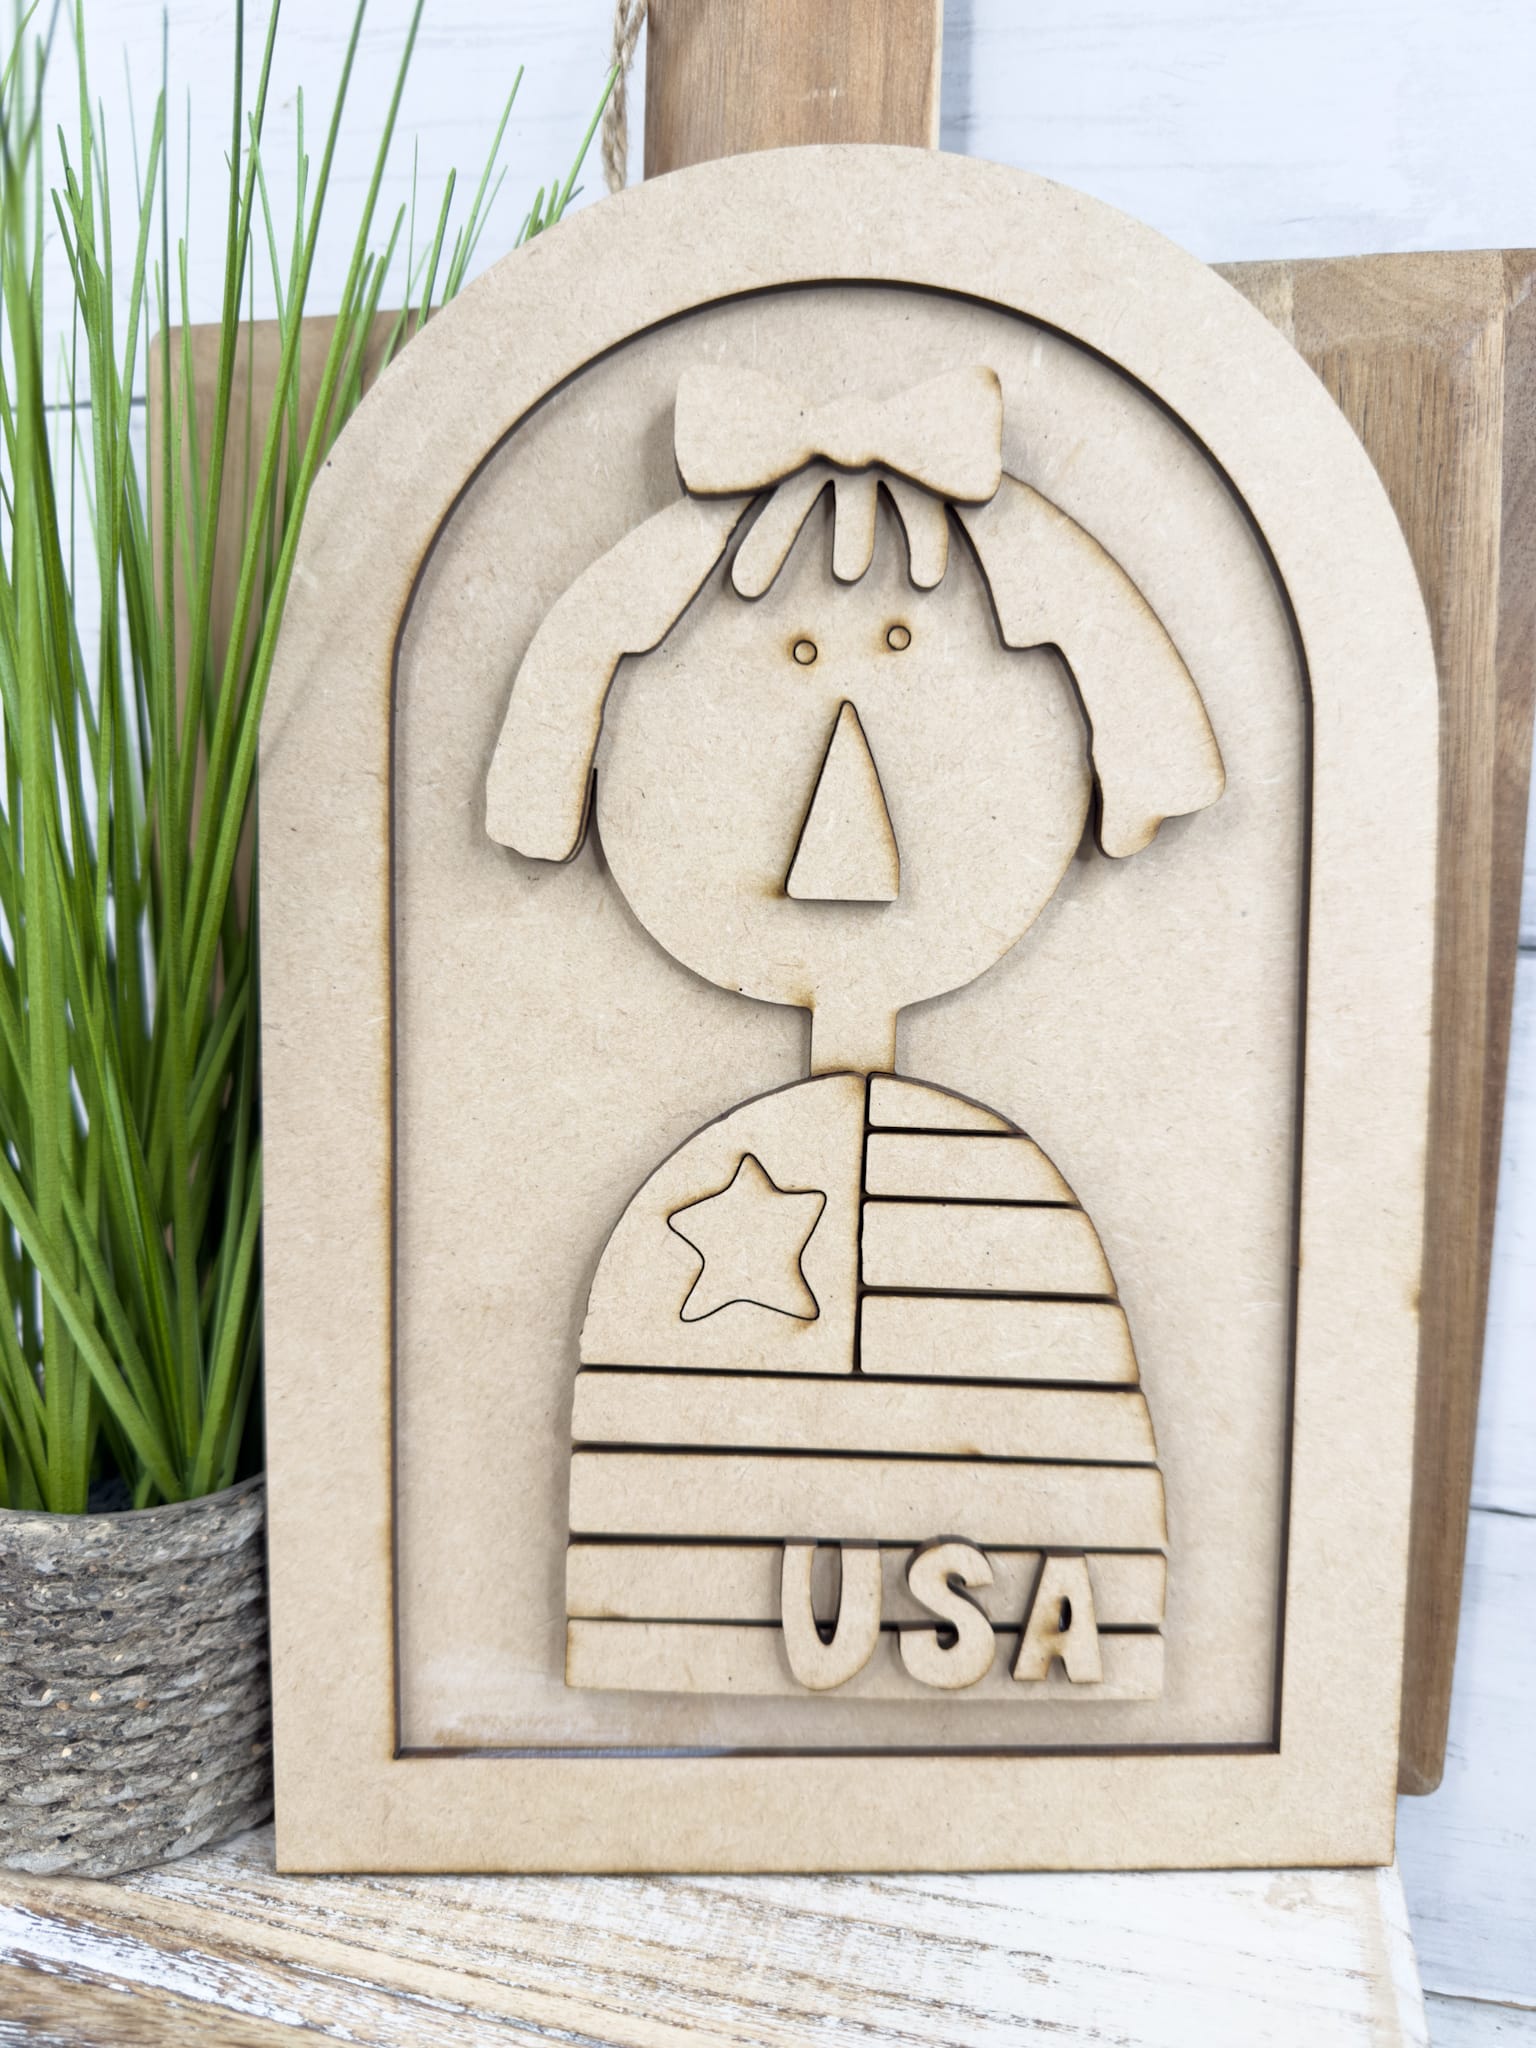
Begin Painting
Once dry, take your backing piece and dry brush Light Mocha paint over the surface.
- Use a very light hand
- Focus on creating a soft, worn finish
This step adds depth and gives your project that signature primitive, farmhouse style.
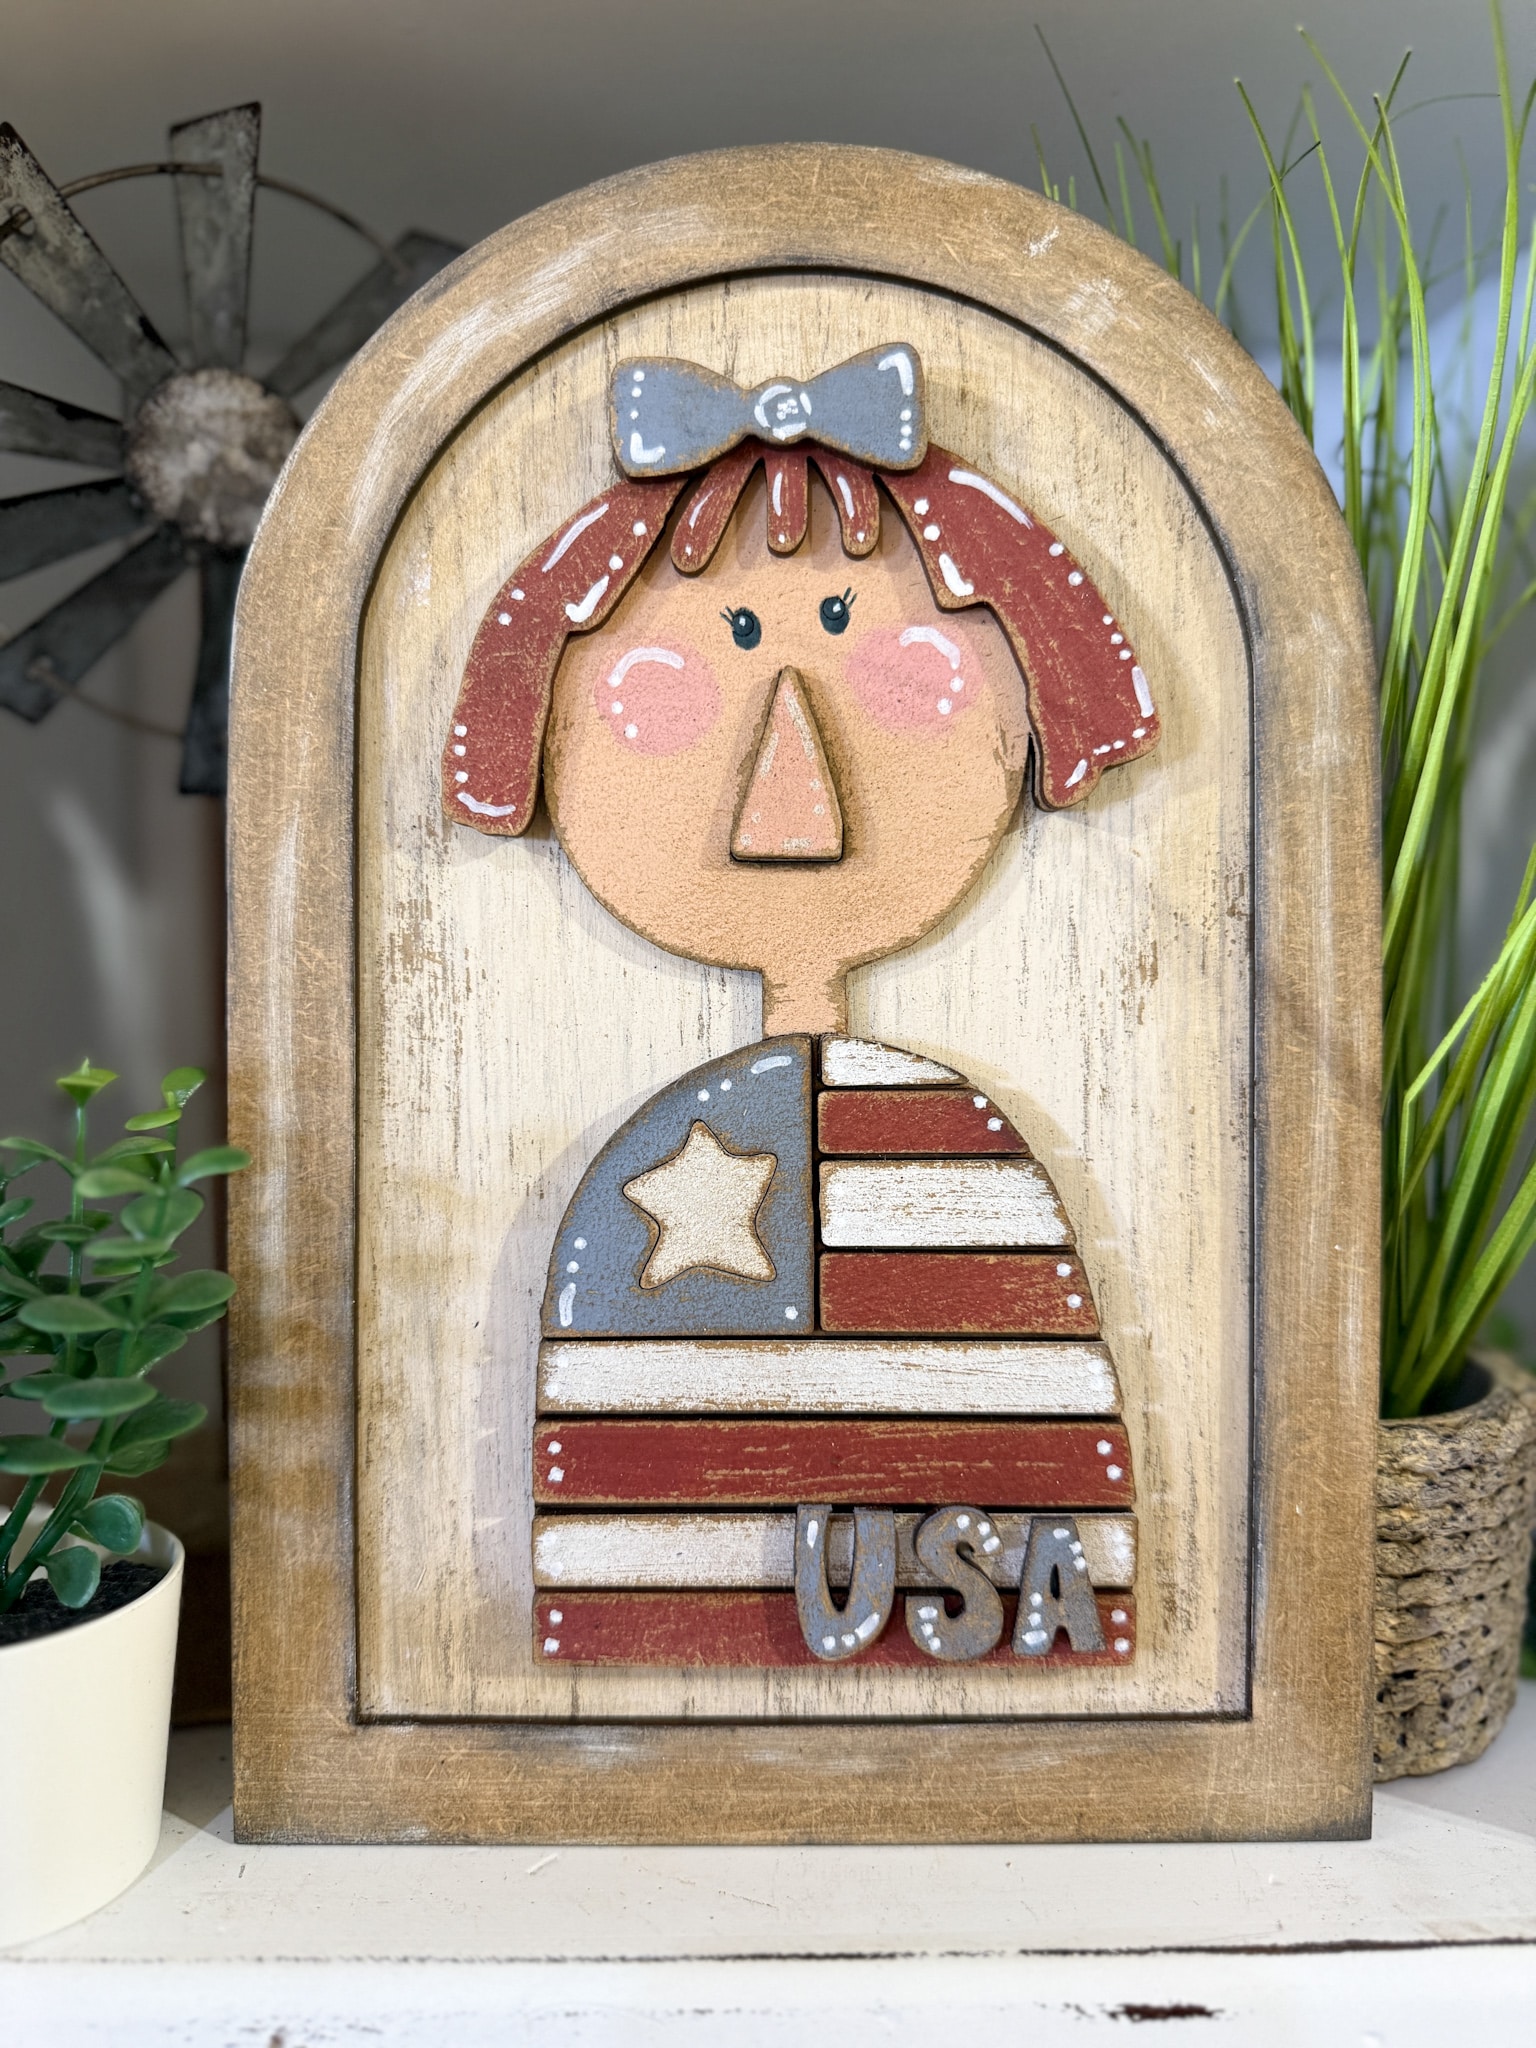
Now it is time to start adding color.
- Use a sponge to dab Heritage Brick onto the girl’s hair
- Paint half of the stripes red using the same dabbing technique
Dabbing instead of brushing helps keep the texture soft and slightly distressed.
Next, paint the remaining stripes and star section.
- Dab Warm White onto the remaining stripes
- Paint the star piece Warm White
This contrast creates the classic American flag look.
Using Colonial Blue:
- Paint the quarter circle with the star
- Paint the bow
- Paint the USA cutout
These elements tie the entire patriotic design together.
Creating the Skin Tone
To create the girl’s face color mix Warm Beige with Coral Cloud. This creates a soft, natural skin tone. You only need a small amount of paint for this step. Paint the face and nose piece evenly.
For the cheeks, mix a small amount of red and white to create pink, and lightly brush circles on the girl’s cheeks.
This adds warmth and gives the piece a more finished, dimensional look.
Easy Primitive Patriotic Girl DIY Craft Kit Tutorial: Final Distressing
Once all pieces are fully dry, lightly sand each piece. Focus on the edges, raised areas, and spots where natural wear would occur.
This step enhances the primitive, rustic finish.
Easy Primitive Patriotic Girl DIY Craft Kit Tutorial: Assembling Your Project
Now it is time to bring everything together! Use Stickfast Super Glue to secure each piece together. Be sure to line them up carefully before pressing down.
At this point, your project really starts coming together!
Layer your design until the full piece is assembled, and allow glue to set completely before moving.
Easy Primitive Patriotic Girl DIY Craft Kit Tutorial: Adding Dimension
For added depth, lightly go over the stripes with your wax brush. This adds subtle dimension and enhances the aged finish.
To give your piece a complete farmhouse look, lightly white wash the frame.
- Apply a small amount of white paint around the edges of the frame
- Use a light hand so the wood tone still shows through
- Focus on corners and outer edges
Once applied, lightly distress the frame by sanding most of the white paint back down. This painting technique creates a soft, aged effect that ties the entire piece together!
Easy Primitive Patriotic Girl DIY Craft Kit Tutorial: Adding Final Details
To bring your piece to life, add the final details using paint markers.
- Use a black paint marker to draw the girl’s eyes
- Use a white paint marker to add small detailing marks throughout the design
These finishing touches add personality and help the entire project feel complete and polished.
Easy Primitive Patriotic Girl DIY Craft Kit Tutorial for Beginners: Final Thoughts
Your Primitive Patriotic Girl craft is finished!
This Primitive Patriotic Girl Craft Kit Tutorial is one of those projects that looks detailed and high-end, but is simple once you break it down step by step.
It is perfect for:
- 4th of July decor
- Summer decorating
- Handmade gifts
If you enjoyed this tutorial, be sure to explore more of our beginner-friendly craft kits designed to help you create beautiful, display-worthy pieces with ease.
Thanks for stopping by! XOXO Amber
You can also shop my ENTIRE AMAZON Favorites shop just click here! It’s packed full of all the things I use and love. Here is the supply list I highly recommend every creative have on hand!!
Would you also pin my blog for later and get on my newsletter alerts? I would love to have you join my #craftycrew.
Inspired? Leave me a comment below! I love hearing from my readers!

Join my free “Crafting and Sharing” Facebook group!


