How to get a boho paint finish
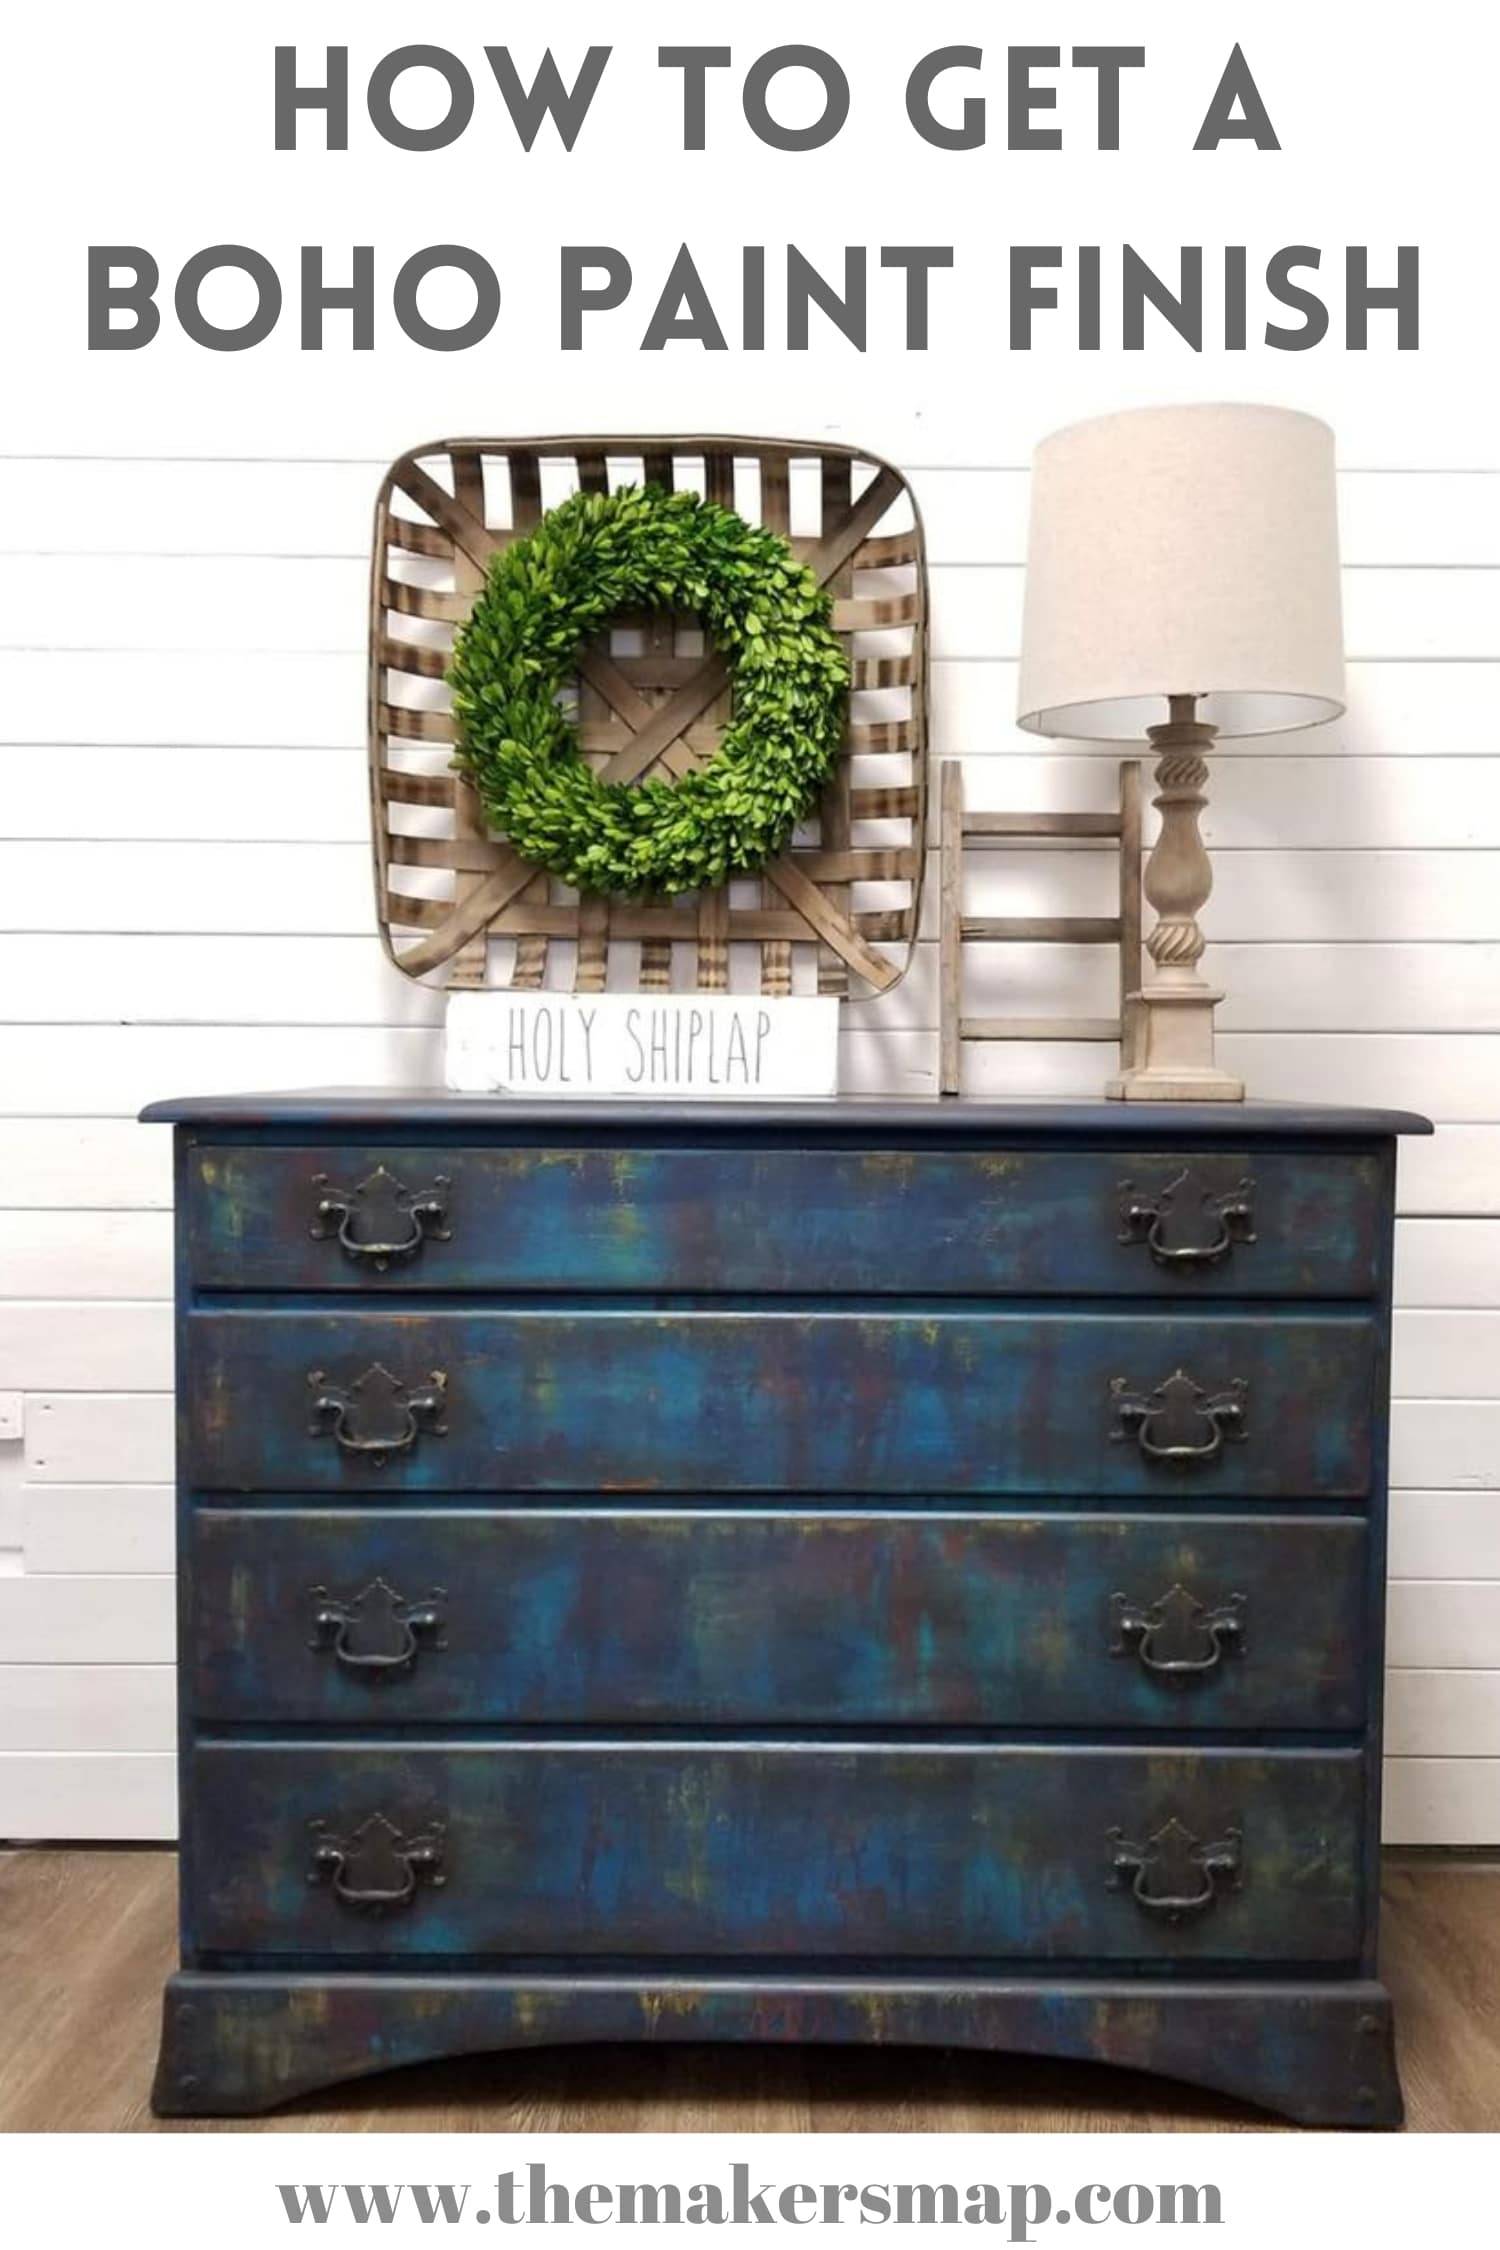
For those of you who don’t know, I used to paint furniture ALL THE TIME! I loved to teach others how to paint furniture as well! Today, I am going to show you how to get a boho paint finish on your furniture.
Back in my store ownership days, I painted some pretty amazing pieces. I got a creative idea and decided I wanted to turn a boring old piece of furniture into a Boho masterpiece.
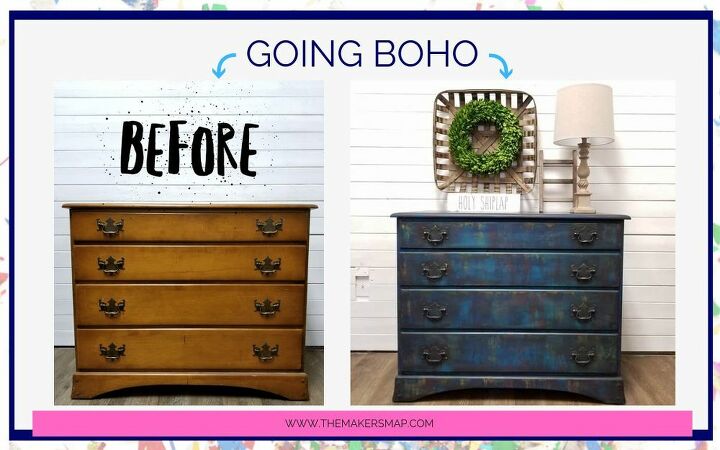
Now, I want to show you what “Going Boho” looks like and how you can create this paint finish on your own furniture!
How to get a boho paint finish
I completed this piece through 3 different LIVE video sessions!
Video 1
Video 2
Video 3
The process isn’t always perfect
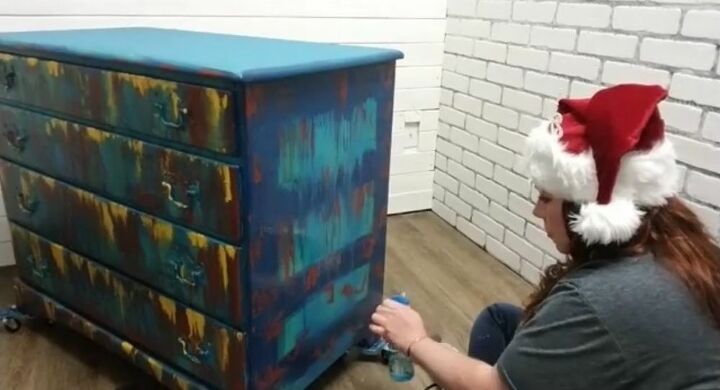
This one was a serious showstopper! Not because it is beautiful but because of the “processes”. When I decided to go bold with this one, I never expected to get the comments I received during the process.
The process is ugly sometimes! It just is! So many watchers of my videos back in the day were kind and encouraging to me “putting myself out there” but some people actually questioned my professional painting abilities! (You know me, I was like, not today KAREN)
But, I didn’t let it get to me, never have and never will!! Because as you may also know the process of creativity sometimes is just ugly before it is beautiful! (but I could see it finished in my head, anyone else like that?)
Here are the products you will need.
These are my affiliate links, I may earn a commission from your purchase, but it will not cost you extra by using my links!
- Bunker Hill Blue
- Muscadine Wine
- Peacock
- Mermaid Tail
- Colonel Mustard
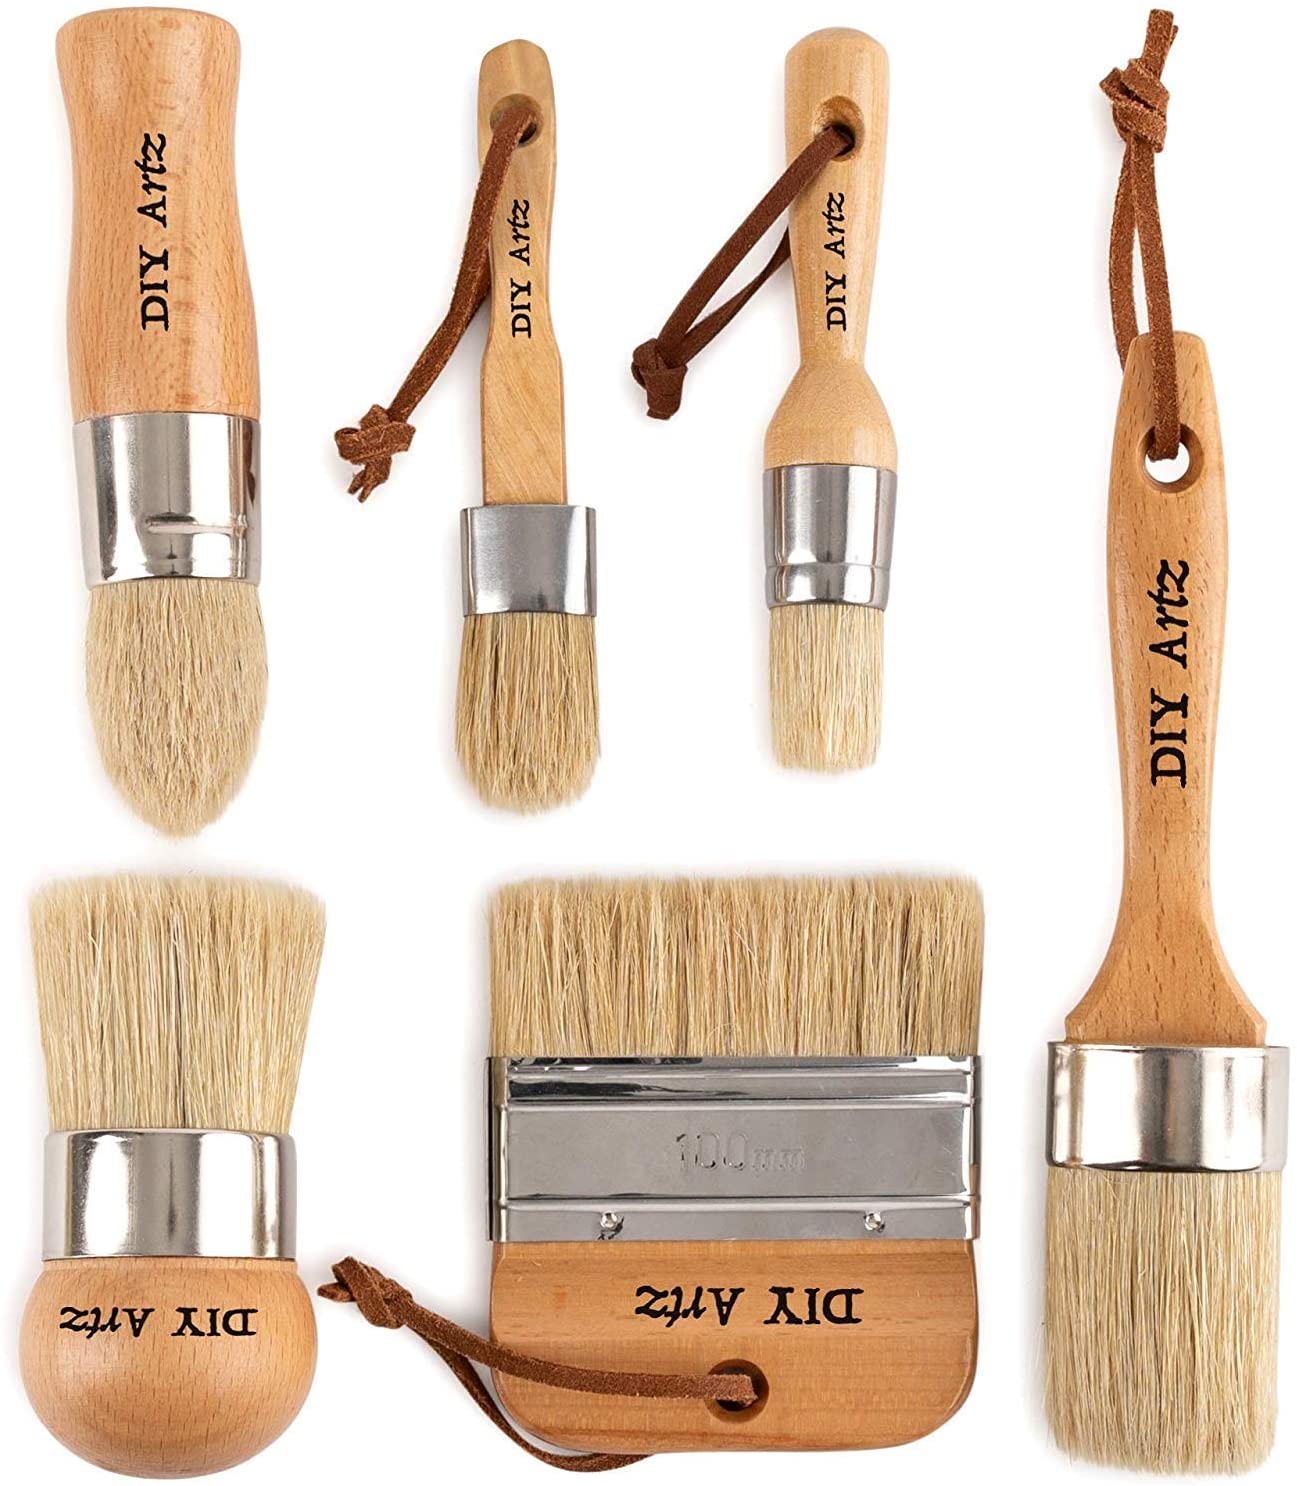
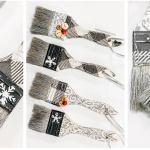
Paint Brushes
You can use Paint Pixie Brushes or Budget Brushes like these by DIY Artz
The anticipation
I painted this back in 2017, Many people were amazed, and they were waiting on pins and needles to see just what was about to happen!
Like I said, and I will be honest, I was a little discouraged, but I decided that sometimes others do not see exactly what I see. I see it finished! Others see the “process”.
I had many comments like: “I don’t think you know what you’re doing” “That looks like melted crayons” “These poor people are convinced that you’re a professional and quite honestly this is the work of a 2-year-old”
While others were so encouraging: “Oh, this is going to be gorgeous” “I don’t care what the process is to get to where you’re going but it already looks awesome” “Who cares what it takes to get to the final look, art is a process” “Keep going, I can not wait to see more”
The journey – How to get a boho paint finish
Yall, the comments and engagement were all over the place. Some could see what I saw, while others…… not so much!
So, let me take you on this journey with me for a few minutes. I picked up this piece during a totally different “furniture pick up”. A lady had this piece and was like, “do you want to take this too? I am sure you can work some magic on it.” I was like “OH YEAH”!
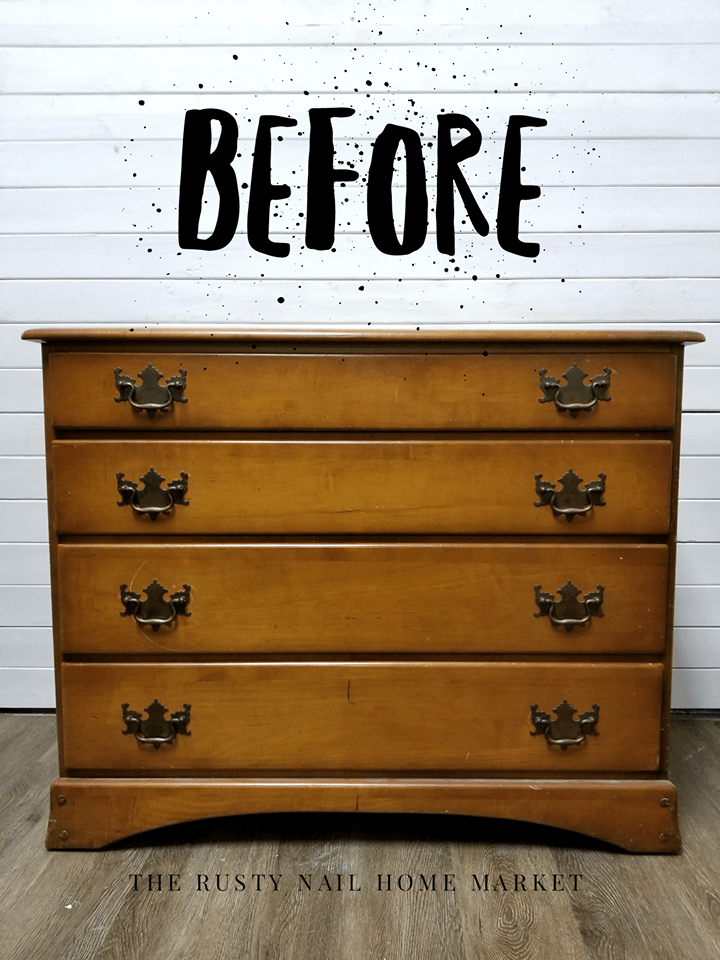
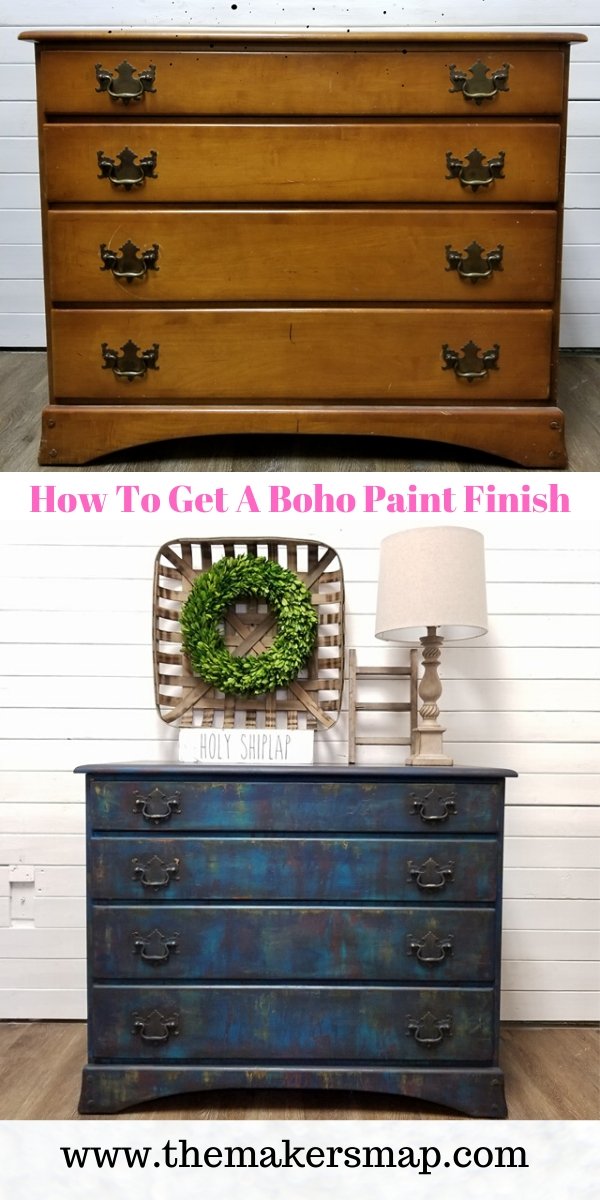
Even though it wasn’t a planned purchase, as soon as I saw it the wheels in my head started turning! I knew I was going to go bold and different! Why not? Here is the before! Simple Hard rock maple.
How to get a boho paint finish with video tutorials!
Before the paint!
It’s actually a really pretty 4 drawer low chest. Original hardware, no damage at all. Solid and sturdy! So why paint it? I get that question a lot. Why paint such pretty wood furniture? I have an answer! It was unwanted and unloved. Adding paint just gives something a whole new look and purpose.
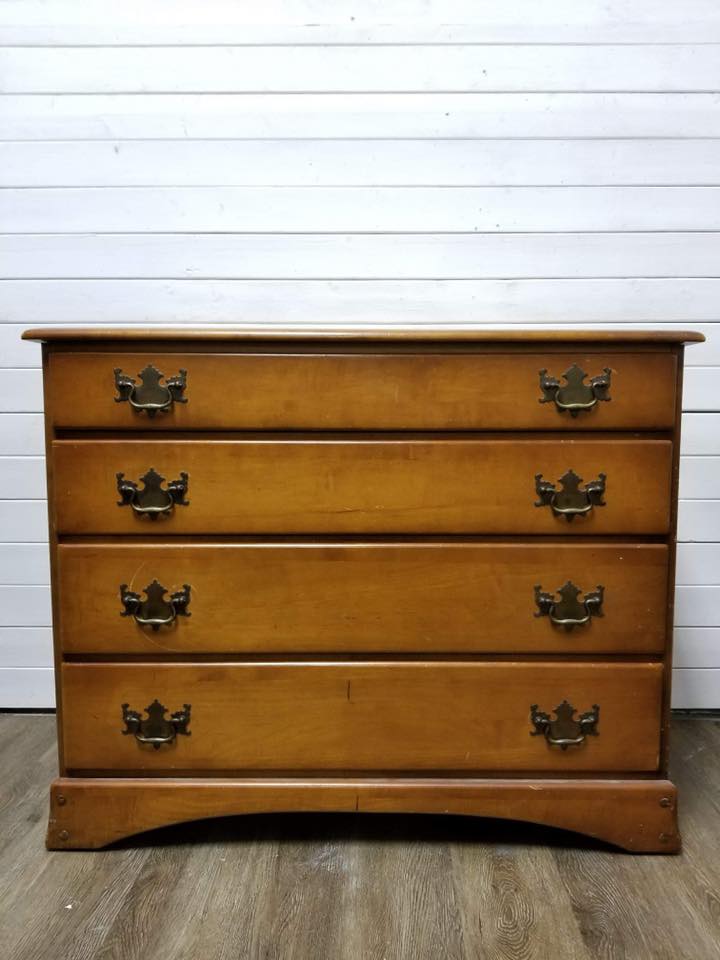
But first, we clean.
Let me tell you what I did to this piece. First I cleaned it really well! I use a cleaner that most would not think to use! It’s actually my go-to cleaner!
I would say the most common question I am asked is what cleaner I use. When I do my live video’s over on my Facebook page, I can not share them with you because I am not using the cleaner for the purpose intended. But I am going to share with you what it is and leave you to decide how you use it.
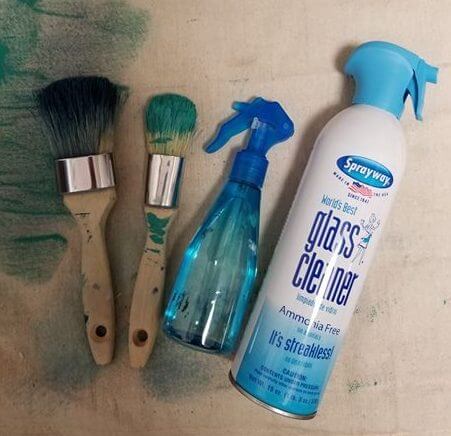
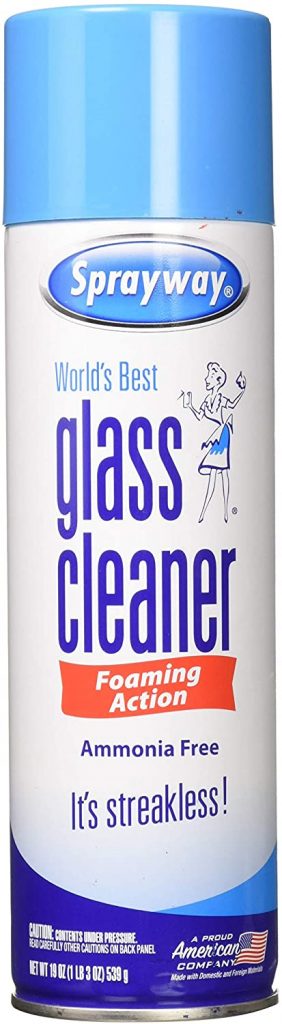
I use Sprayway Glass Cleaner, not the trigger sprayer (shown) one but the foaming one. The trigger sprayer tends to spray very slowly.
The foam one is amazing! It’s intended for glass but I have found that it works wonders cleaning my furniture. I will save that for another blog post, but that is my all-time favorite cleaner!
Snag it here through my affiliate link! Sprayway Foaming Glass Cleaner
Clean, dry, paint, and DONE!
Back to my piece now that we have the cleaner covered! Clean, allow to dry and you’re ready to begin! I know you’re gonna ask!
No, I did not sand this down! No way! You do not have to strip it down or sand it! Clean, Dry, Paint, and DONE!
Unless your piece was previously painted there is no need to sand down or strip it. And NO, I did not take off the hardware. It was very important to leave it on for this look. Keep reading, it will make perfect sense later!
Spray bottles, brushes, and paints – OH MY!
You can absolutely use cheap chip brushes! I used my Dixie Belle brushes for this project, But Dixie Belle no longer sells those brushes I used. My alternative is the outstanding Paint Pixie Brushes that I now currently use or these Budget Brushes!
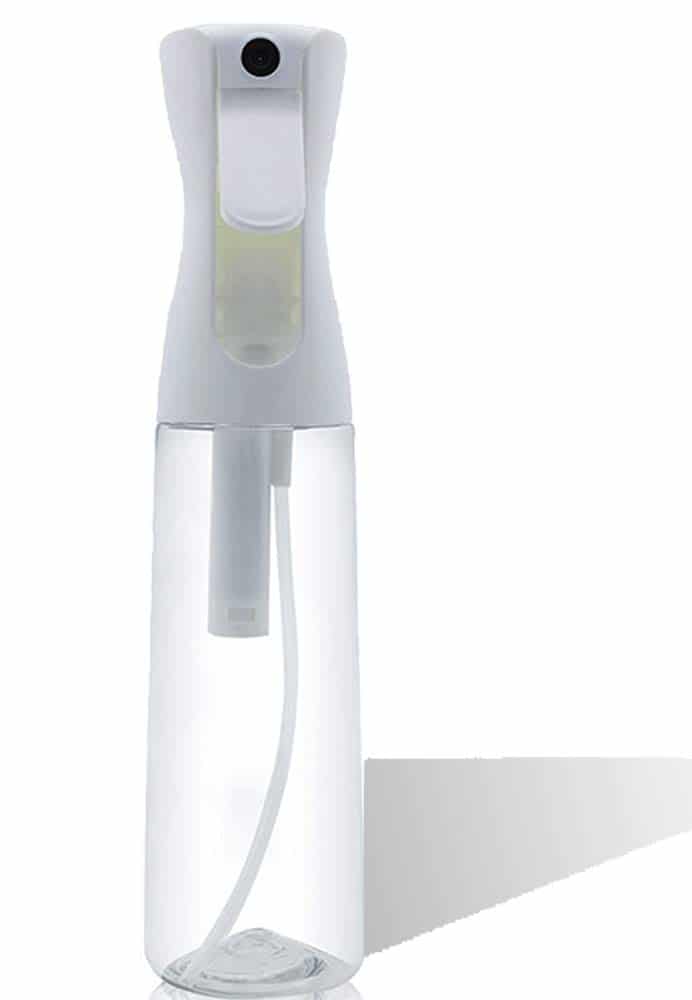
The spray bottle I used in the videos, I picked up at my local Kroger, but they no longer carry it so I popped over to Amazon and ordered one of the sprayers I currently use. It is a continuous mist spray bottle
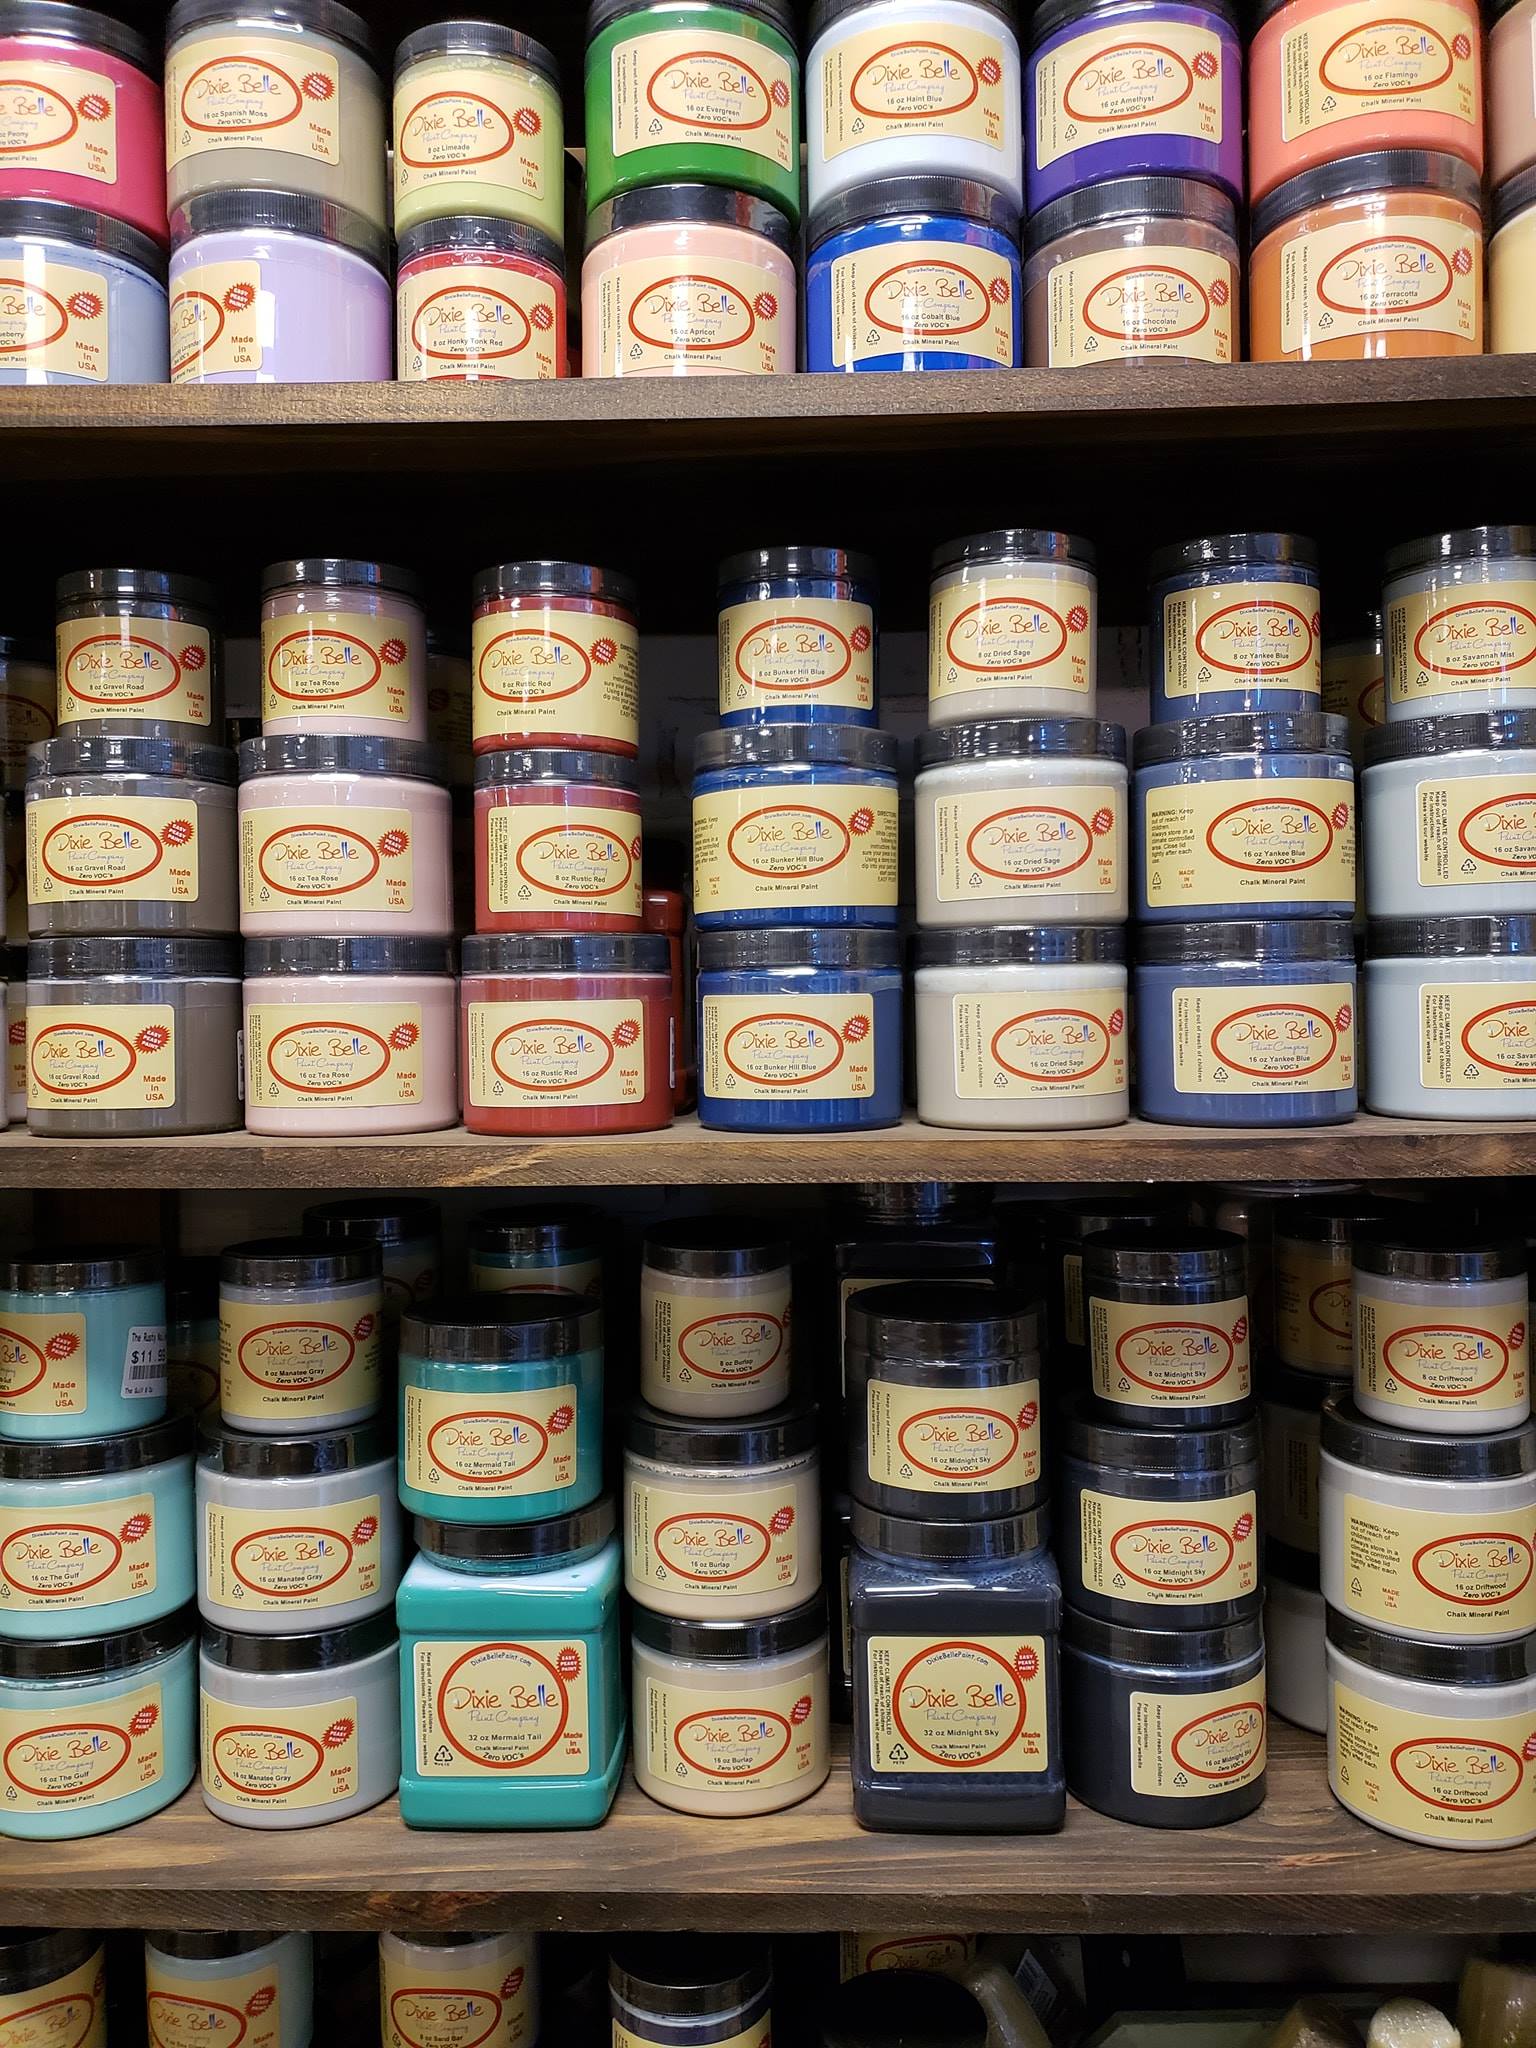
The brand of paint I used for this project was Dixie Belle. I was a Premiere Retailer of Dixie Belle in my store owner days! But if you are looking to grab you some paint and do not have a retailer near you, you can purchase through my link right here: Dixie Belle PAINT.
How to get a boho paint finish – Let’s get painting
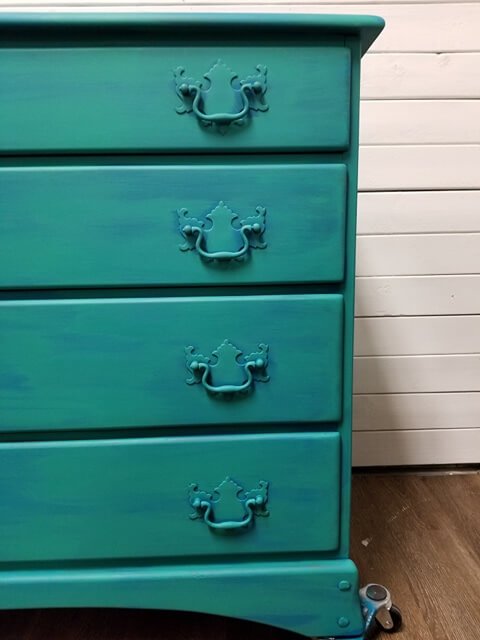
I started off using Dixie Belle Peacock for my base coat, or as I call it the gripper coat.
Some may call it the crumb coat. The base coat really is a think coat of paint that creates a good canvas for the next layers to adhere to. A good base coat should not be too thick. A nice smooth thin coat will be perfect.
Fun Fact: This project was also featured on Hometalk!
Once I had the Peacock on and dry, I added my next color which was Dixie Belle Mermaid Tail. You can see in the image below, the two are layered and smooth.
There are minimal brush marks and the colors blend perfectly. These 2 colors set the base under color for the next process that is going to be a tad crazy! Are you ready for the next step? Alright, stick with me on this one!
Start layering
I need you to imagine that this is a process of layering. I am about to show you how to add layers with a putty knife and how you can merge the colors and blend them with a spray bottle.
If you are curious about this part you can go check out my Facebook Live Videos that I did featuring this piece! Links were posted earlier in this post.
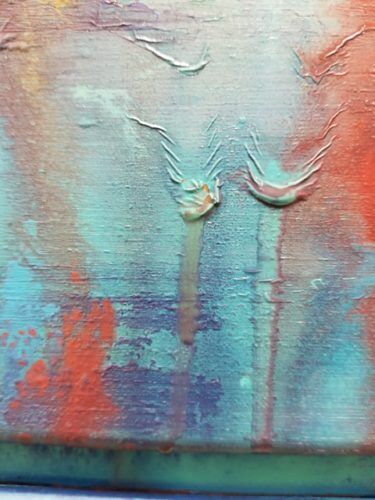
Alright, next I used Dixie Belle Muscadine Wine, Colonel Mustard, Peacock, Mermaid Tail, and Bunker Hill Blue! Yep, all of those layered in random places.
I used my spray bottle to add water so that the colors would drip into each other and then I used my putty knife to drag each color across into the other. Layering over and over.

I know that it looks like a total disaster but I promise you that it must look this way to get to the end! You can watch the timelapse video I did on my Instagram, If you are not following my IG you totally should!
VIEW TIMELAPSE VIDEO
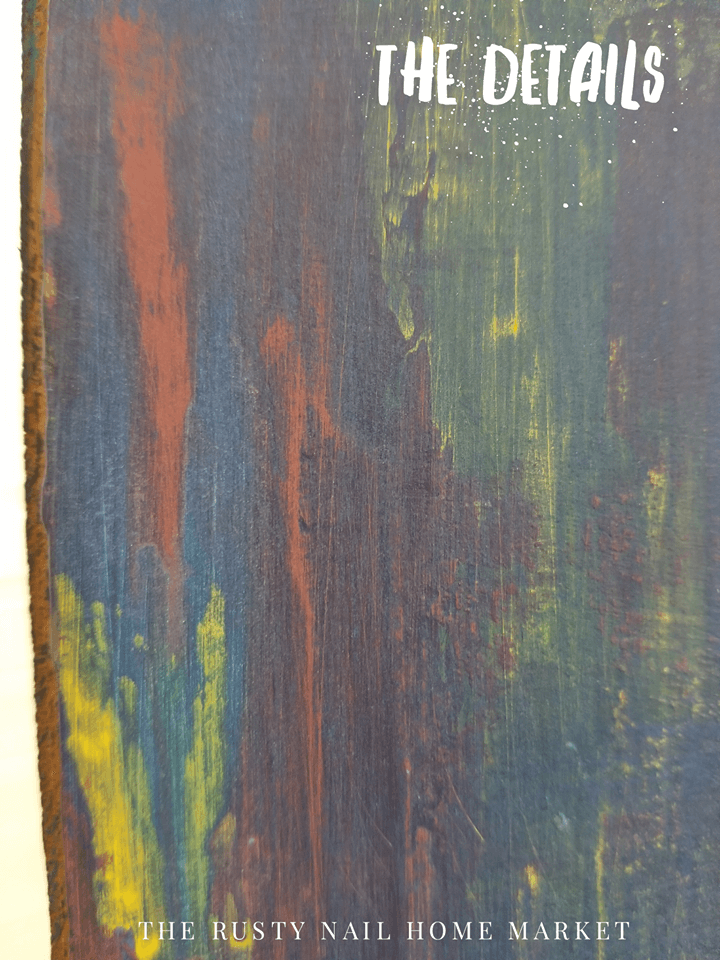
I allowed the paint to start to dry, then I took my putty knife and began dragging the semi-dry and semi-wet paint over across each other.
The paints started to create a bubble of moisture, so I took my putty knife and scraped across these areas dragging the wet paint onto the other dry areas.
Doing this sets the under colors that are going to show through the next layer, random color blends are just fine for this look! The best part is you get to decide how you want your piece to look!
How to get a boho paint finish continued
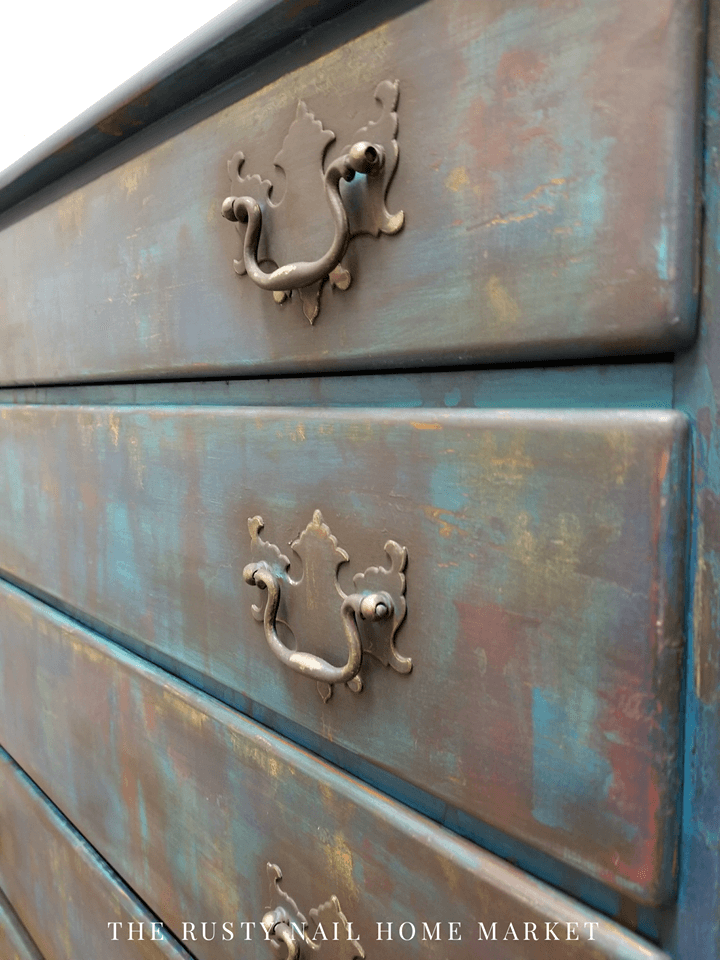
Next, I used Dixie Belle Bunker Hill Blue as my final color that the previous colors used will peek through. Bunker Hill Blue is a rich blue color that has a boho feel.
The Ah-Ha Moment!
You can now see all of those colors I used popping through the Bunker Hill Blue! I must say when I showed my audience who watched LIVE the final steps, I think it started to click and make sense!
Everyone was amazed at the process. but I honestly don’t believe that anyone thought that the outcome would be so pretty! First impressions are SO OVERRATED!
Once the Bunker Hill Blue was dry, I used 100 grit sandpaper and Medium grit sanding sponge to distress the piece. I wanted more and more areas of color to show through the Bunker Hill Blue. Finally, I started waxing the piece with Dixie Belle’s Clear Wax.
I used the Clear wax because I wanted to deepen the color and it was going to serve as the “Sticky Stuff” for the Dixie Belle Charcoal Dixie Dirt that I was going to apply to the hardware to create a more worn “dirty” look.
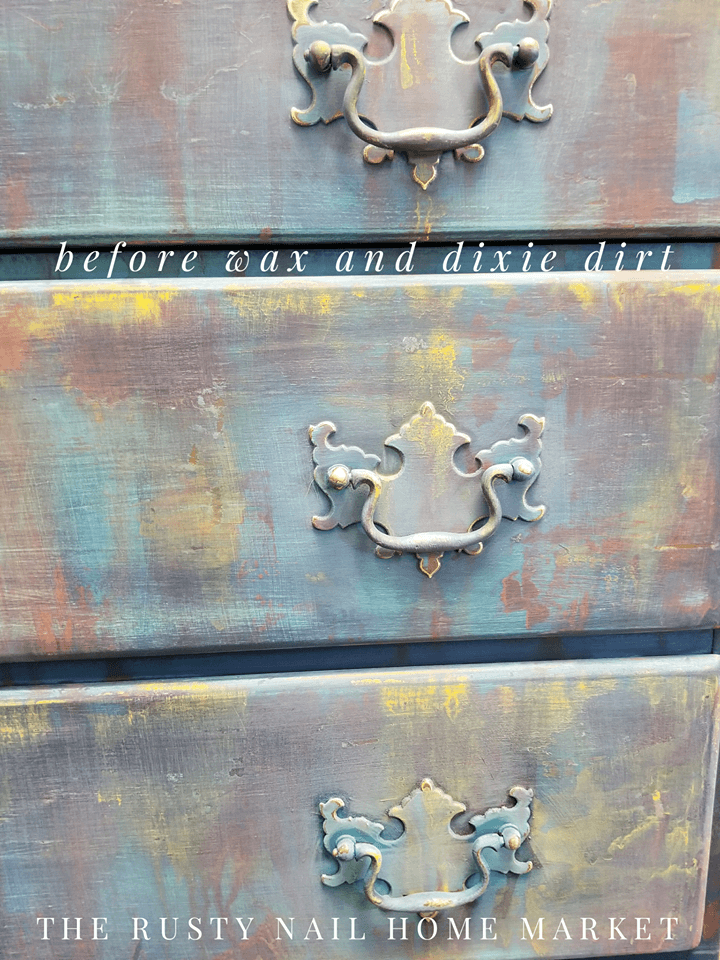
The finishing touches
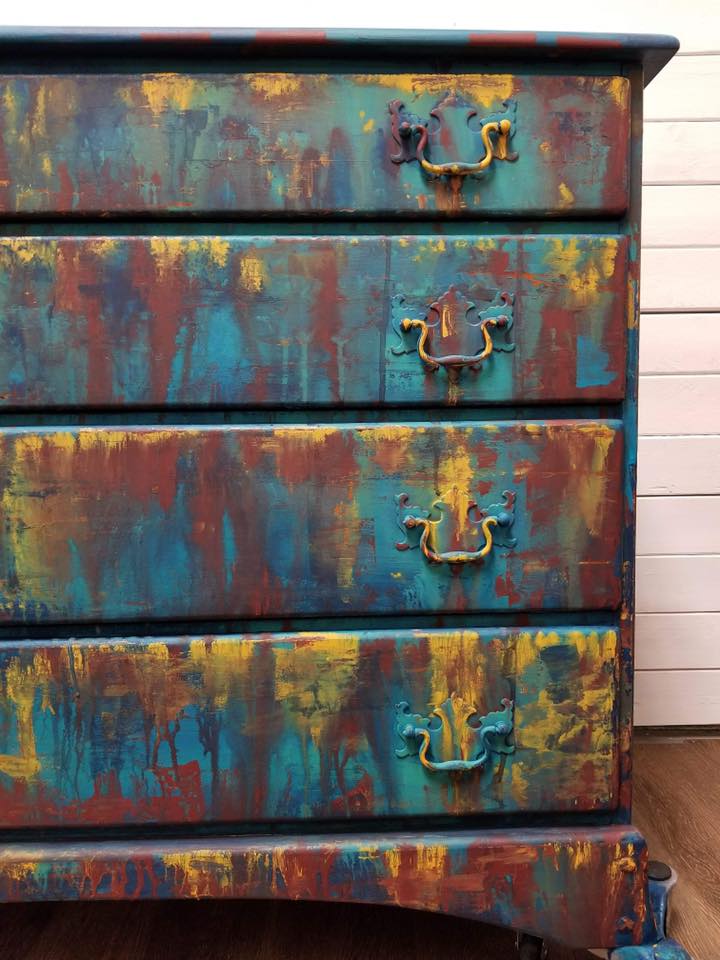
As you can see, the Dixie Dirt gave the hardware a really aged, worn, and dirty look. This was very important to my final look. I wanted this piece to really have a bohemian style and be a great statement or conversation piece in any home.
I did add just a tad bit of Dixie Belle’s Guilding Wax in Black to areas where I wanted more of a worn look. It was super easy to apply, I just opened the tin container and used my finger to apply it to the areas I wanted to feature. Be careful, the Guilding Wax goes a long way! I have to say it was super fun to use with my finger, kinda felt like finger painting back in art class!

You can see the difference in color before and after waxing. The wax really deepens the colors.
The final look – WOW!
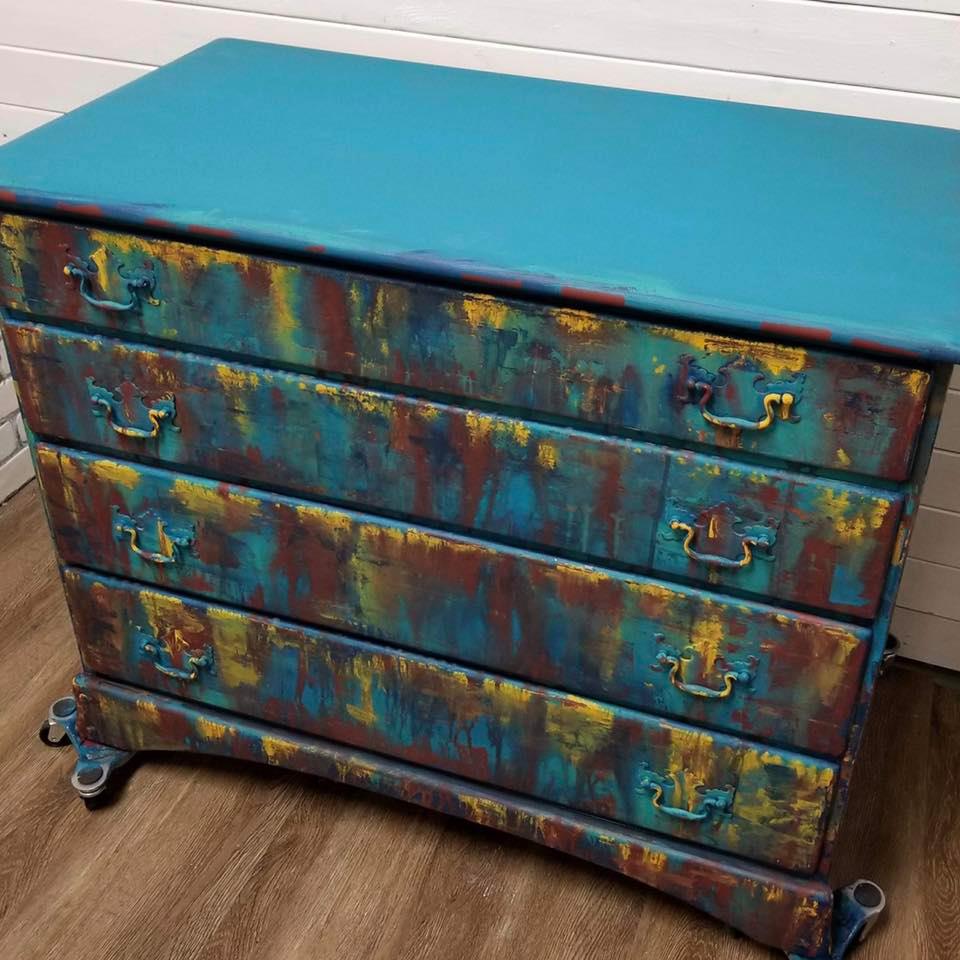
Alright! Now for the final reveal of this – How to get a boho paint finish post!!
This piece was so much fun to do! It really was! The best part really was the opportunity to inspire others to think outside the box. Sometimes a pop of color is good. Sometimes, crazy colors flow well with each other. Take a look y’all! Here she is!
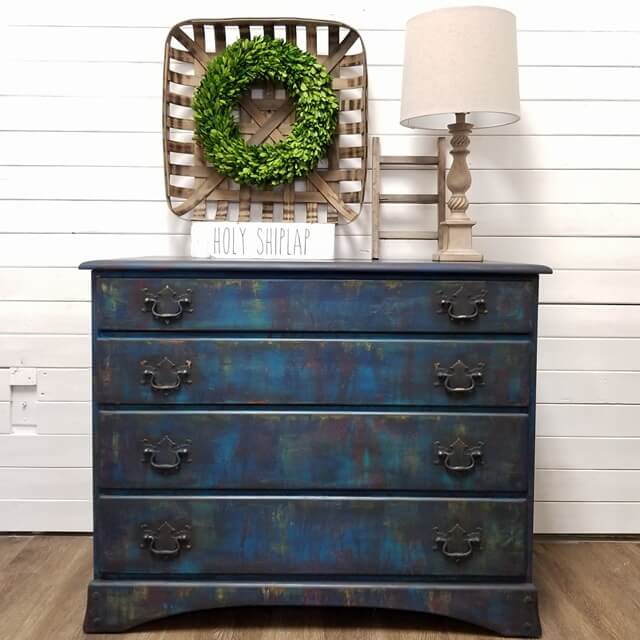

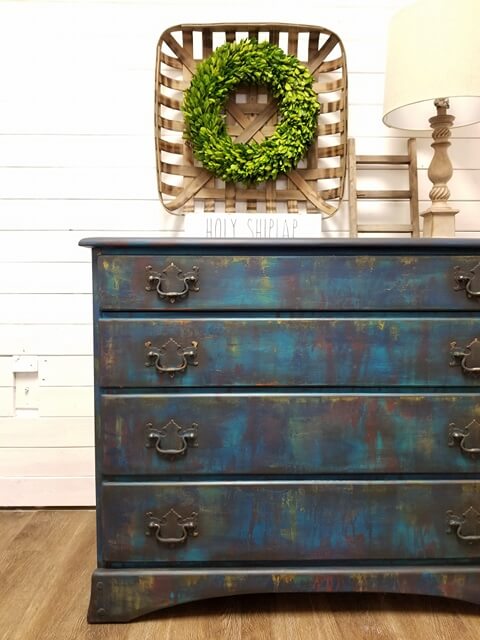
Is it what you expected? It turned out honestly, better than I had in my mind before I started which is always a bonus! This beauty was styled and put up “for sale” in my storefront and after just a few days she was adopted and on her way to Gatlinburg, Tennessee!
The new owner decided to put her on display in their bathroom in their cabin in the mountains. How fun is that?
One of the best things about being a store owner was meeting new people, listening to their stories, and being a part of their home decorating experiences! Oh, the memories! Well, the artist part was my favorite too….. you get what I am saying!
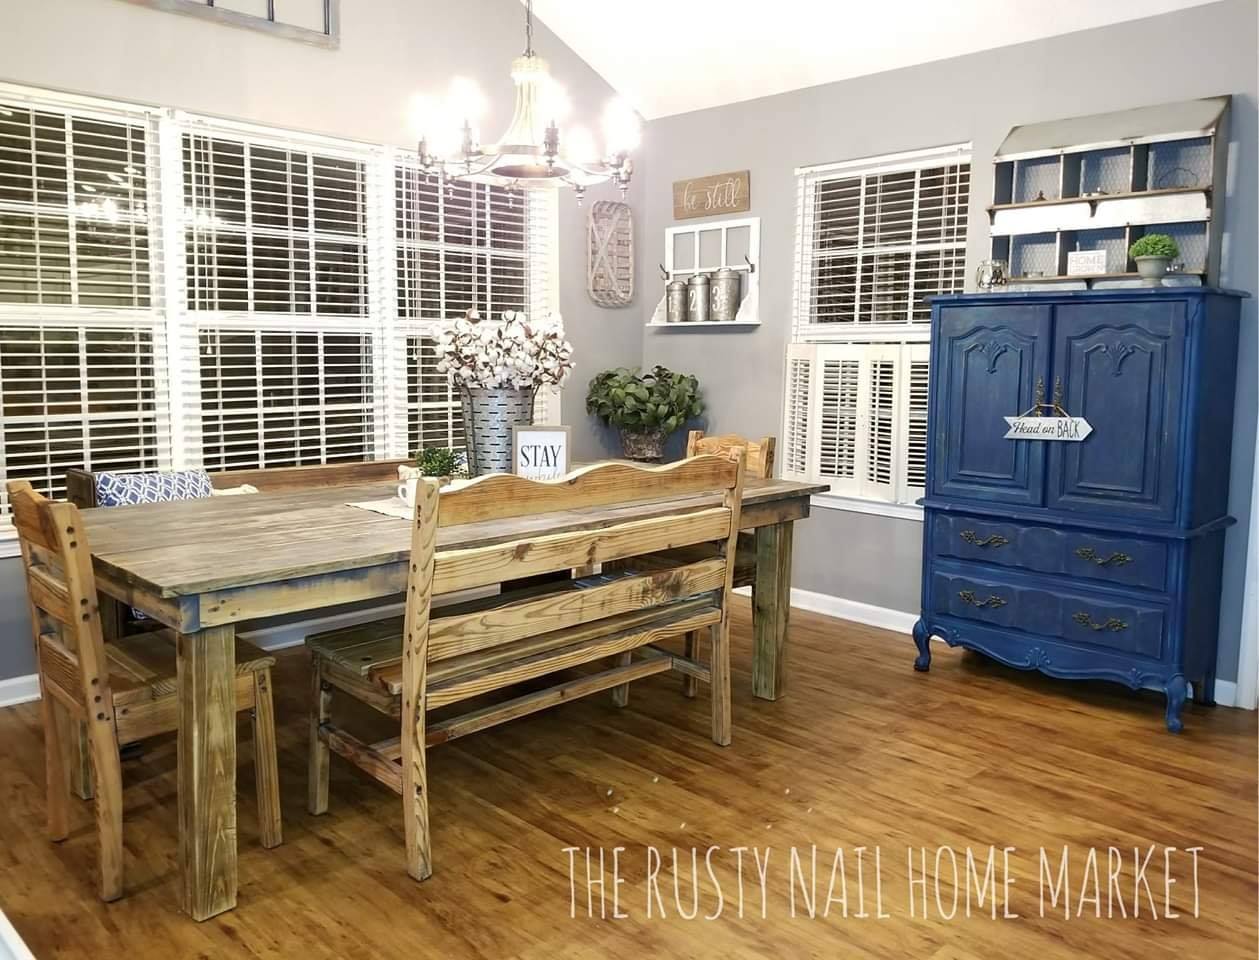
By the way, I did also did this finish on one of my own pieces of furniture! It isn’t exactly the same but it is pretty close! (my photo is watermarked to my old store name)
There is always a PROCESS TO ART!
Be inspired!
I hope that this was inspiring, and maybe it will challenge you to take on that piece you have wanted to give a makeover! You can do it! I know you can! If you want to learn more about painting furniture, I have an entire Playlist on my Facebook Page.
I’ve also put together really great ideas and inspiration for chalk painting china cabinets and hutches you should hop over and check that post next!
By the way, I don’t paint furniture anymore but I still paint and create! Things like this Rustic Chicken Coop project! There are tons of DIY decor projects on my blog as well as home decorating!
Thank you again for reading this and again I hope it inspires you! Pass this on to someone you know that might find this helpful or if you just want to help me spread the inspiration! I am always so honored when my audience shares my work.
XOXO Amber


PIN THIS ON PINTEREST pin the image below!!
One Comment