DIY Stacked Pumpkin Decor for Fall
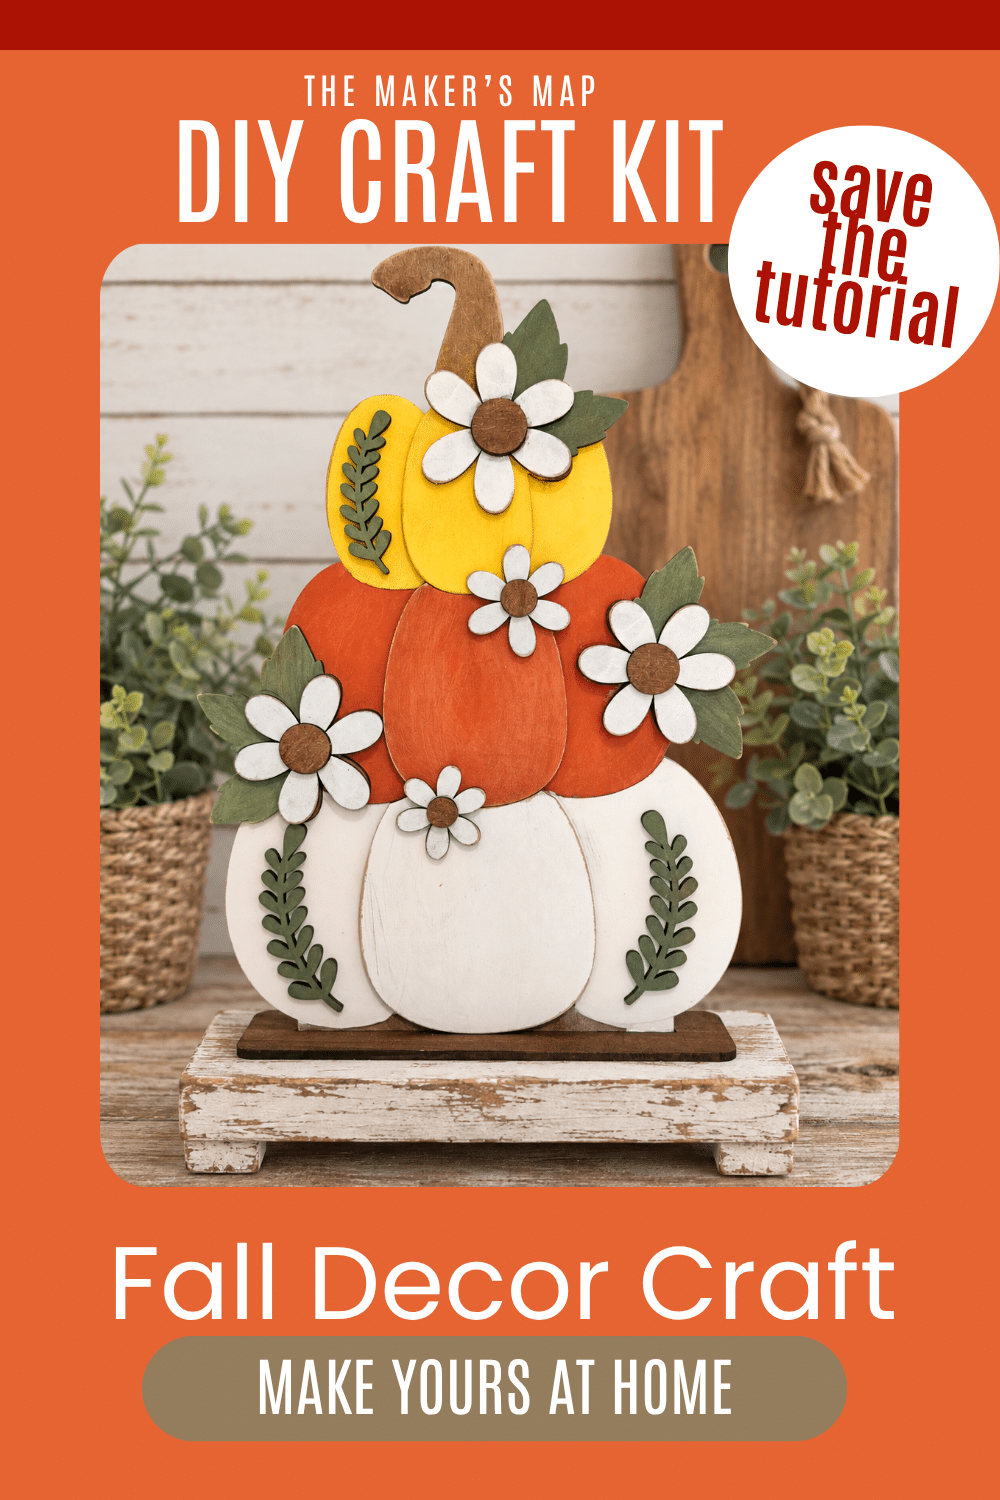
I love a fall craft that lets me play with color, and this DIY stacked pumpkin decor for fall was such a fun one to paint! With three wooden pumpkins, layered flowers, and leafy details, this craft kit has plenty of personality before you even pick up a paintbrush.
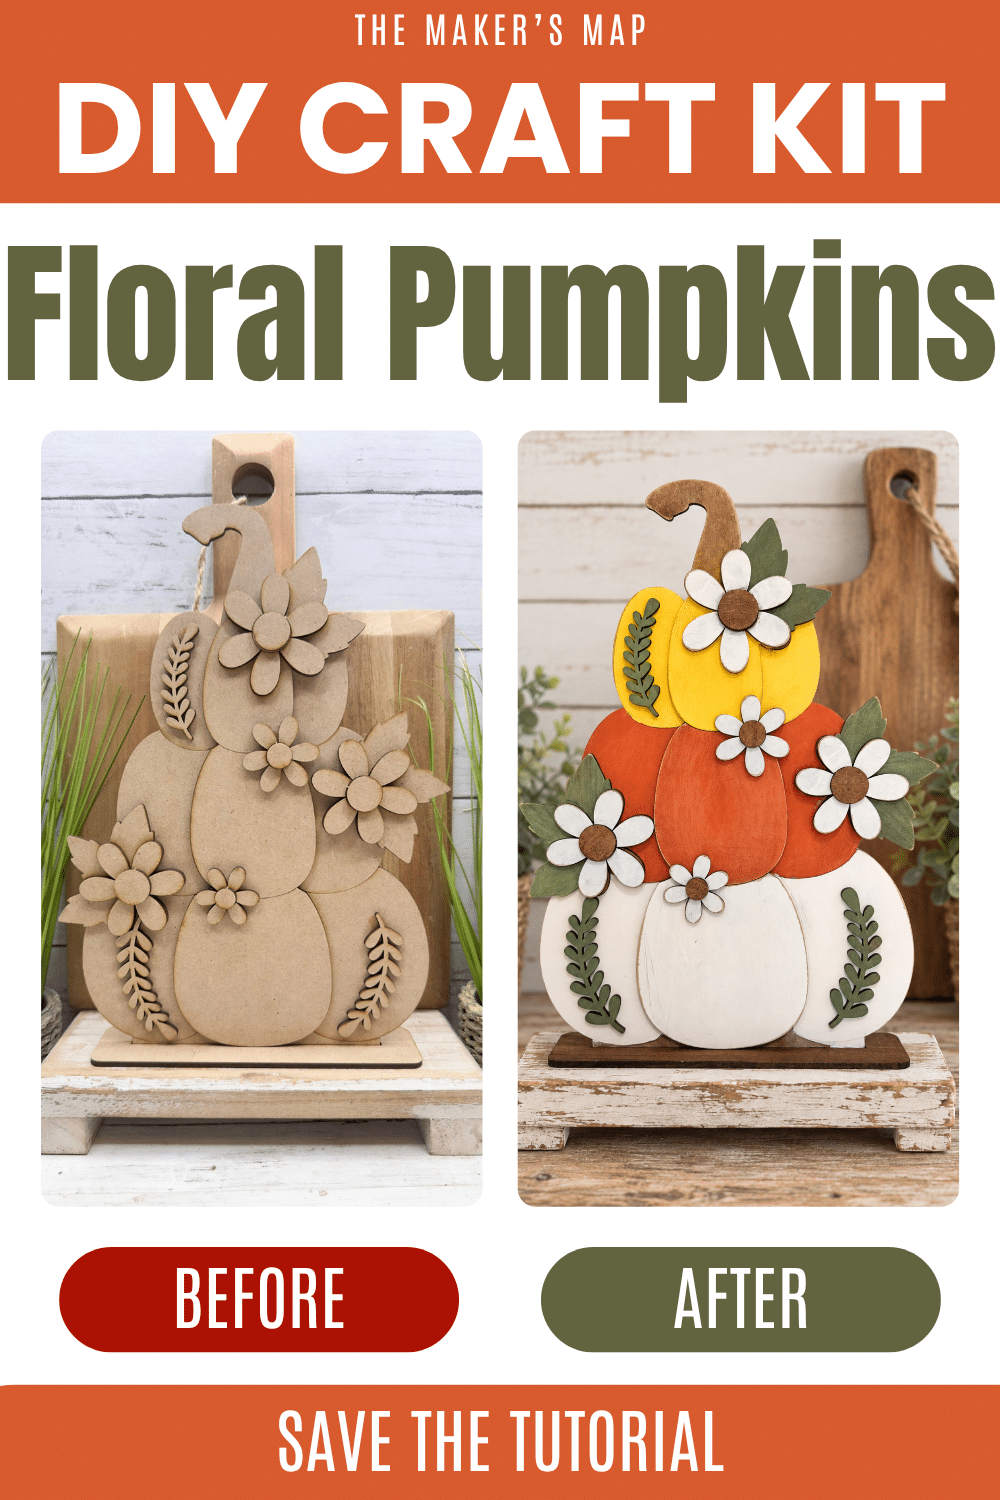
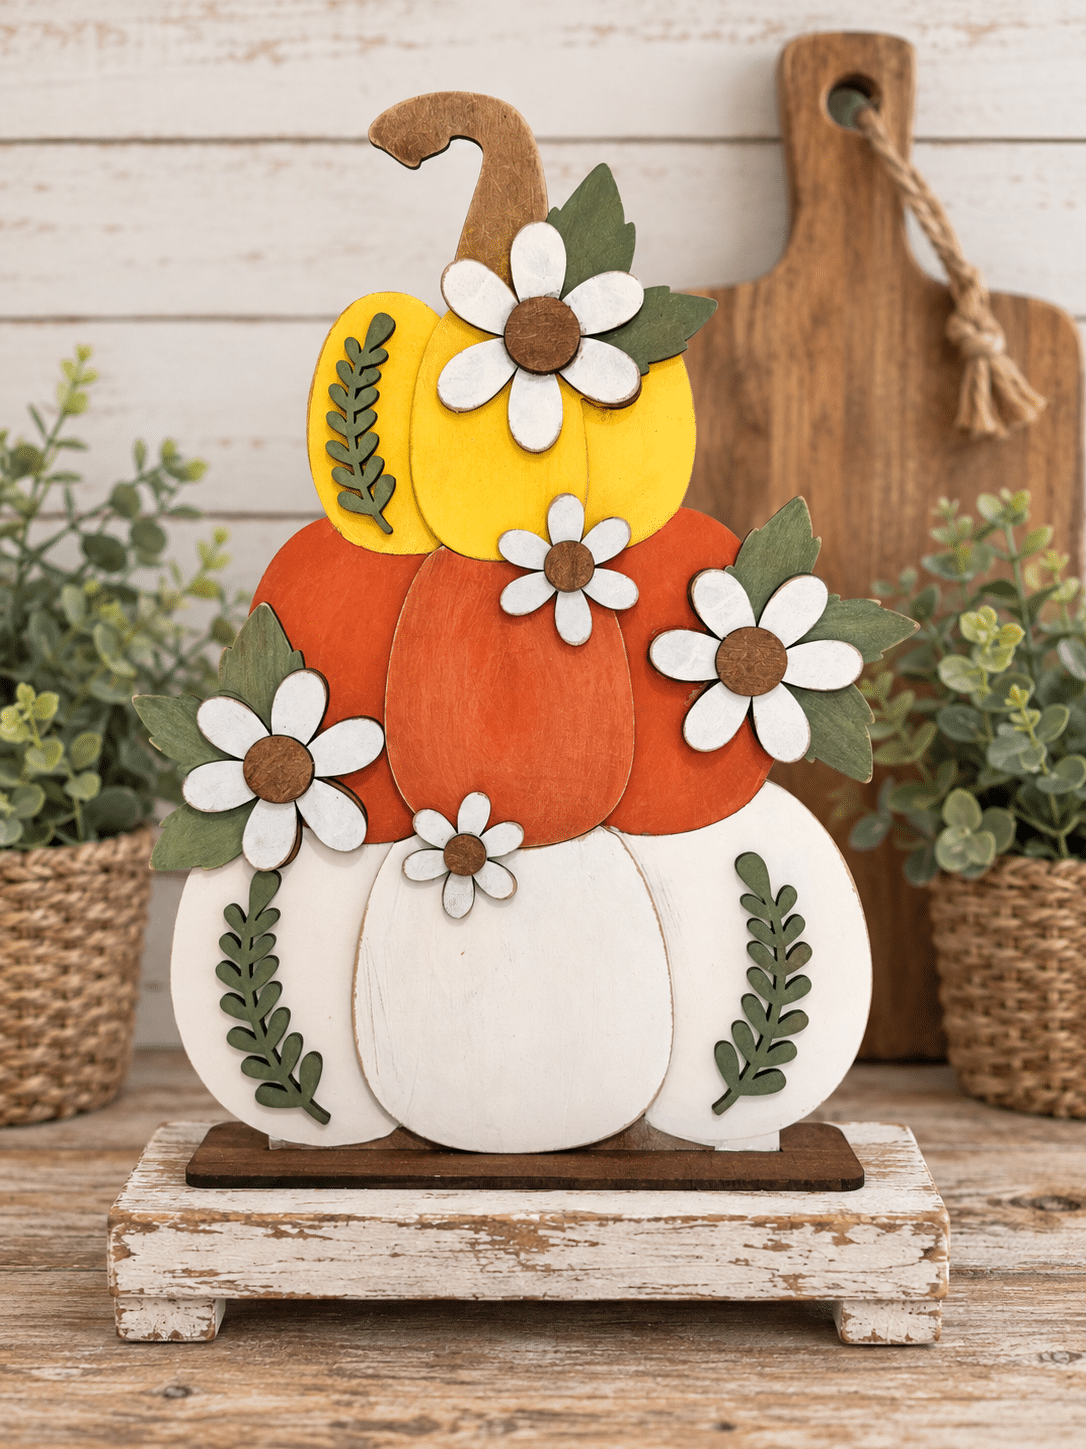
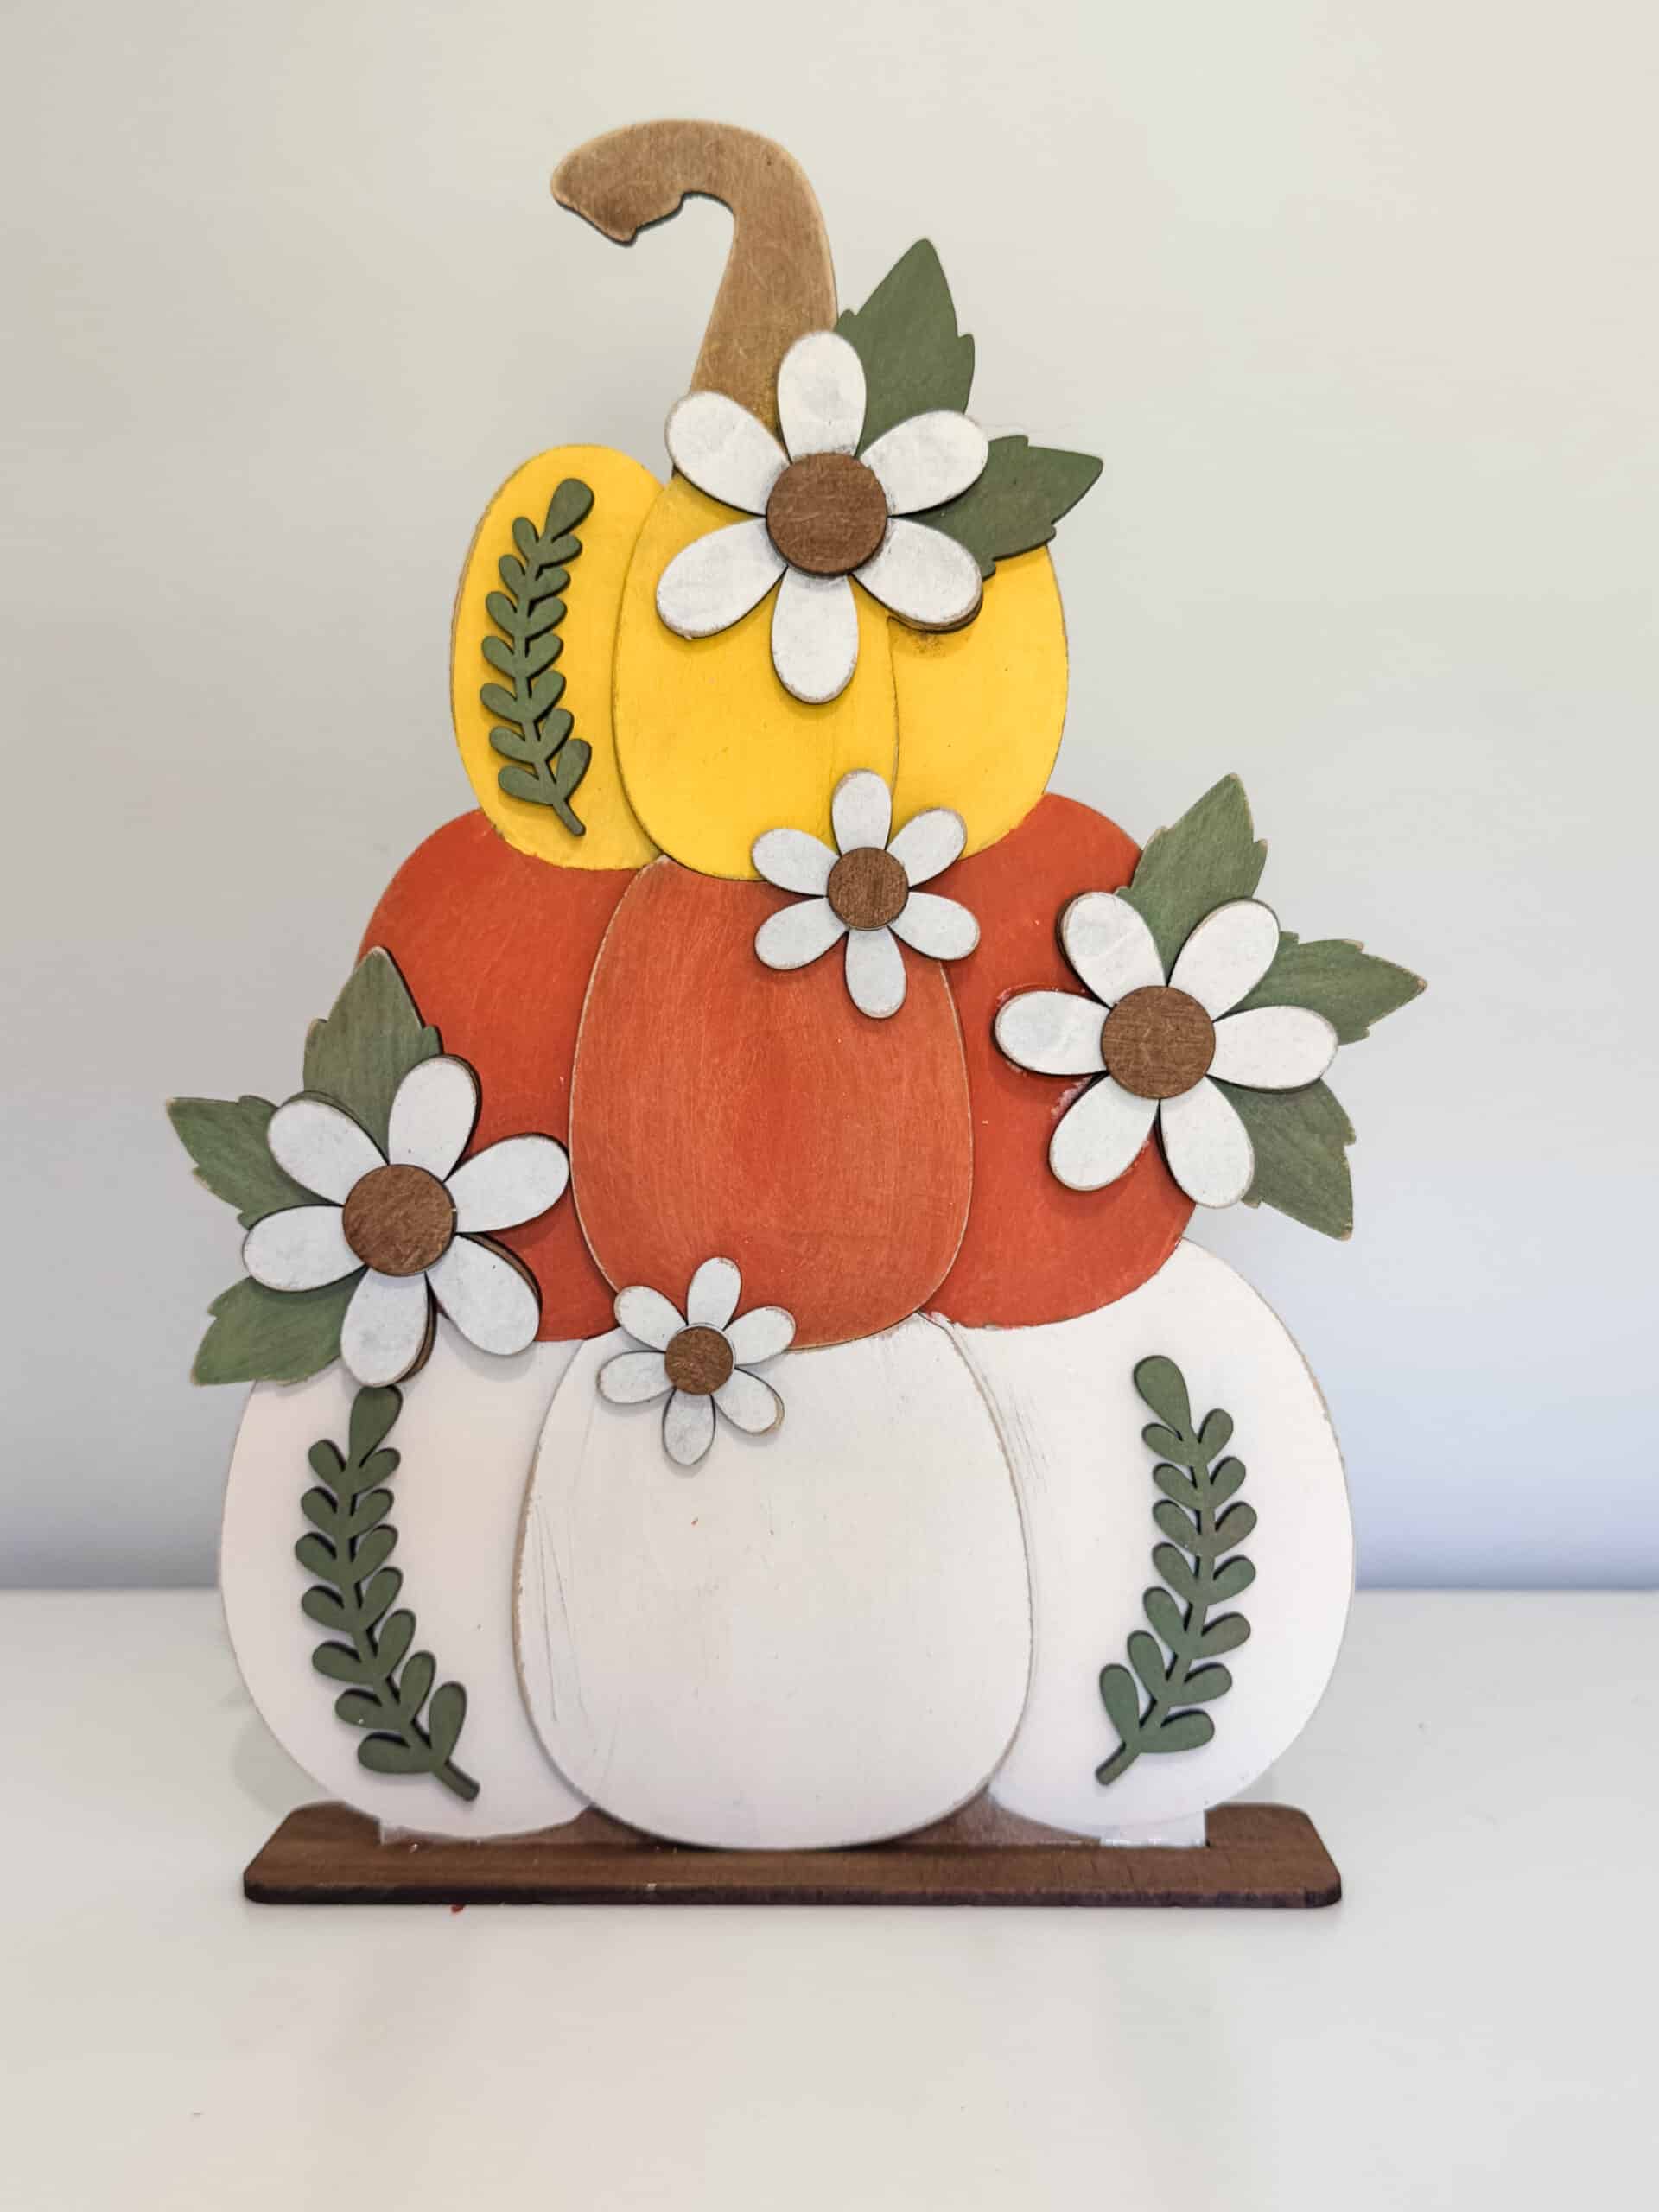
I chose a creamy bottom pumpkin, an orange middle pumpkin, and a yellow top pumpkin. The green leaves and light flowers pull everything together, and a little distressing gives the finished piece a soft, rustic look.
If you’re looking for handmade fall decorations for a shelf, mantel, or entryway table, this wooden pumpkin stack is a project you can personalize to fit your home.
Supplies for Your Stacked Pumpkin Craft Kit
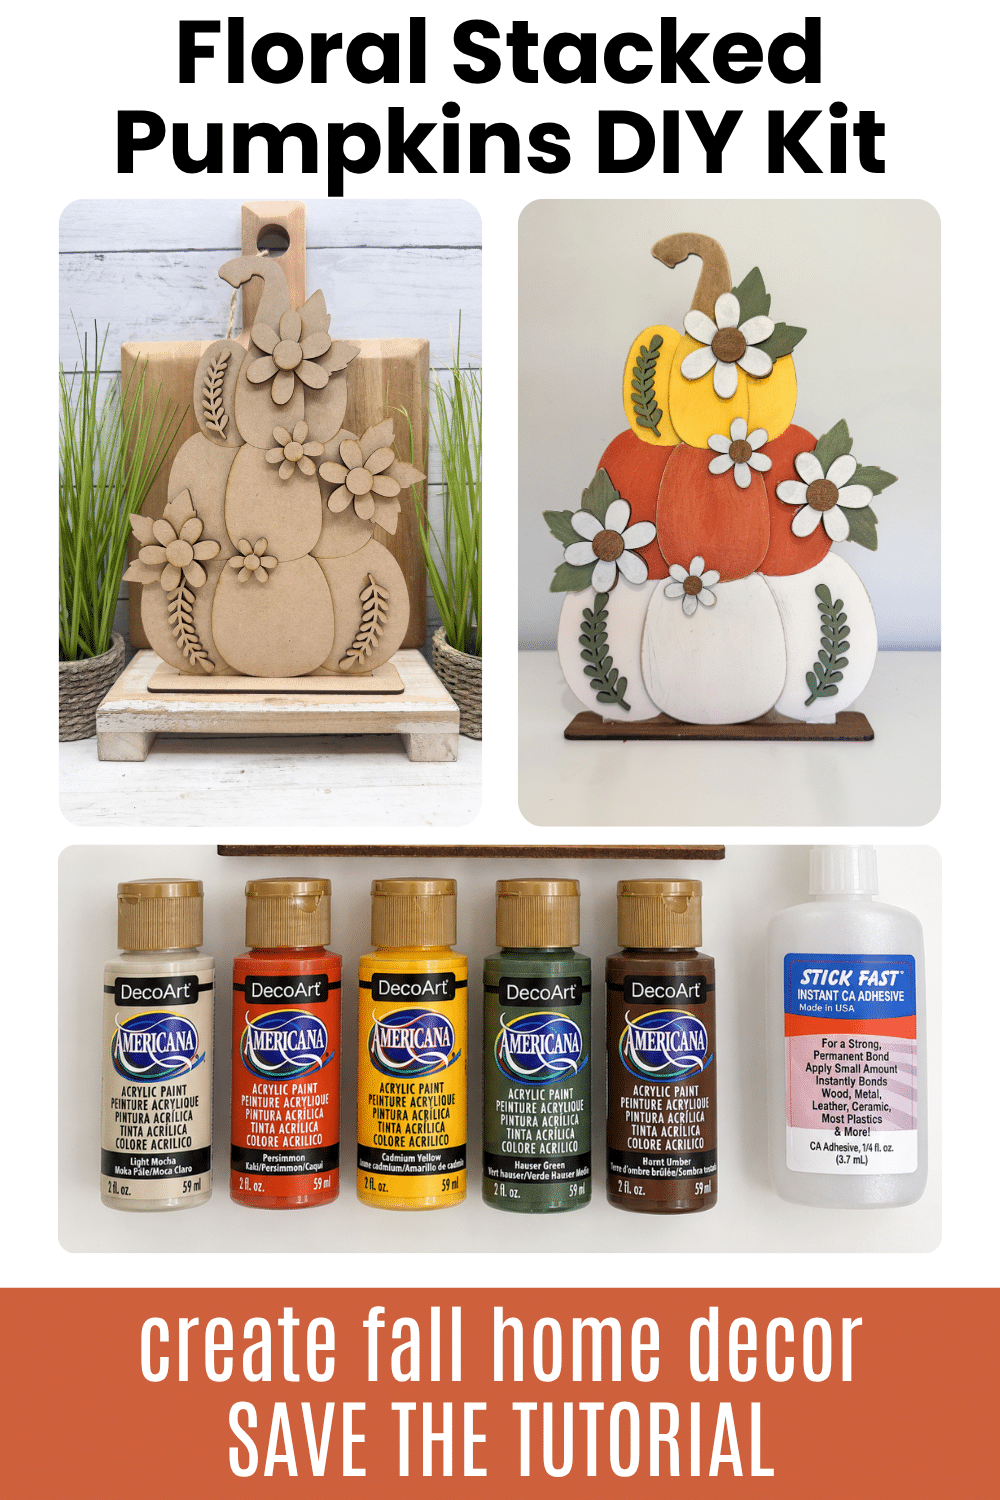
To create this painted wooden pumpkin decor, you’ll need:
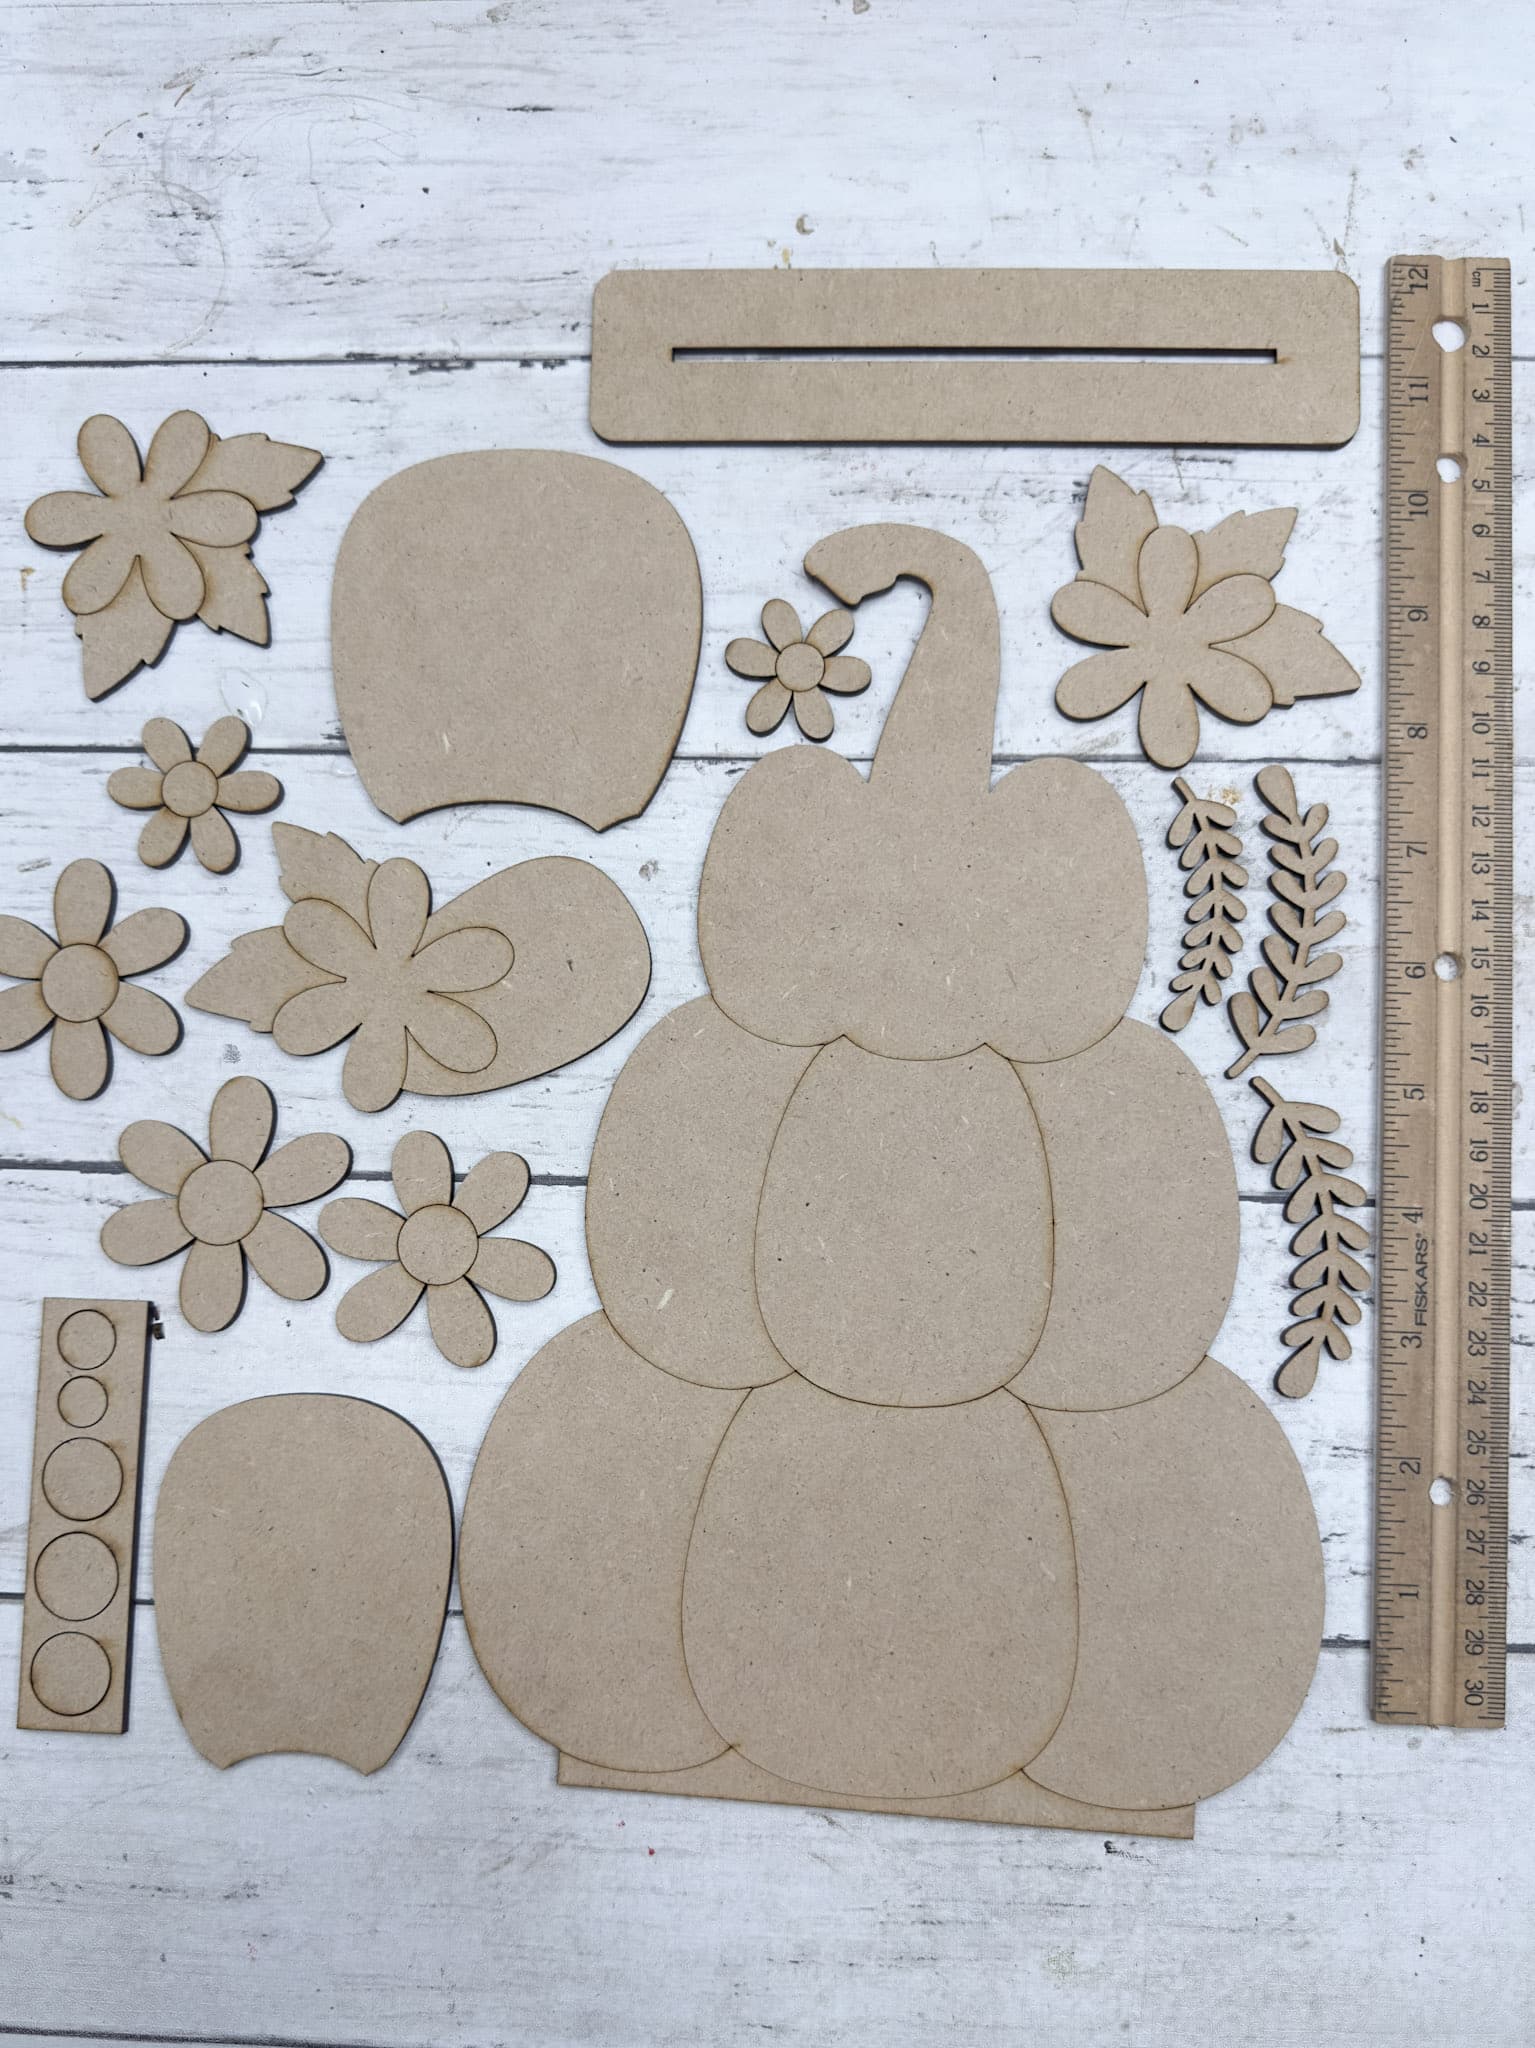
- Unfinished wooden stacked pumpkin craft kit with flowers, greenery, and a stand
- DecoArt acrylic paints in Light Mocha, Persimmon, Cadmium Yellow, Hauser Green, and Burnt Umber
- Paintbrushes and small painting sponges
- Sandpaper or a sanding sponge
- Glue suitable for wood crafts
- Paper towels and a protected work surface
Keep the individual pieces separate while painting. It’s much easier to paint the edges of the flowers and greenery before attaching them to the pumpkins.
How to Make DIY Stacked Pumpkin Decor for Fall
1. Start with a Brown Base Coat
I started with Burnt Umber as the brown base for my wooden pieces. Having that darker color underneath gives the painted layers a little contrast when you sand them.
The brown also works with the stem, flower centers, and stand, so it carries through the whole project.
Let the base coat dry before moving on to the pumpkin colors.
2. Paint the Three Wooden Pumpkins
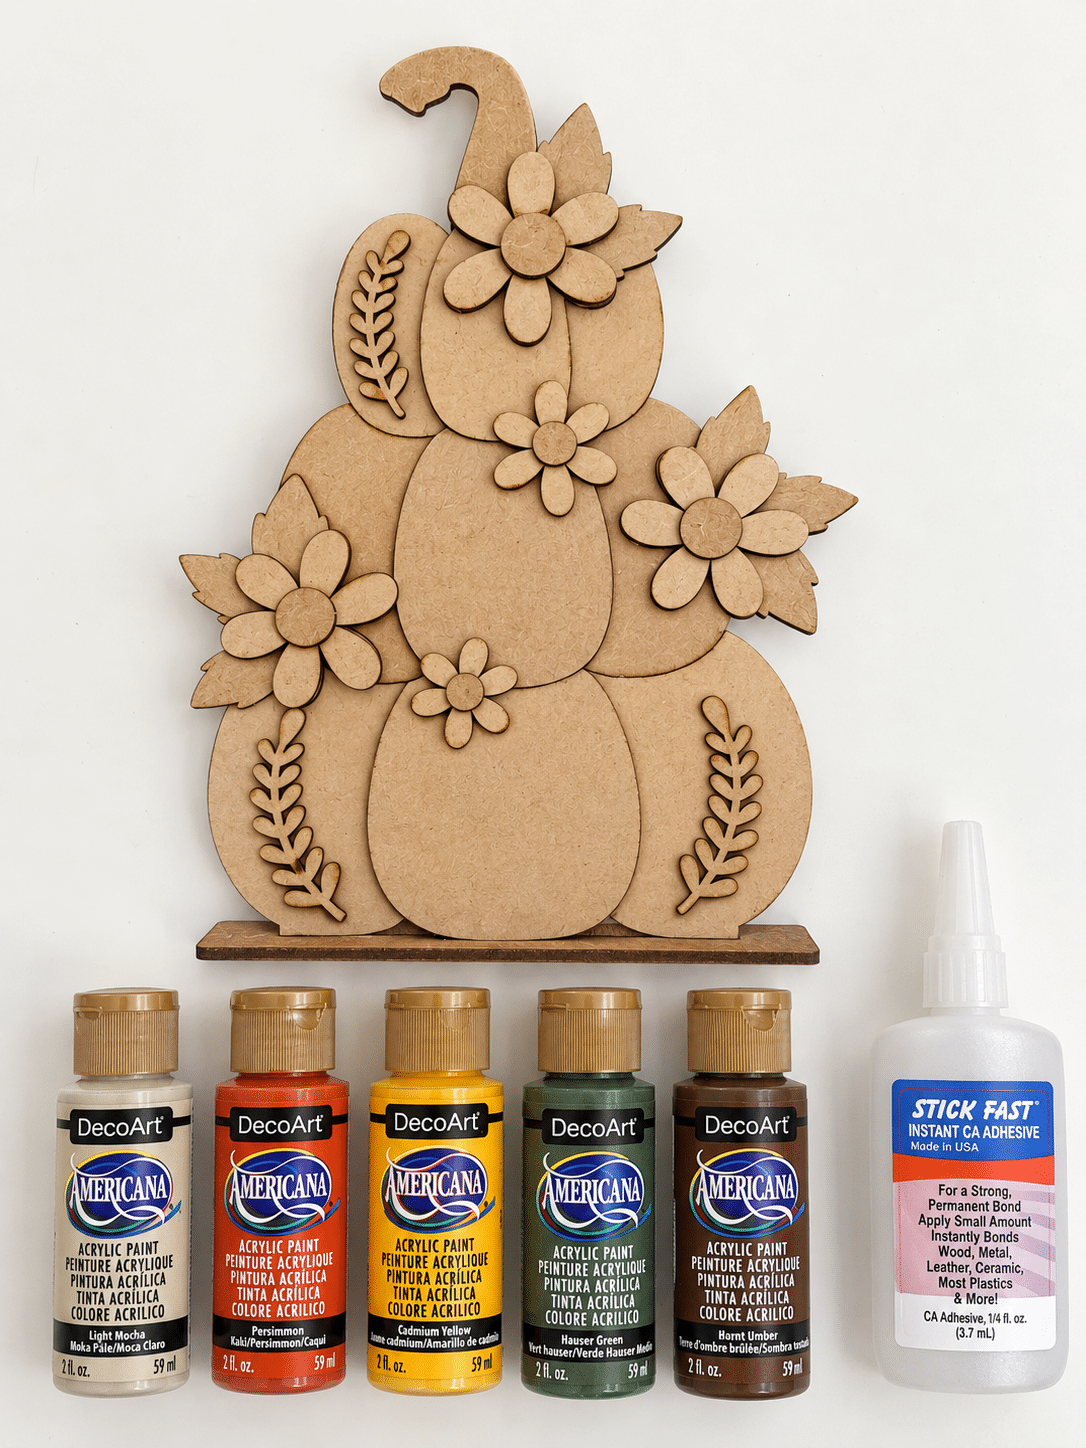
For my fall color palette, I used Light Mocha on the bottom pumpkin, Persimmon on the middle pumpkin, and Cadmium Yellow on the top pumpkin.
Light Mocha gives the bottom pumpkin a creamy finish that balances the brighter orange and yellow. I love how the three colors look stacked together!
Paint the separate center pieces to match their pumpkins. Those raised layers help define each pumpkin’s shape and add dimension to the finished decoration.
Use a small sponge for the larger areas and a brush to reach the edges. Allow everything to dry before distressing.
3. Paint the Flowers, Leaves, and Stem
I used Light Mocha for the flower petals and Burnt Umber for the round centers. For the leaves and leafy sprigs, I chose Hauser Green.
The green adds a little contrast to the warm pumpkin colors, while the light petals keep the flowers easy to see against the orange and yellow.
I kept the curved stem and the stand brown to tie them in with the flower centers.
4. Distress the Paint for a Rustic Look
Once the painted pieces are dry, lightly sand the edges and a few areas across the surface. This lets some of the brown underneath show through.
Start gently and check your progress as you go. You can always sand a little more, but you don’t need to remove much paint to soften the finish.
I like the worn edges on this project because they give the wooden pumpkin decor a handmade, rustic feel. If you prefer a smoother look for your fall home decor, you can skip the distressing.
Wipe away the sanding dust before gluing.
5. Attach the Pumpkin Layers and Floral Details
Lay out your pieces before adding glue so you can check the placement.
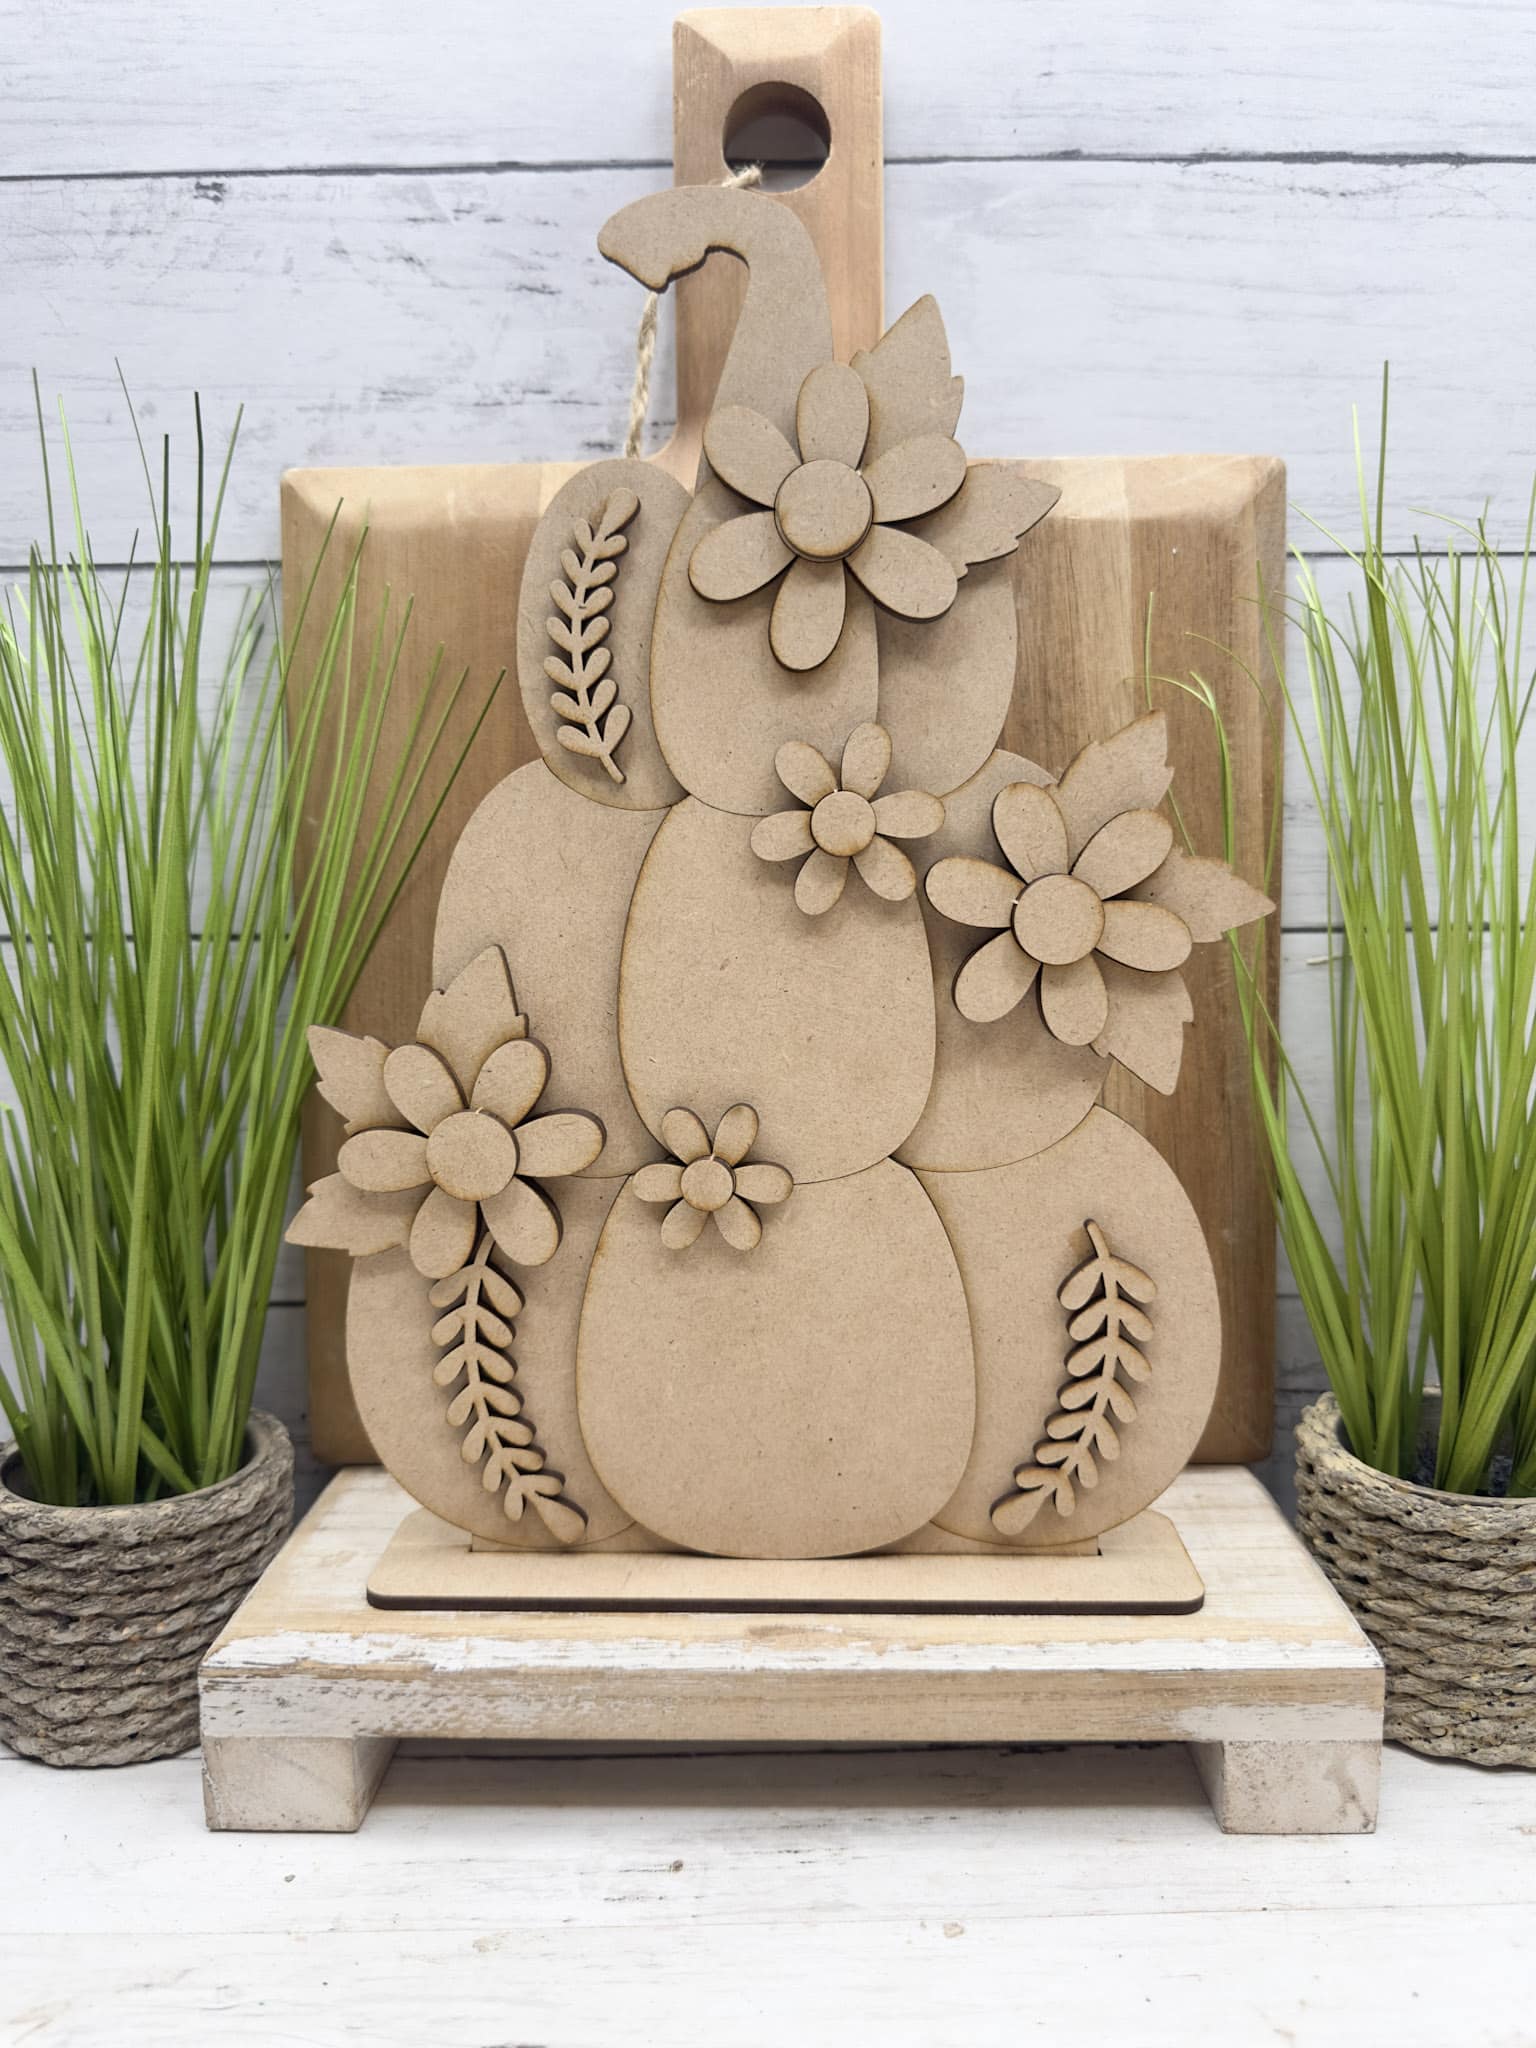
Start by attaching the matching center layer to each pumpkin. Then arrange the flowers and greenery around the stack.
On mine, the larger flowers sit near the top stem and along the sides of the middle pumpkin. The smaller flowers fill the spaces between the pumpkins. Leafy sprigs decorate the yellow pumpkin and both sides of the bottom pumpkin.
Where leaves sit behind a flower, attach the leaves first. Add the petals and flower center over them to build up those pretty layers.
6. Add the Stand
Fit the finished pumpkin stack into its stand according to your kit’s assembly instructions. Allow the glue to dry before moving it into place.
The brown stand finishes off the project and makes it easy to display your painted pumpkins on a flat surface.
Ways to Style Your Handmade Fall Decor
This pumpkin stack has enough detail to stand on its own, but it would also look sweet alongside a few simple seasonal pieces.
Try displaying it:
- On an entryway table beside a basket or vase of fall stems
- On a mantel with smaller pumpkins
- On a kitchen shelf with neutral dishes and seasonal accents
- On a side table as part of a small fall arrangement
I would keep the surrounding decorations simple so the layered flowers and pumpkin colors can stand out.
Make This Wooden Pumpkin Craft Your Own
One of my favorite things about an unfinished craft kit is getting to choose the colors.
You could paint all three pumpkins in shades of cream for neutral fall decor, use traditional orange tones, or add muted greens to coordinate with your home. The flowers can change colors, too.
For my version, the combination of Light Mocha, Persimmon, and Cadmium Yellow gives the pumpkin stack a warm, cheerful look. The Hauser Green leaves and brown accents help bring the whole piece together.
You don’t need lots of extra embellishments for this project. The wooden layers already give you plenty of detail to work with.
Ready to Make Your Own Pumpkin Stack?
This DIY stacked pumpkin decor for fall combines some of my favorite things: painting, a little distressing, and turning unfinished wood into something I can display in my home.
Choose a palette you love, take your time with the little details, and enjoy making a piece of fall decor that feels like you.
Find your next project in our fall DIY craft kit collection.
Watch the Stacked Pumpkin Decor Tutorial
Watch the full tutorial below to see how I painted and assembled this stacked pumpkin craft kit, from the first coat of paint to the finishing details. Follow along and make your own DIY stacked pumpkin decor for fall!
I cannot wait to see how you paint yours!
XOXO,
Amber

Join my free “Crafting and Sharing” Facebook group!