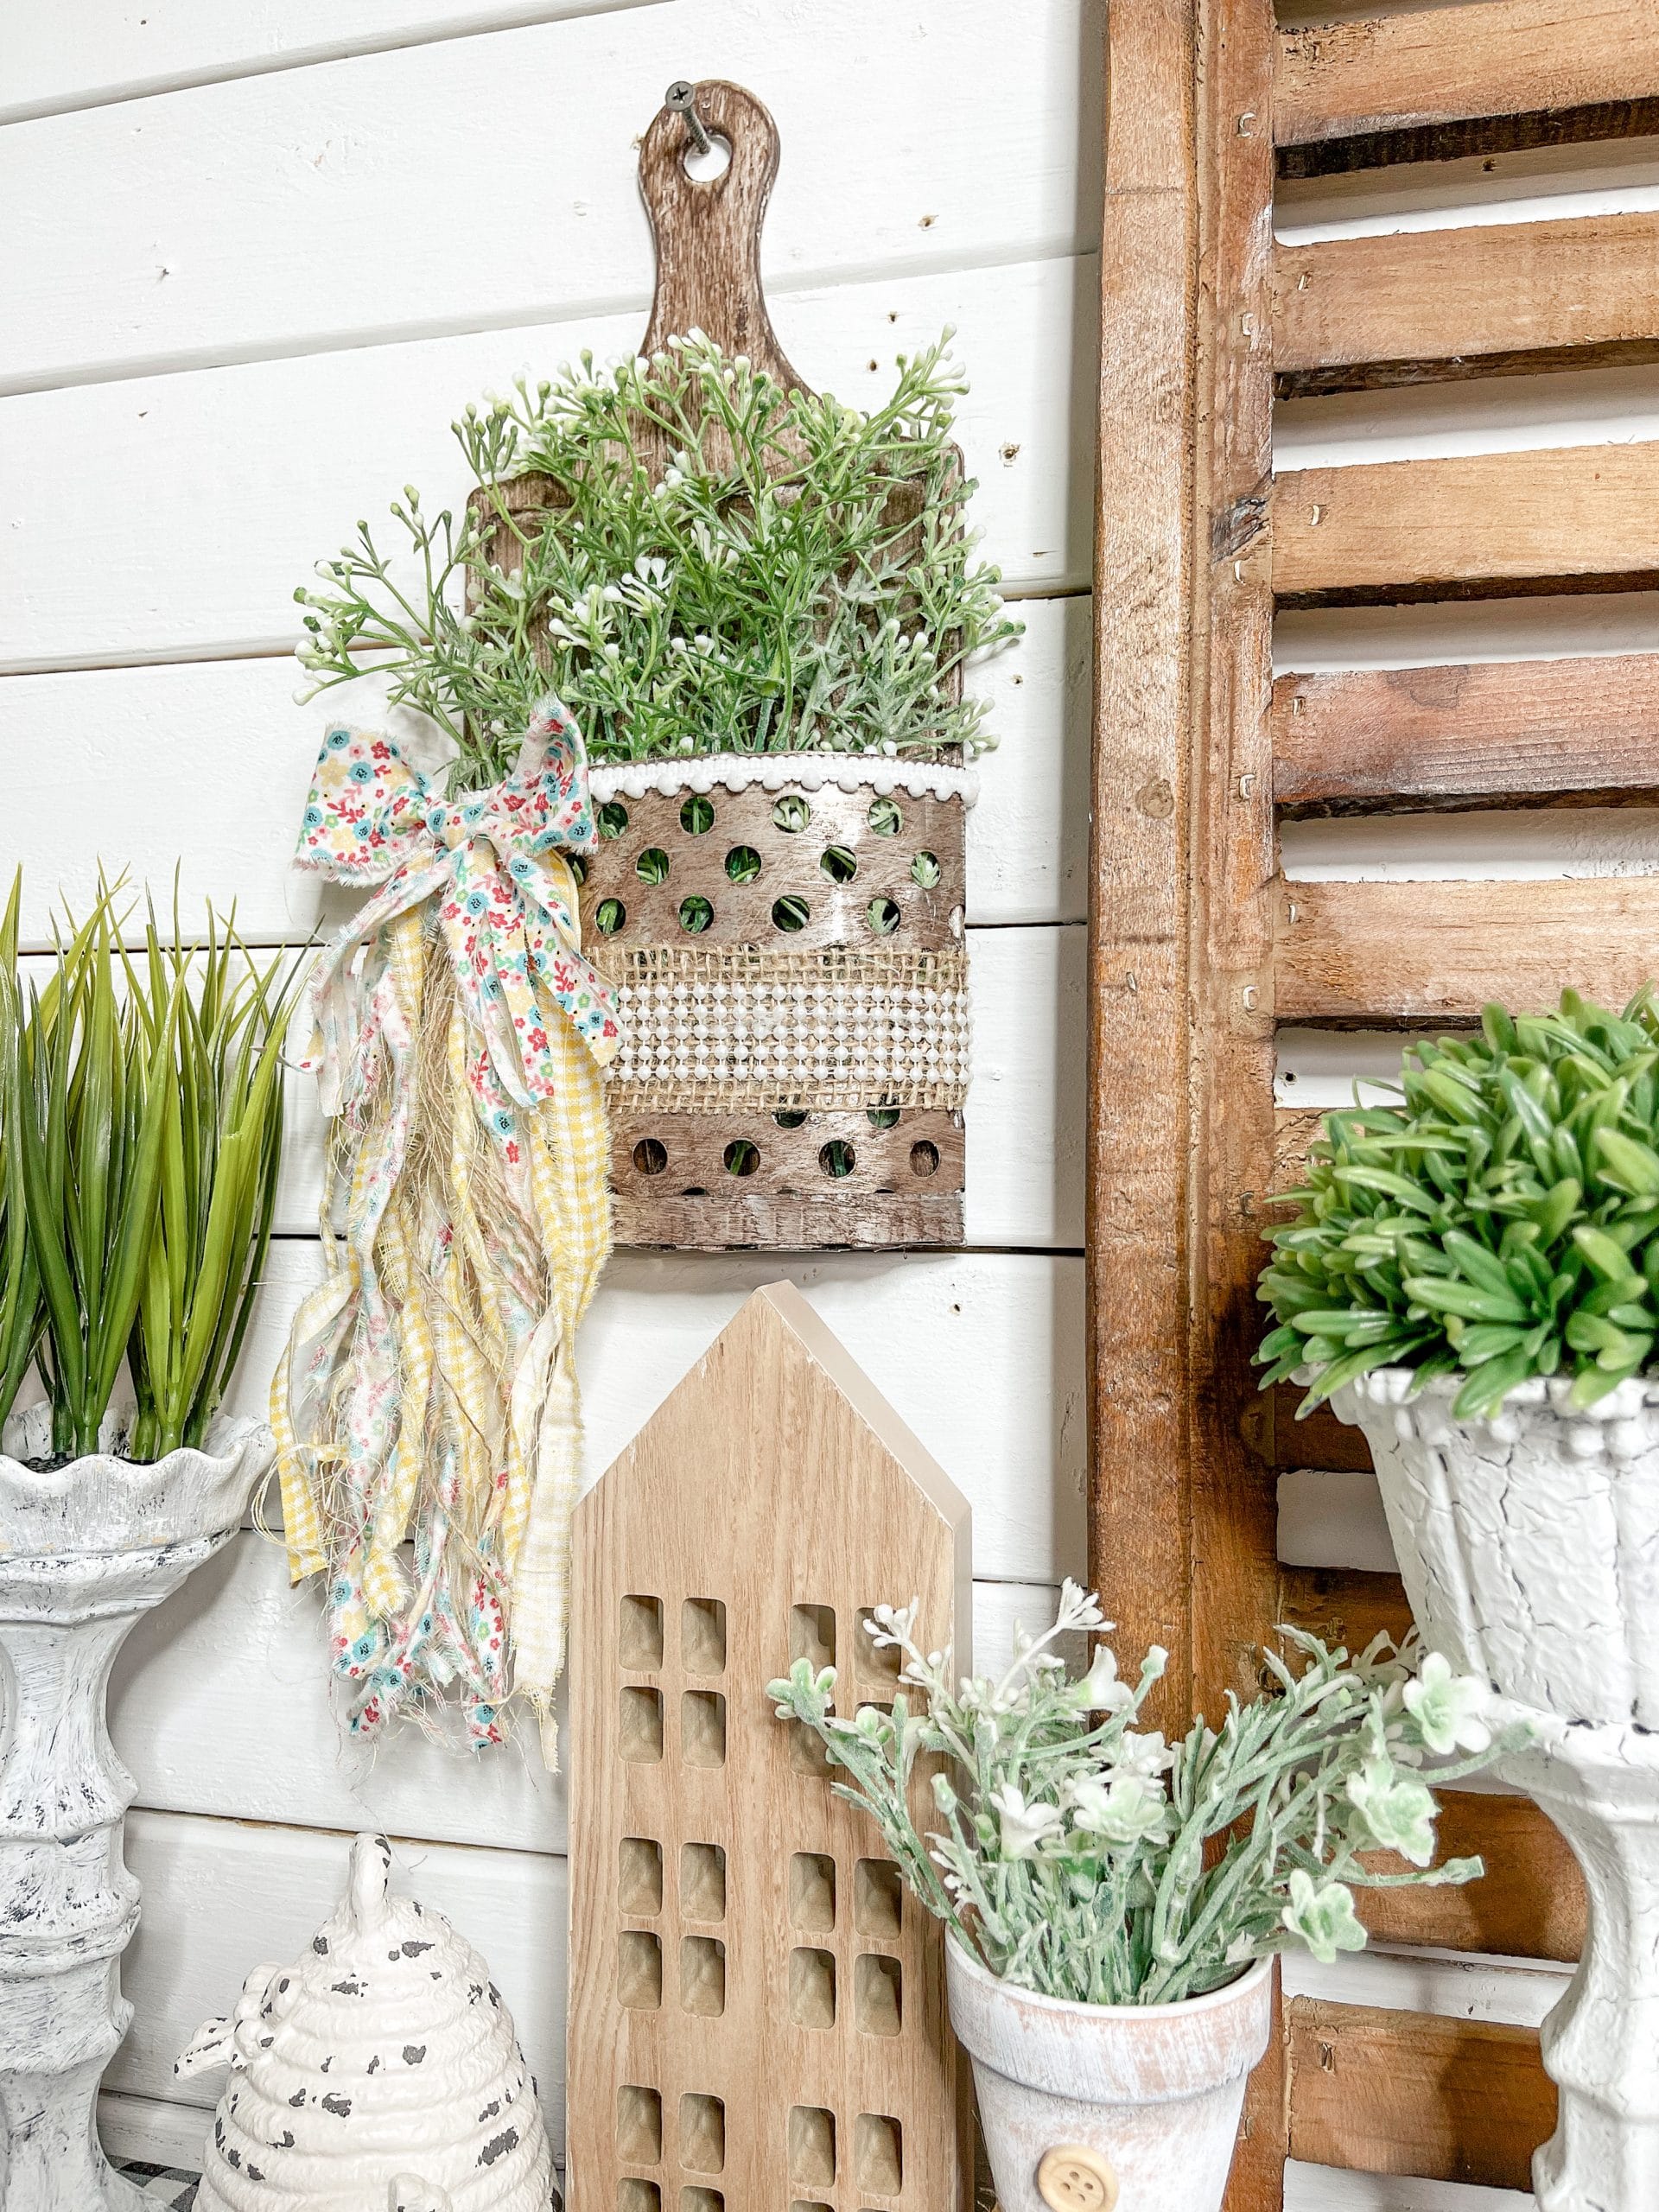
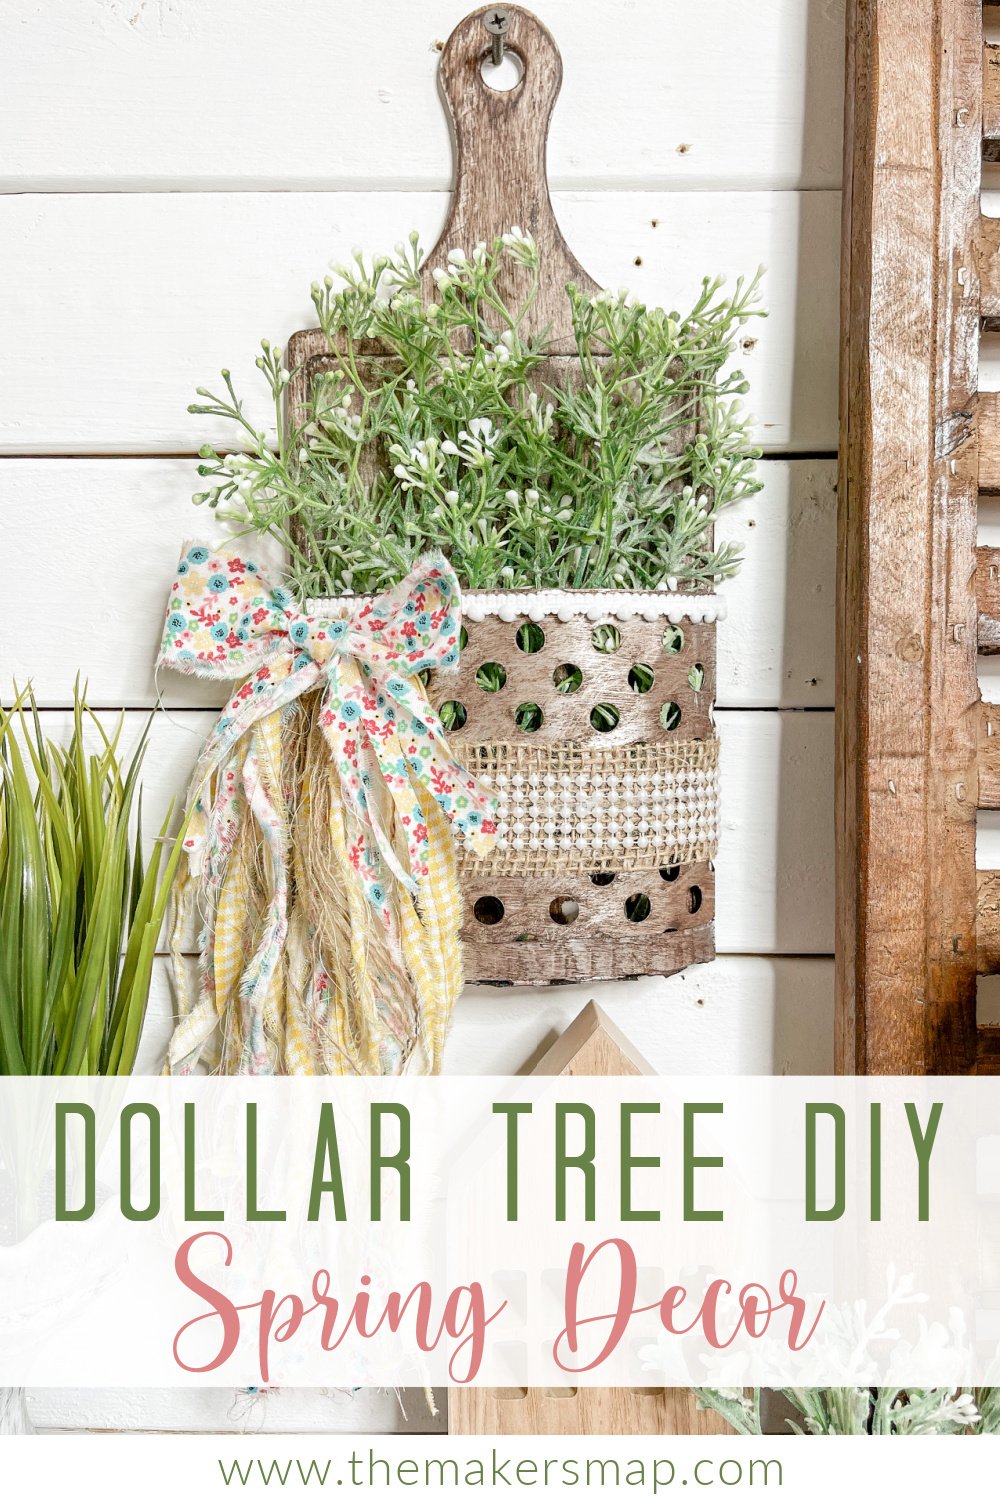
Dollar Tree DIY Faux Metal Bucket Spring Decor
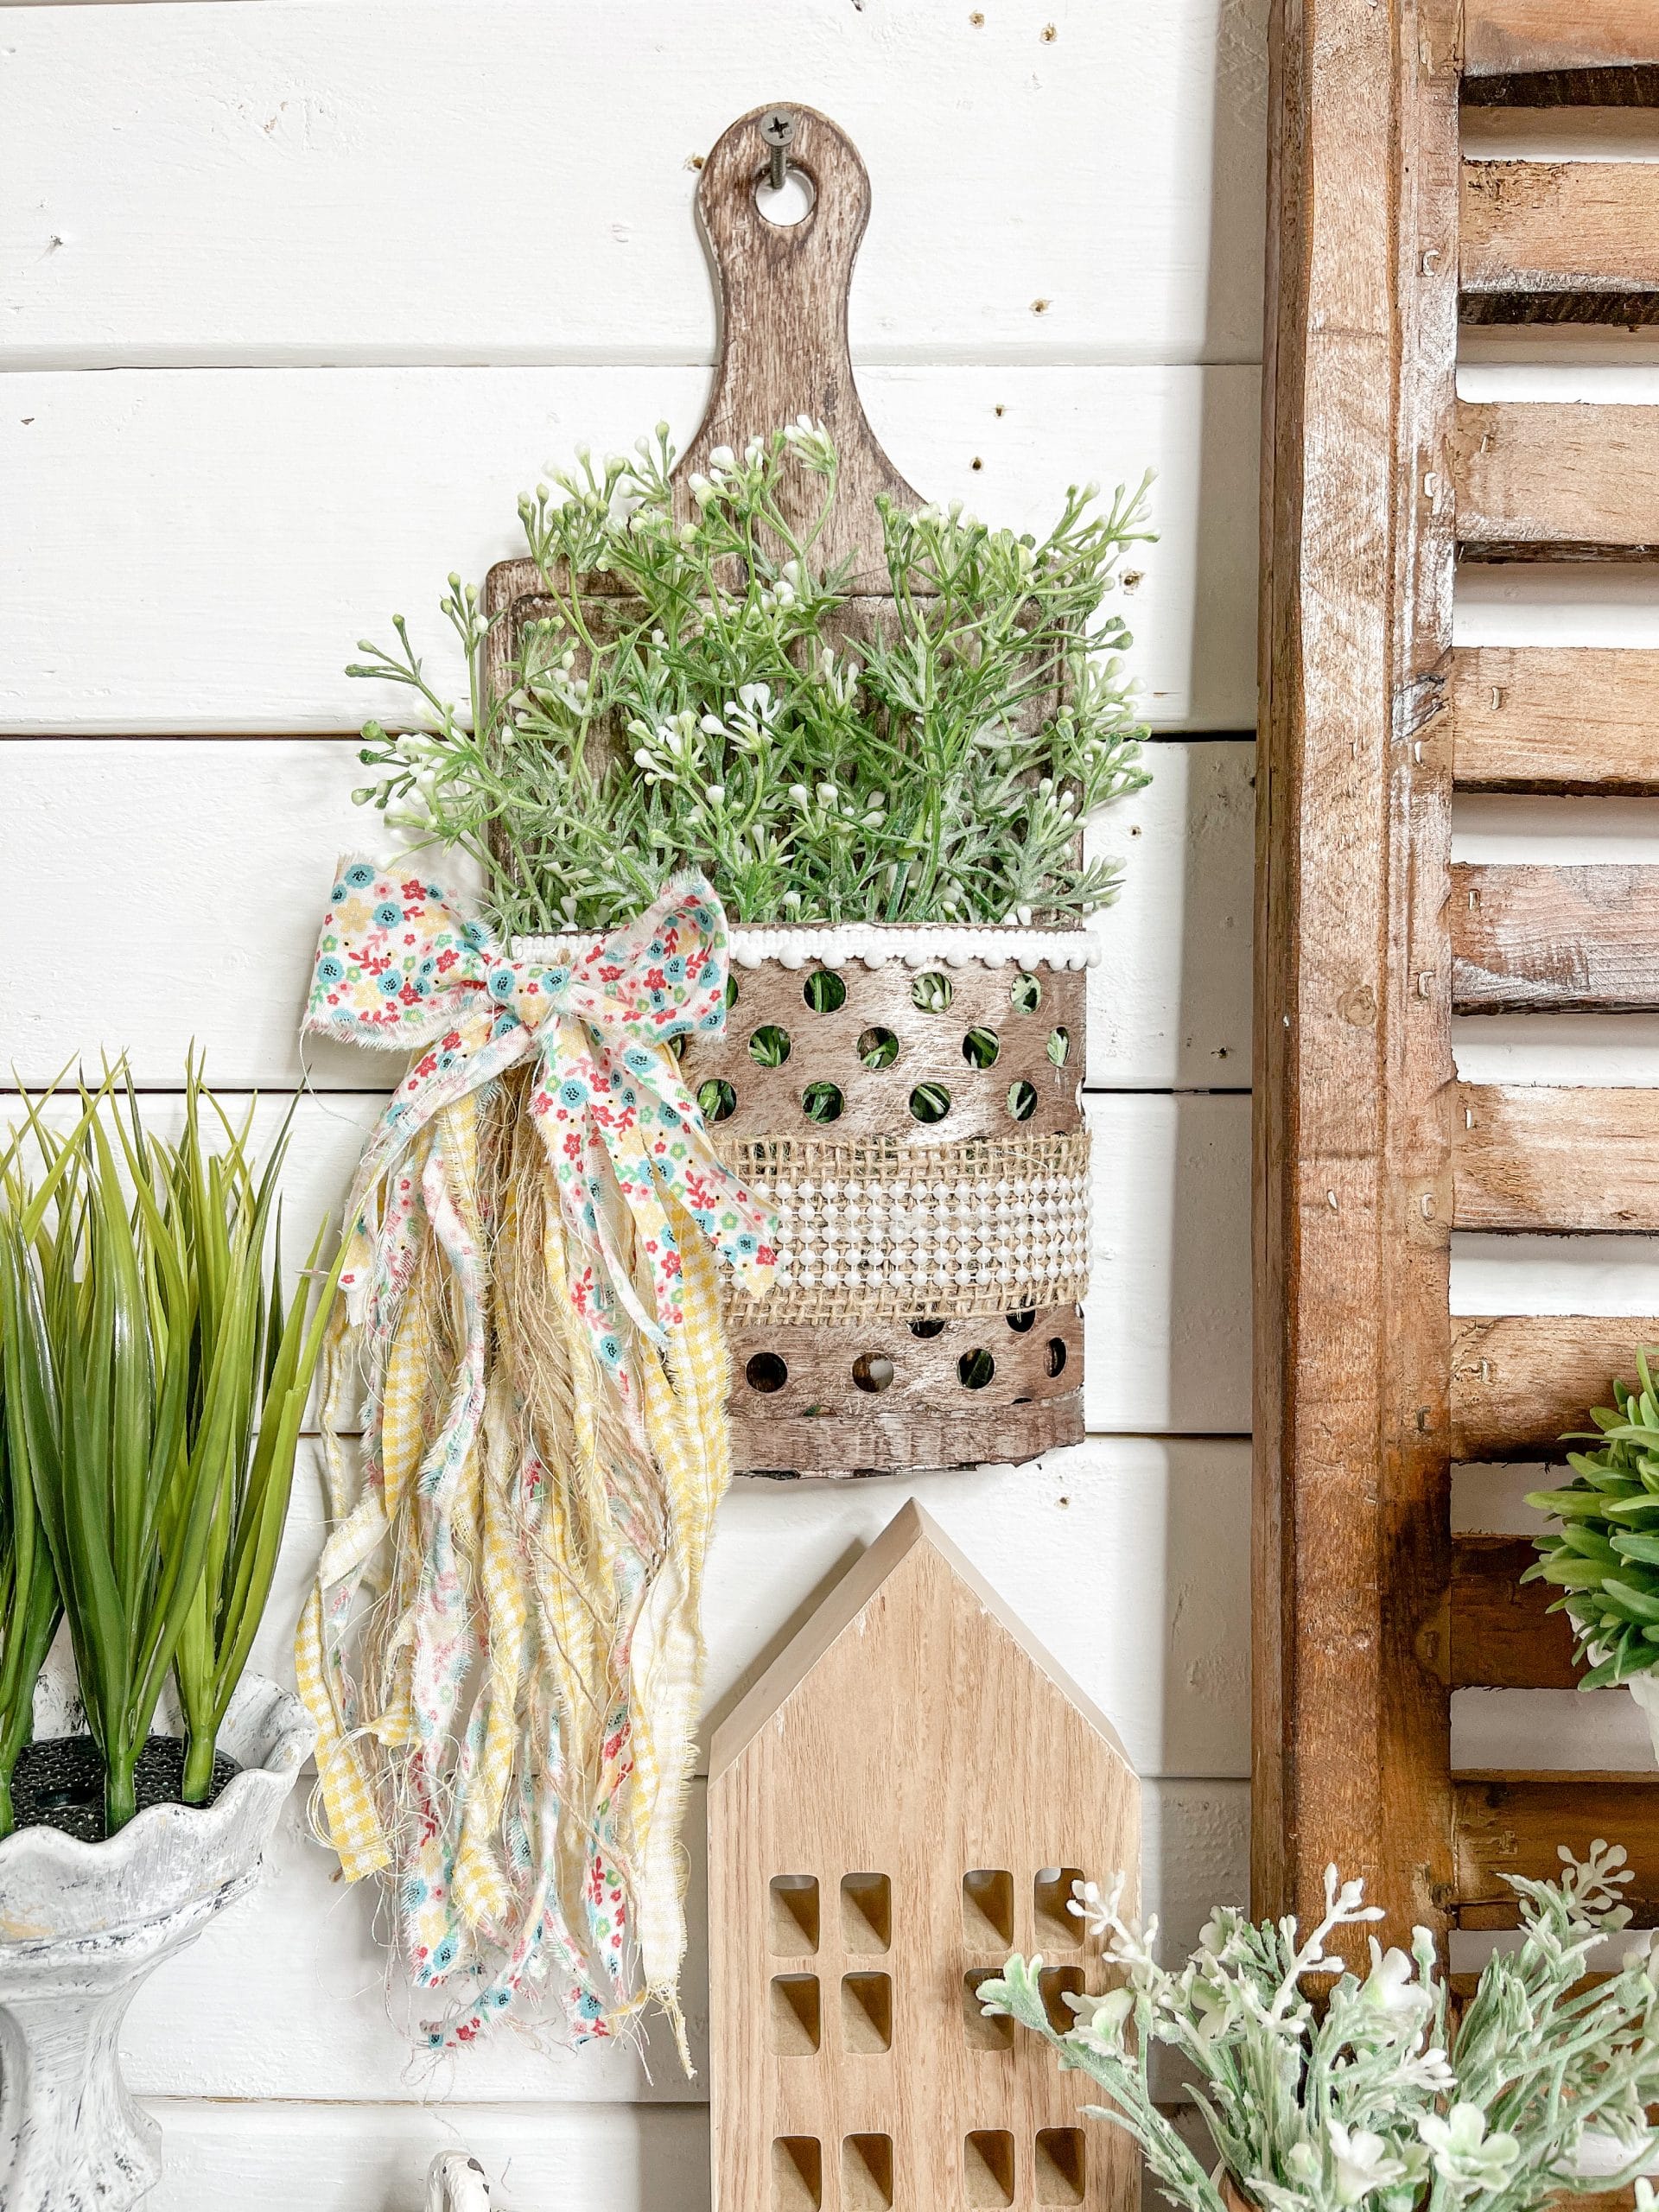
I absolutely love how adorable this Dollar Tree DIY Faux Metal Bucket Spring Decor turned out! I’ve used a Dollar Tree cutting board and a Dollar Tree grill topper for my DIY decor projects before, but I think using them together for this project was such a good idea.
I call this spring decor, but if you switch out the bow for something more natural, or even remove it altogether, this would be amazing decor for any time of the year!
If you like this one you might also love this one too!
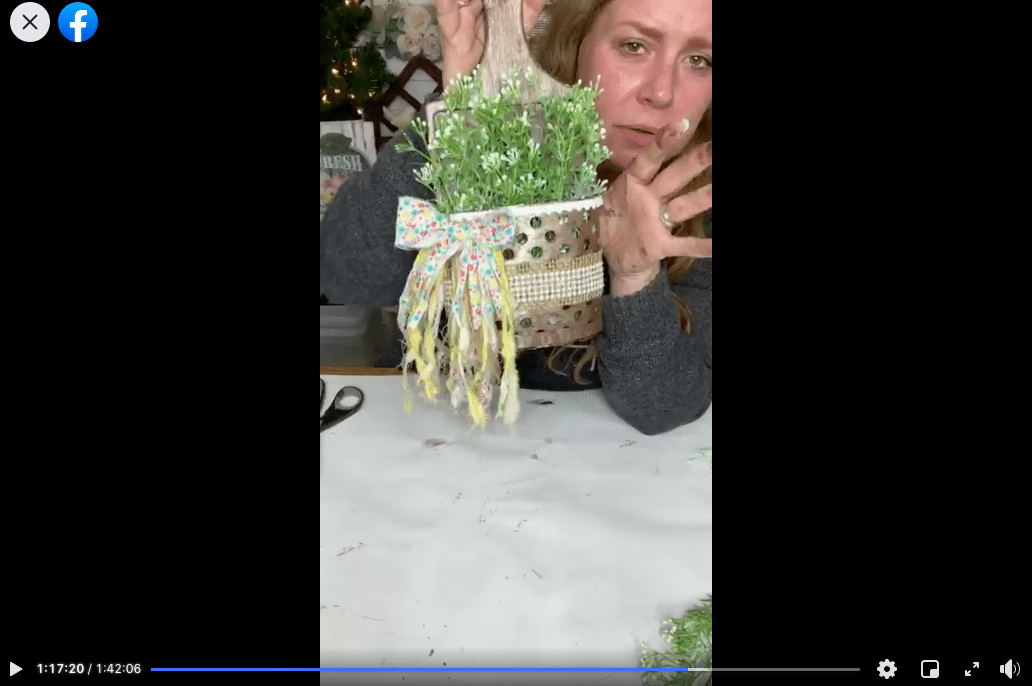
Watch the replay
I recorded the how-to steps during a live video on my Facebook page, as I do for almost all of my DIY decor projects, and you can watch the replay if you want to see the process, craft along, or just join in on the fun conversations!
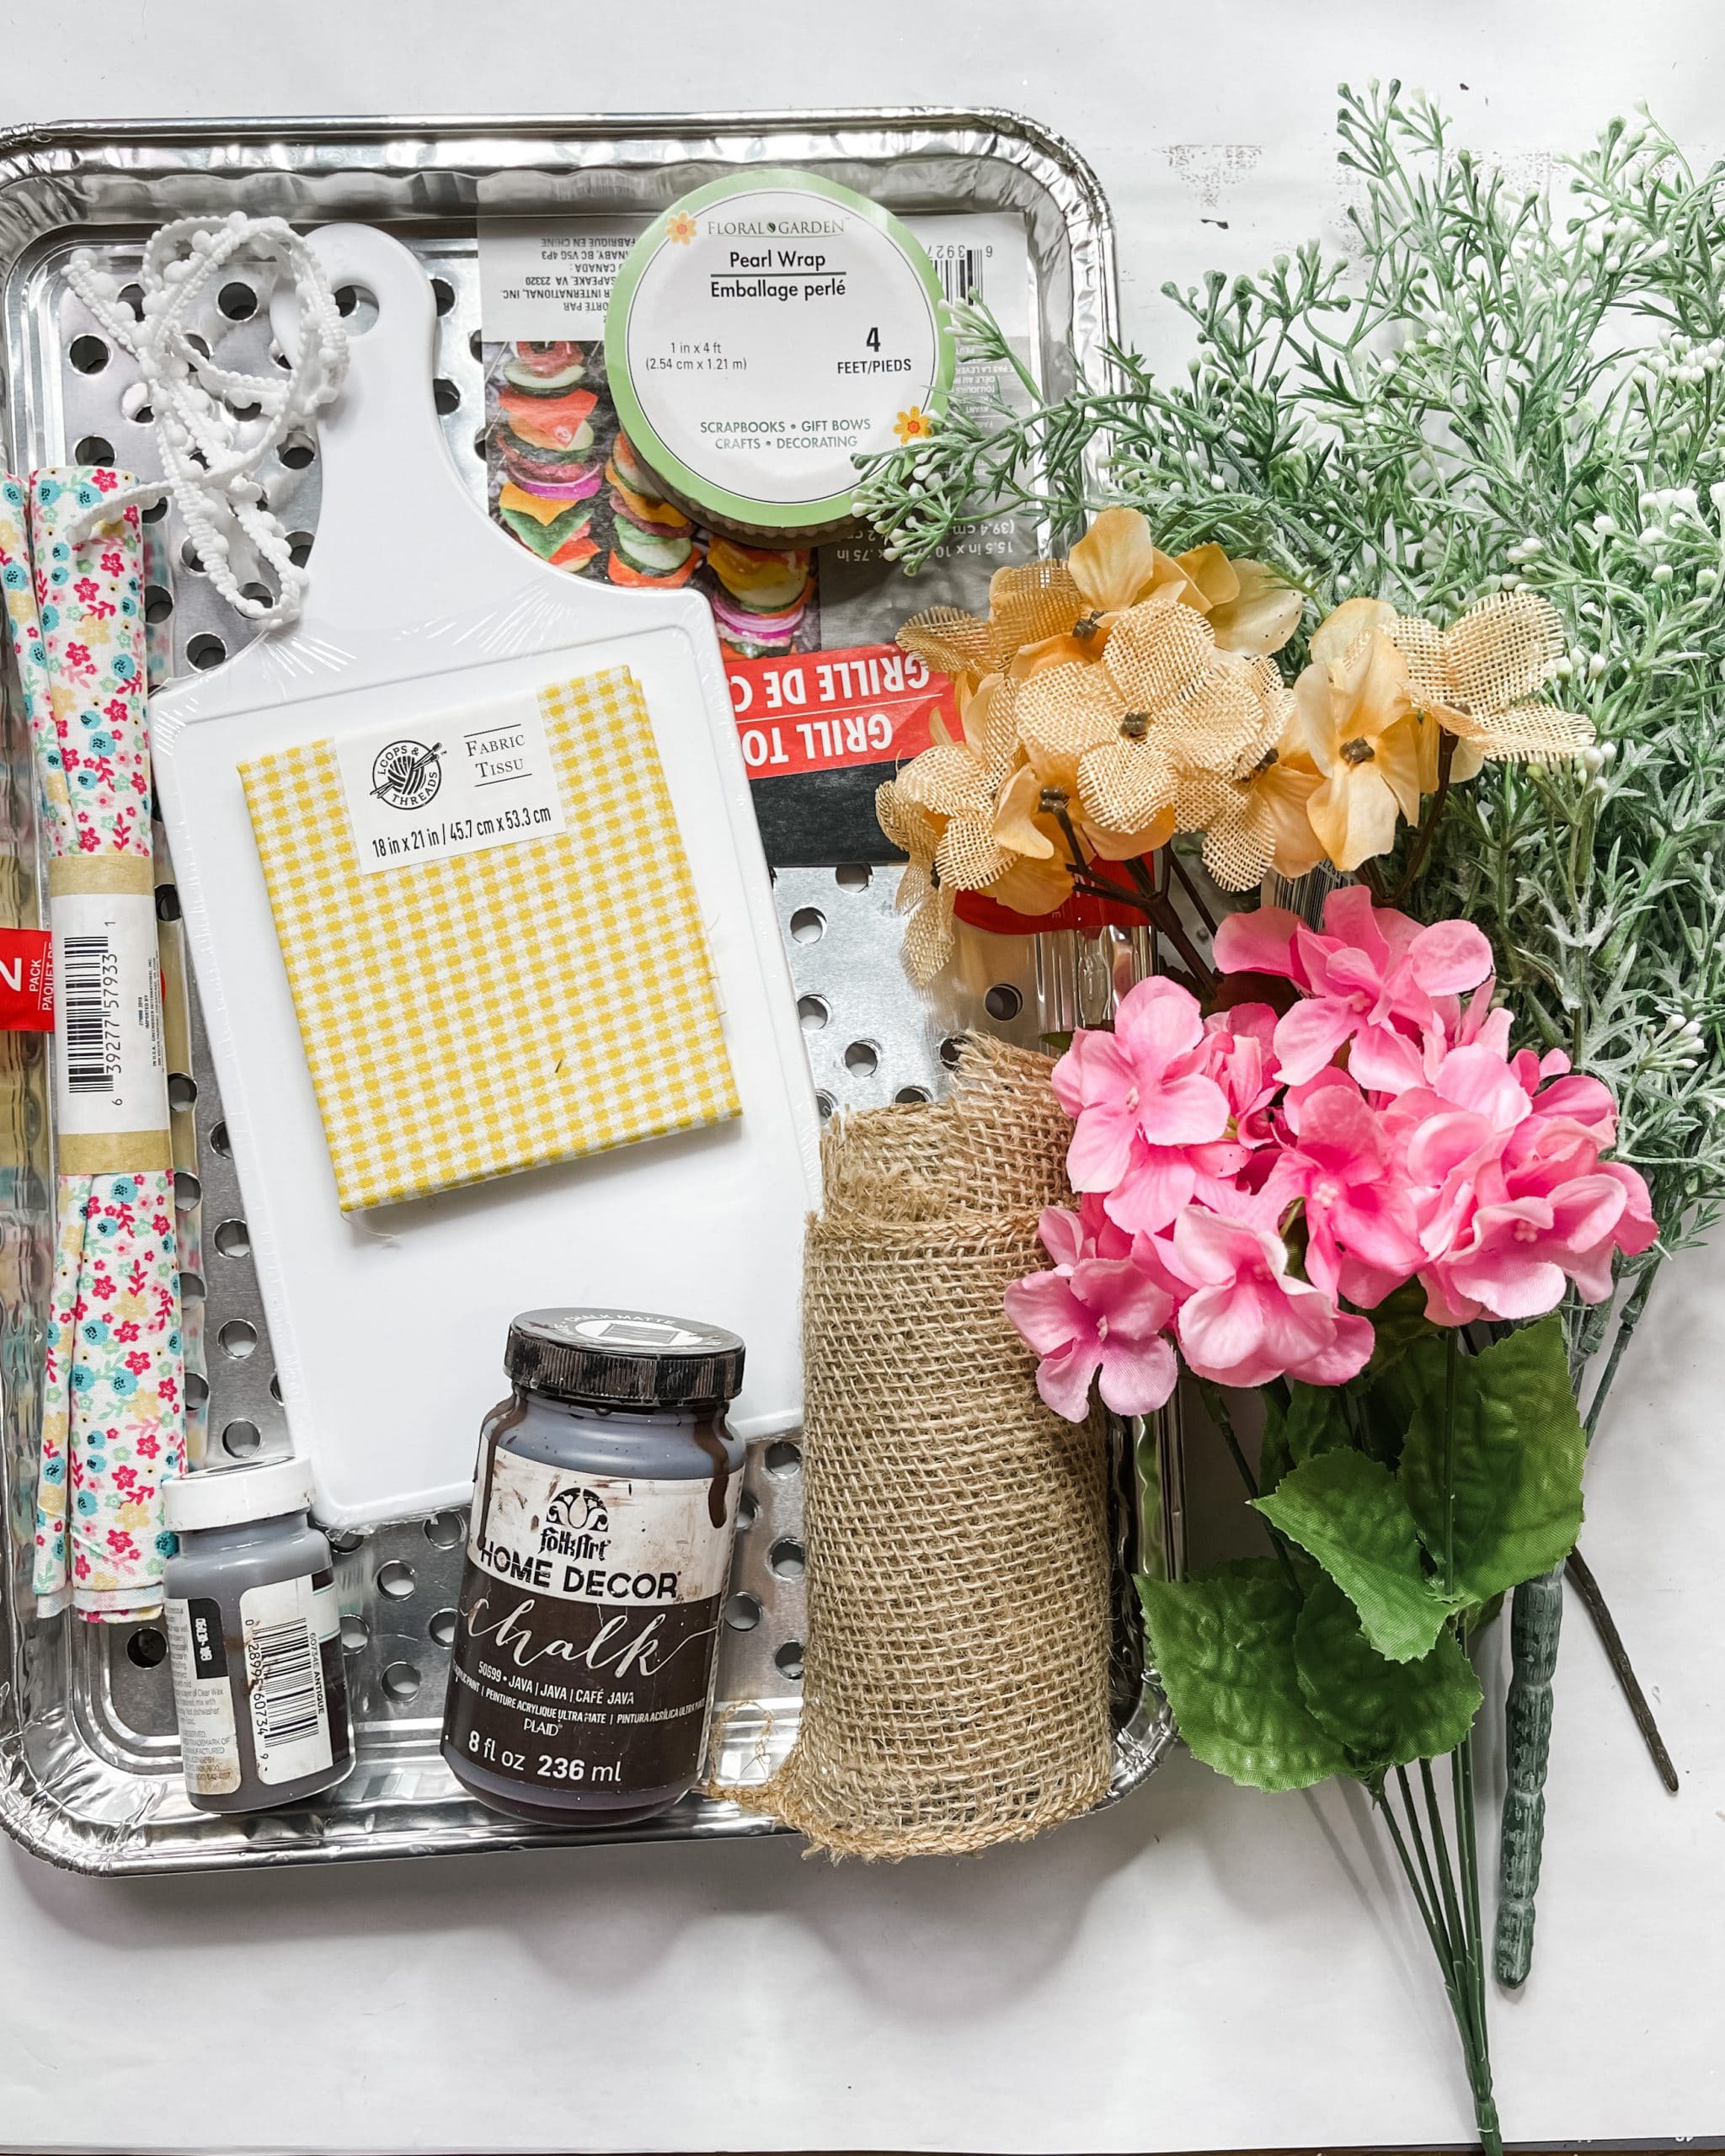
For this project, I will be using these items but you can substitute where you want.
“As an Amazon Associate, I earn from qualifying purchases.”
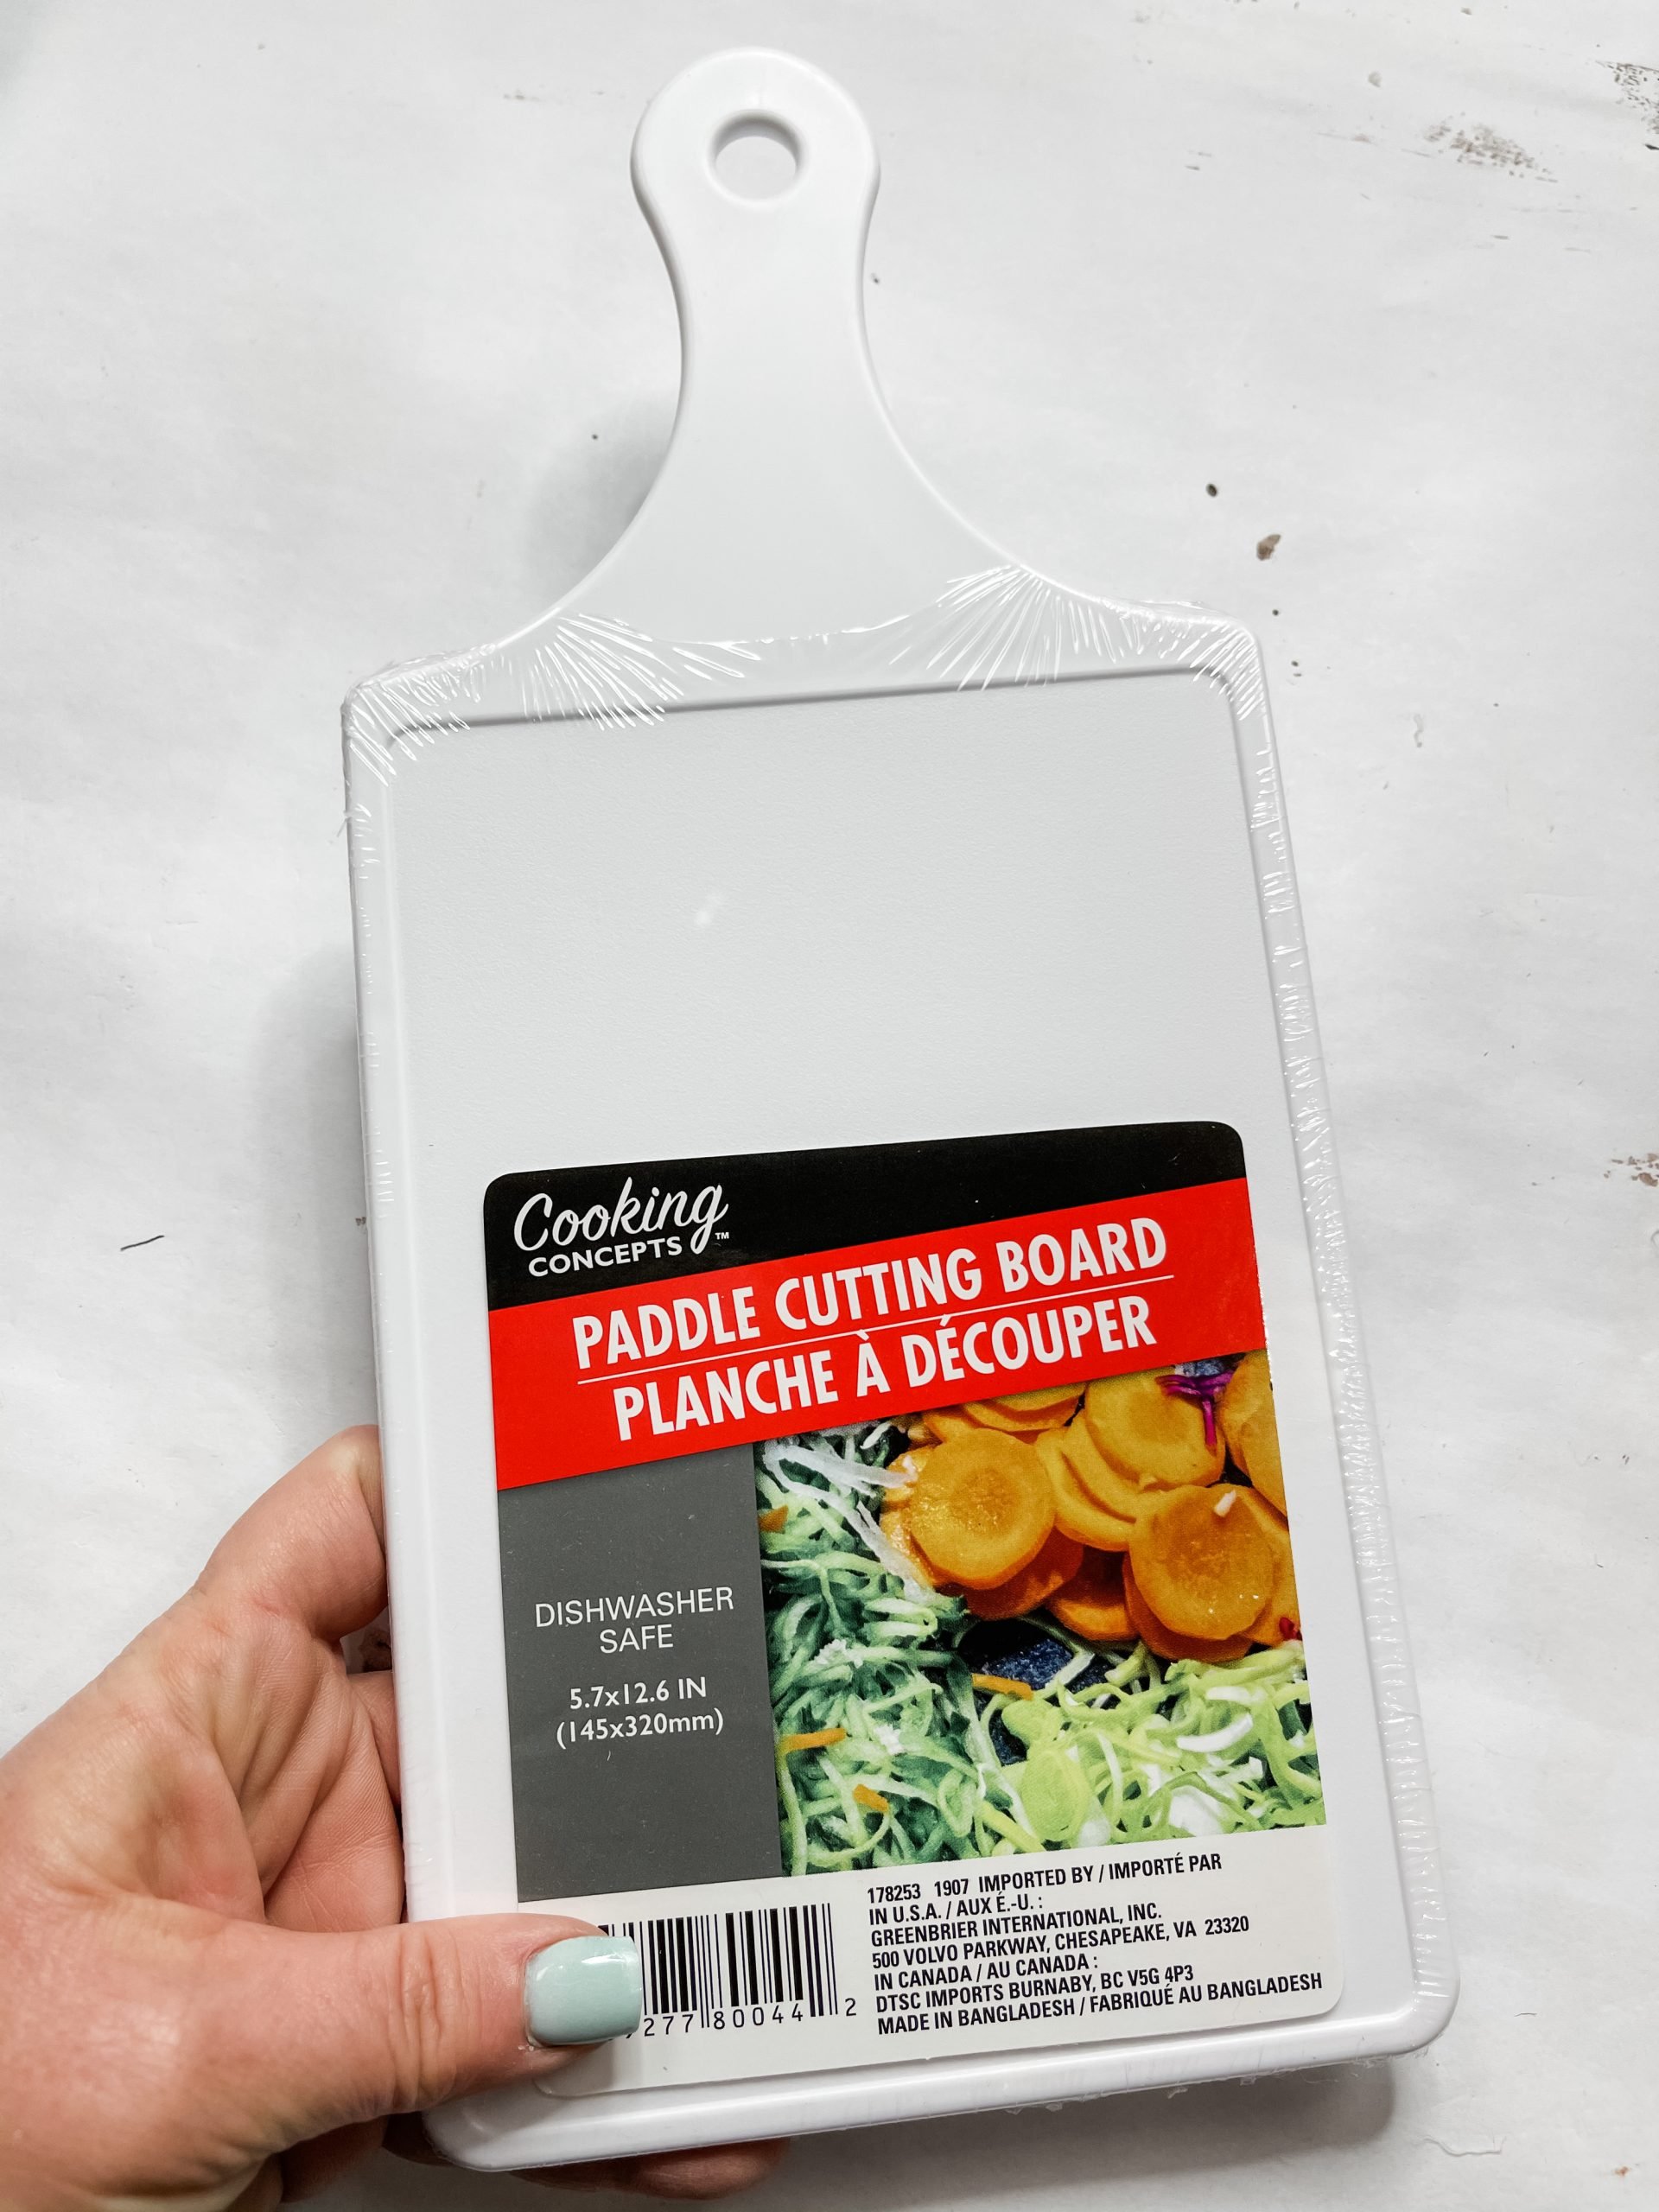
- Dollar Tree Cutting Board
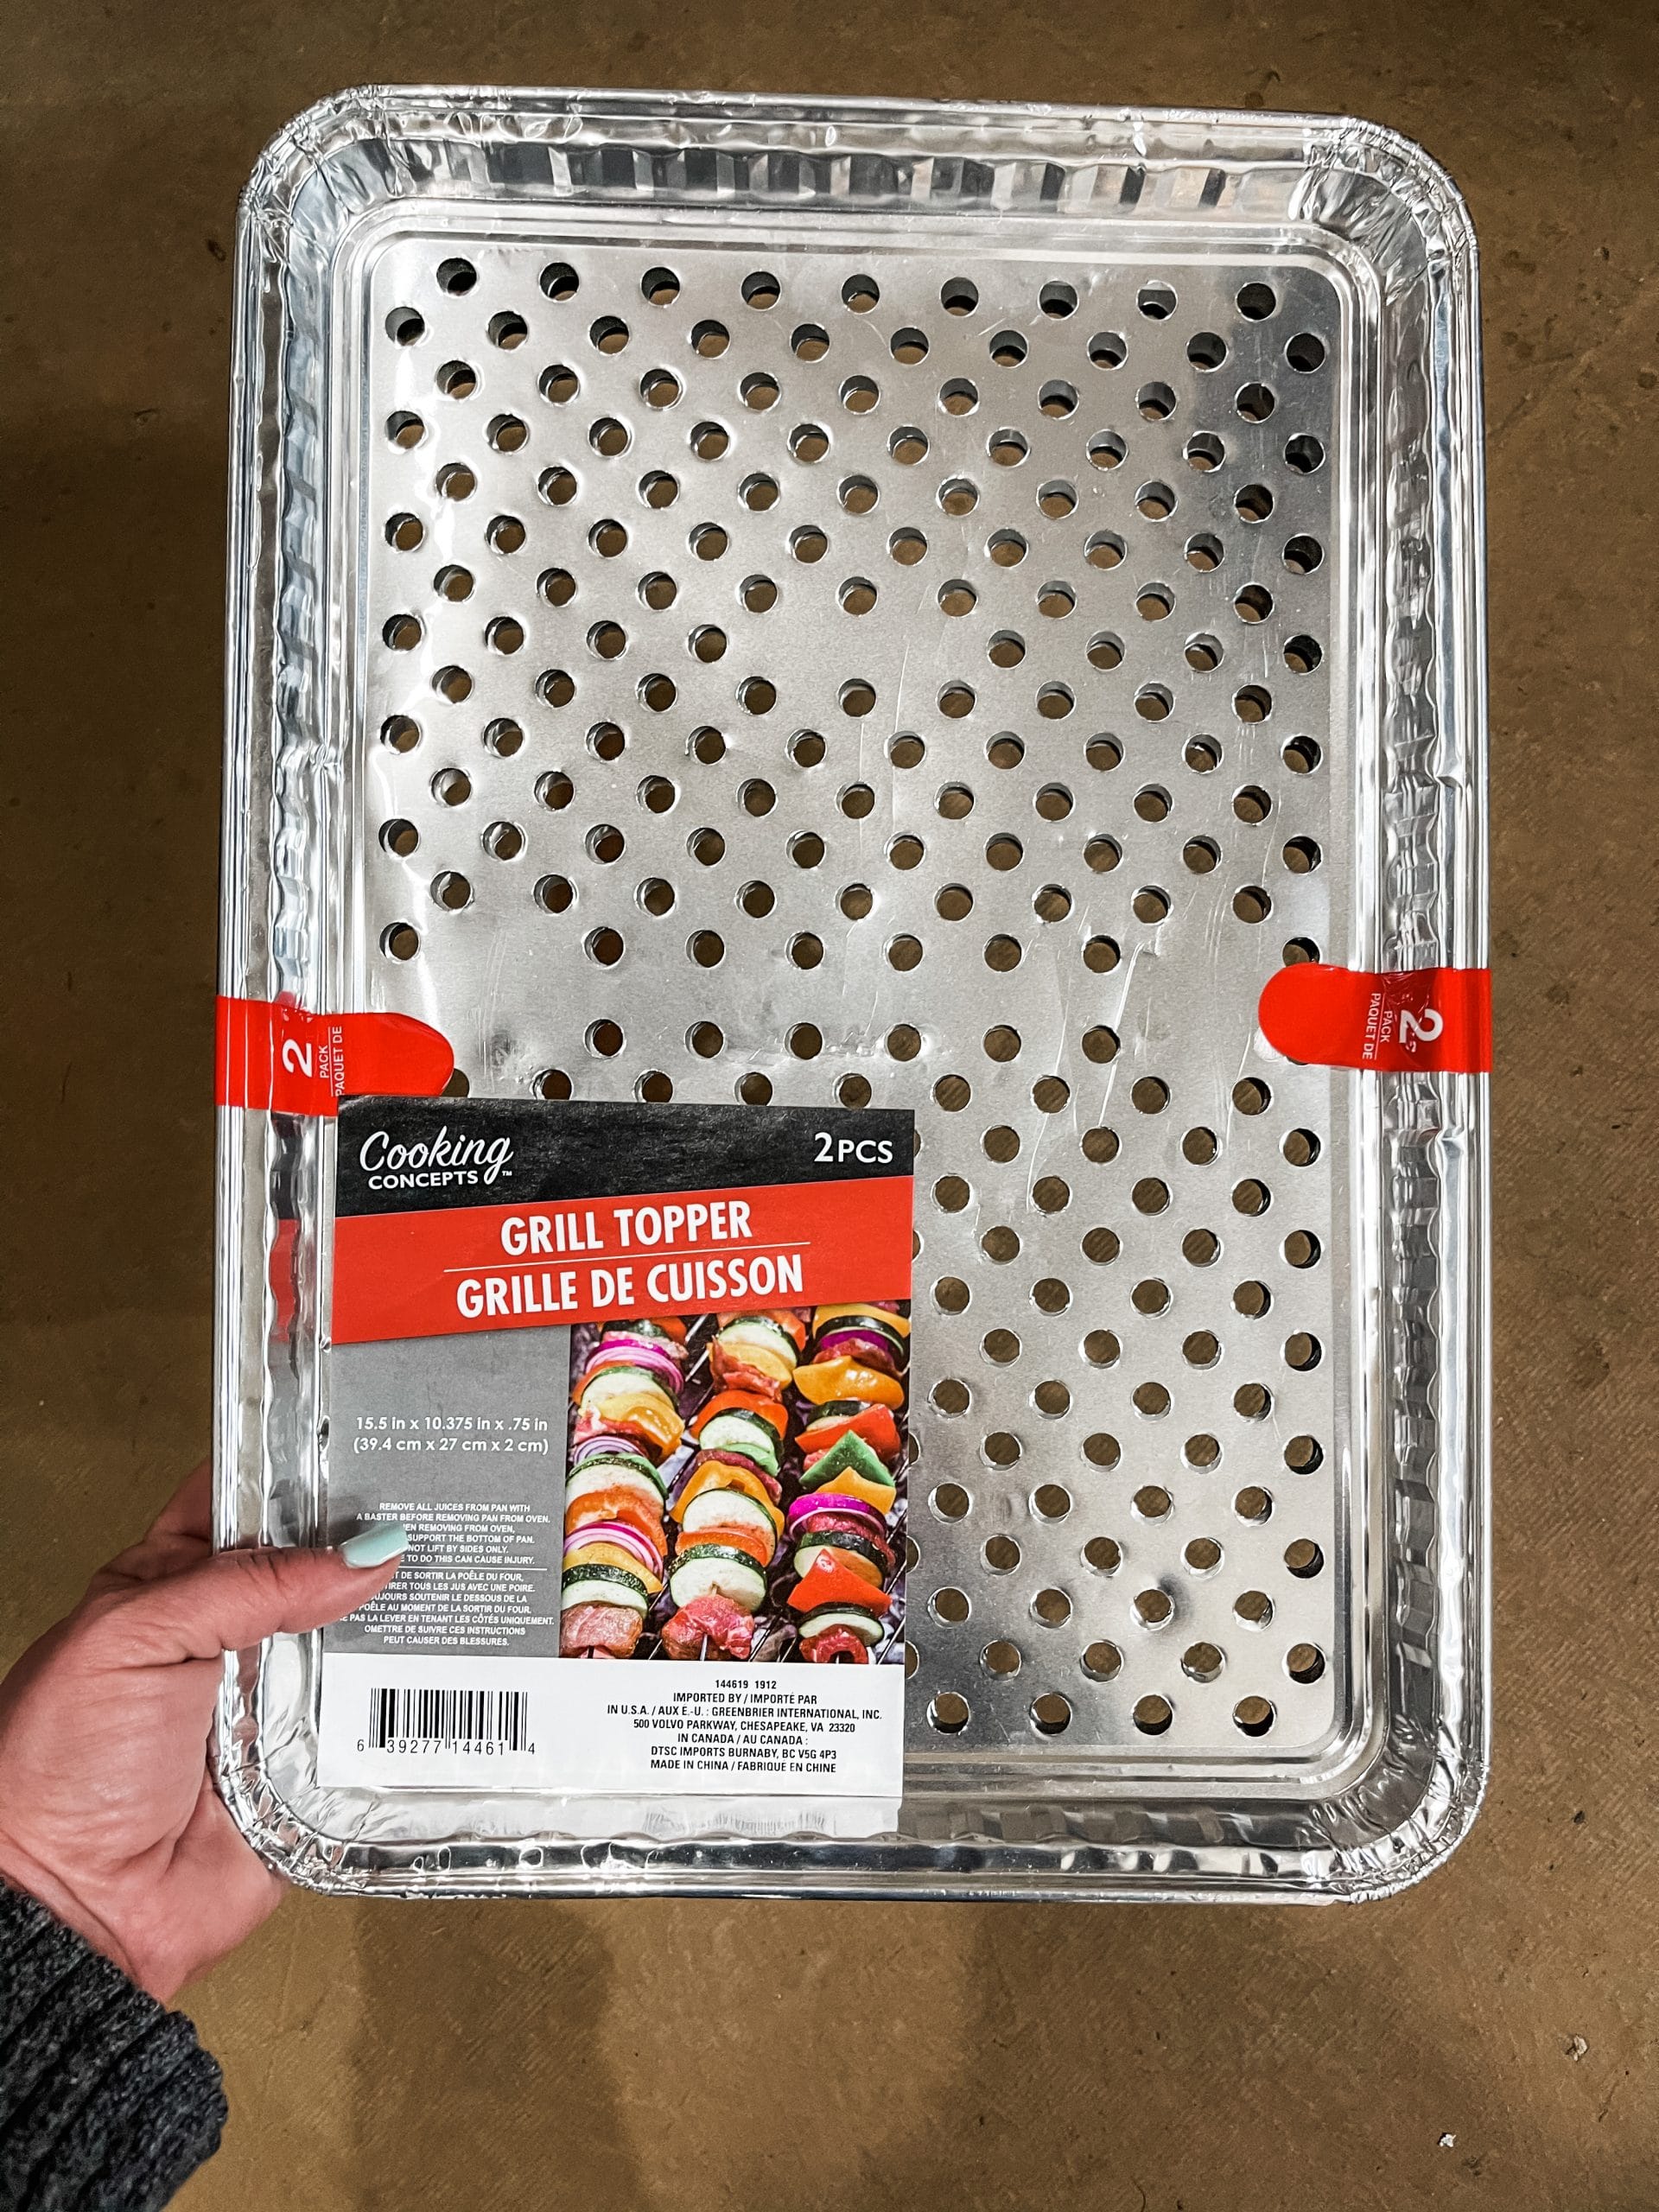
- Dollar Tree Grill Topper
- Yellow Buffalo Check Fabric
- Dollar Tree Spring floral fabric
- Dollar Tree Pearl Wrap Ribbon
- Jute Twine
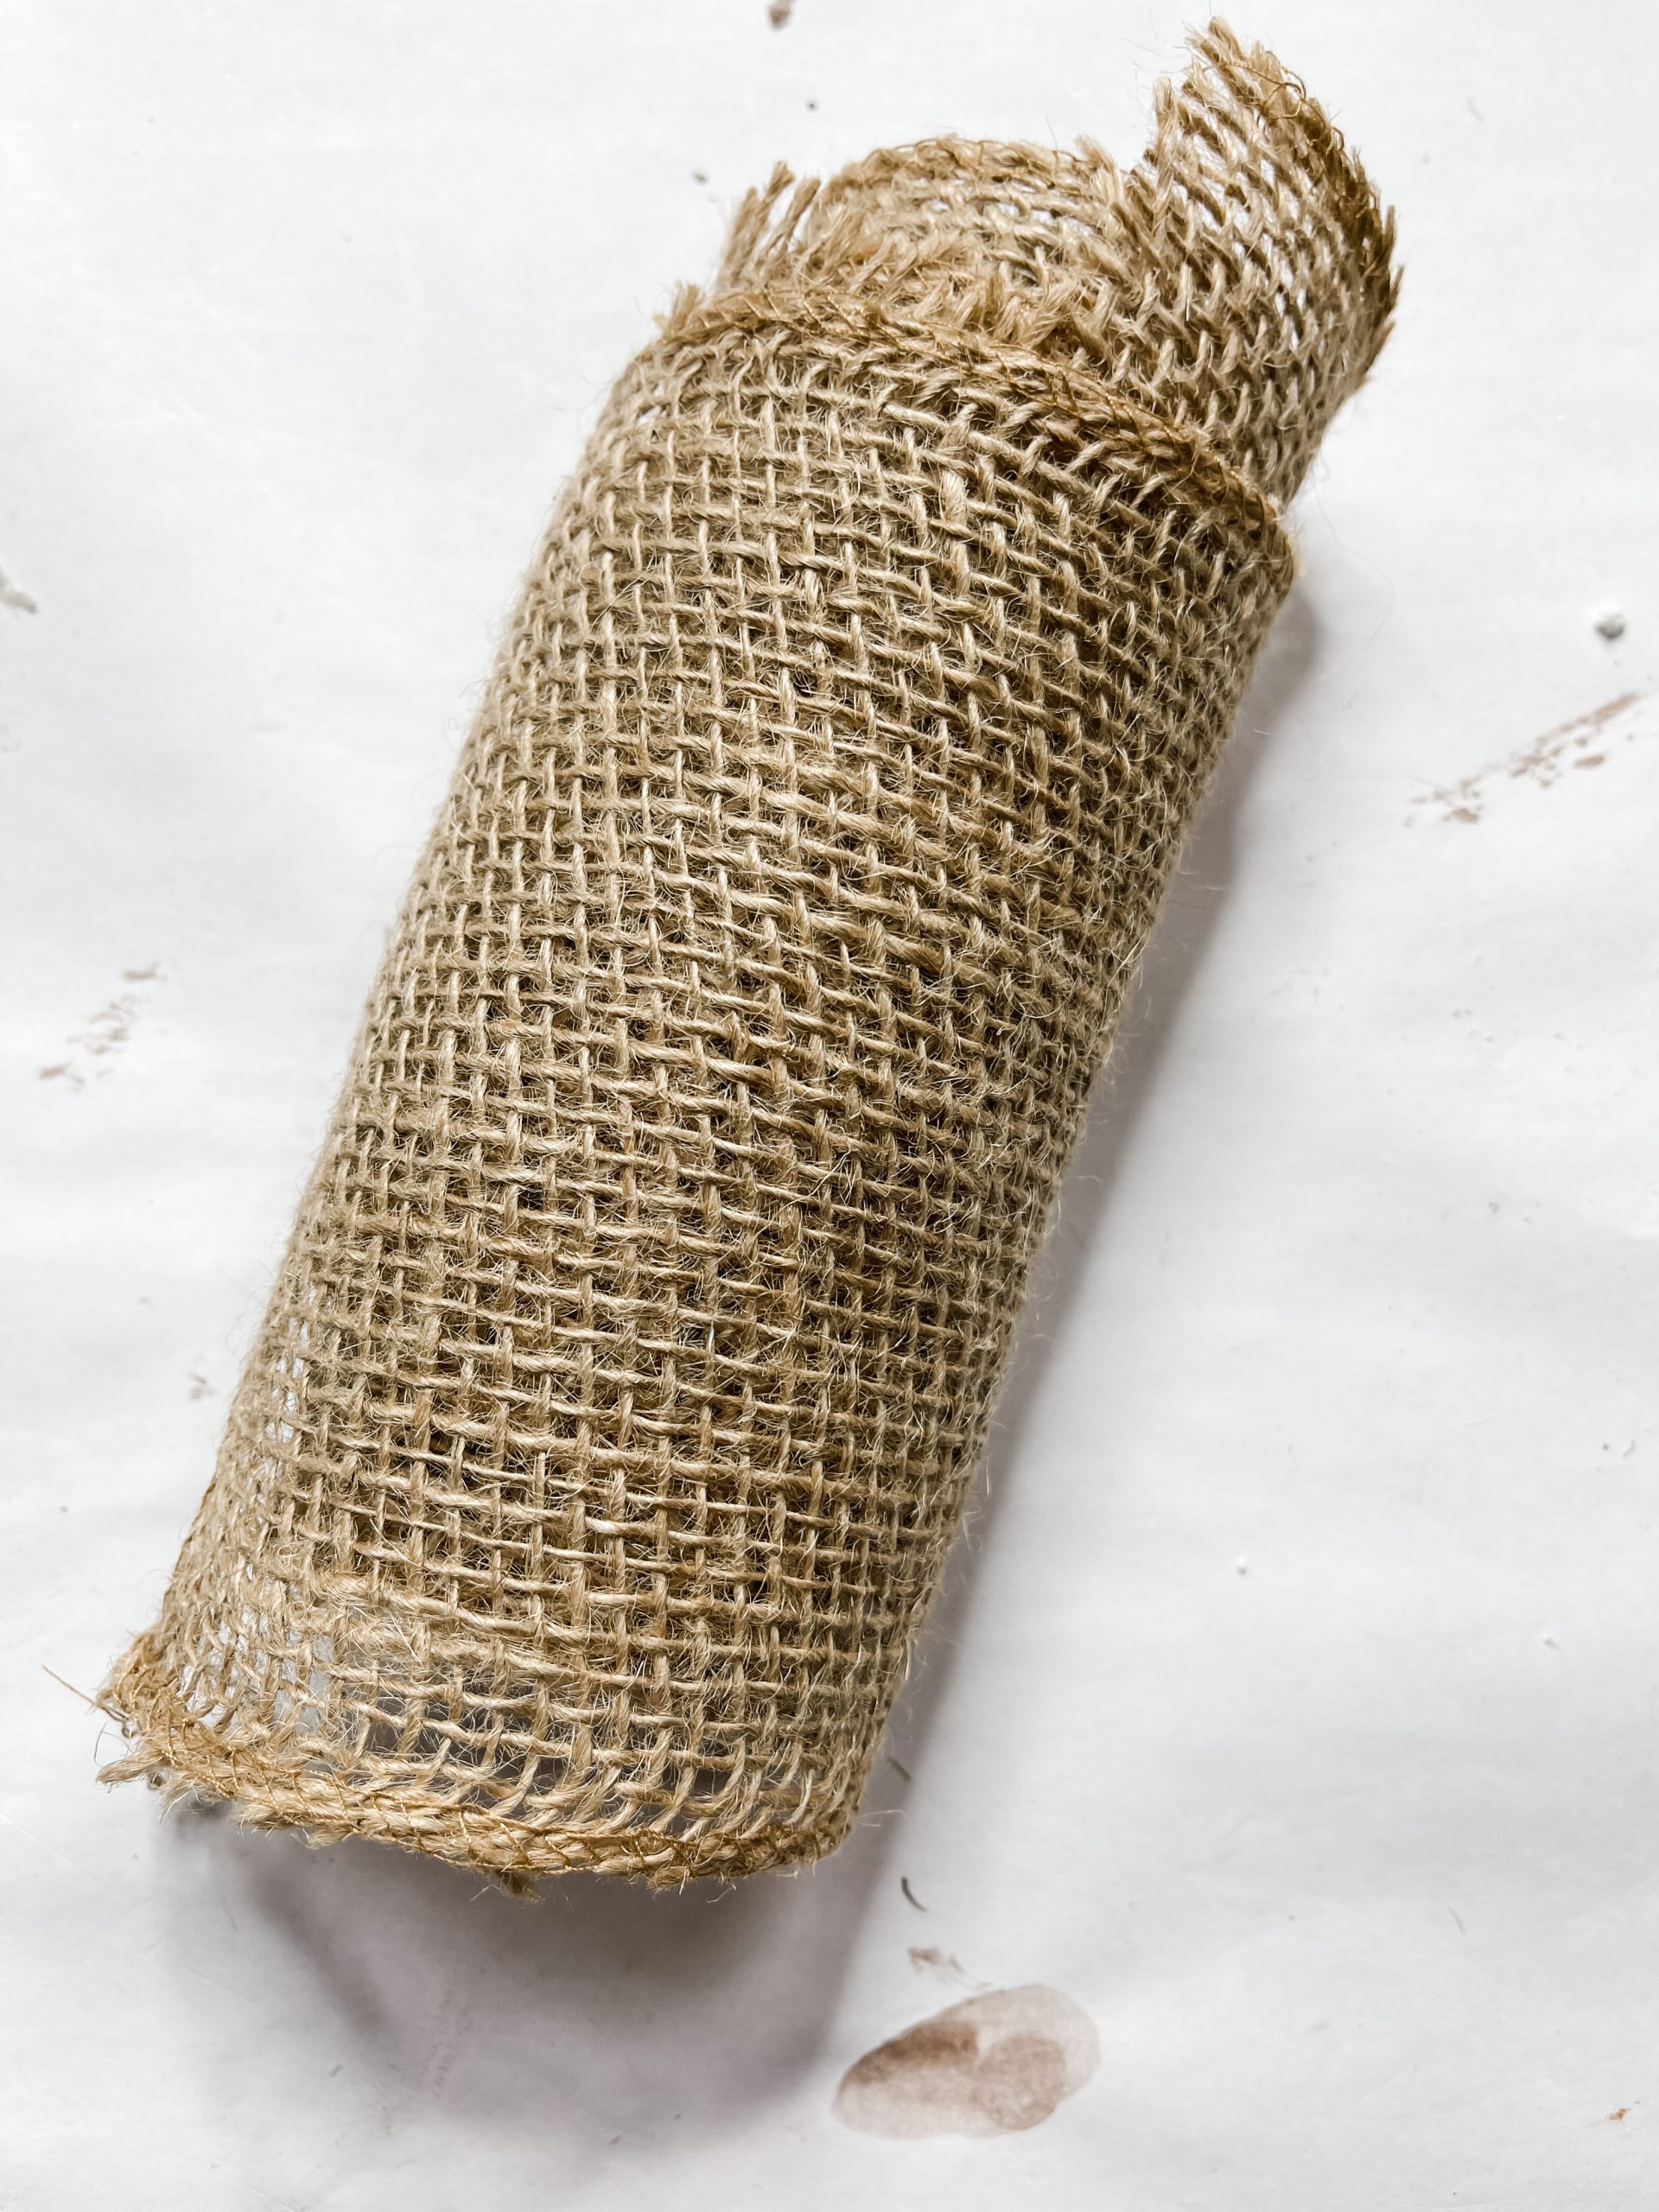
- Burlap Ribbon
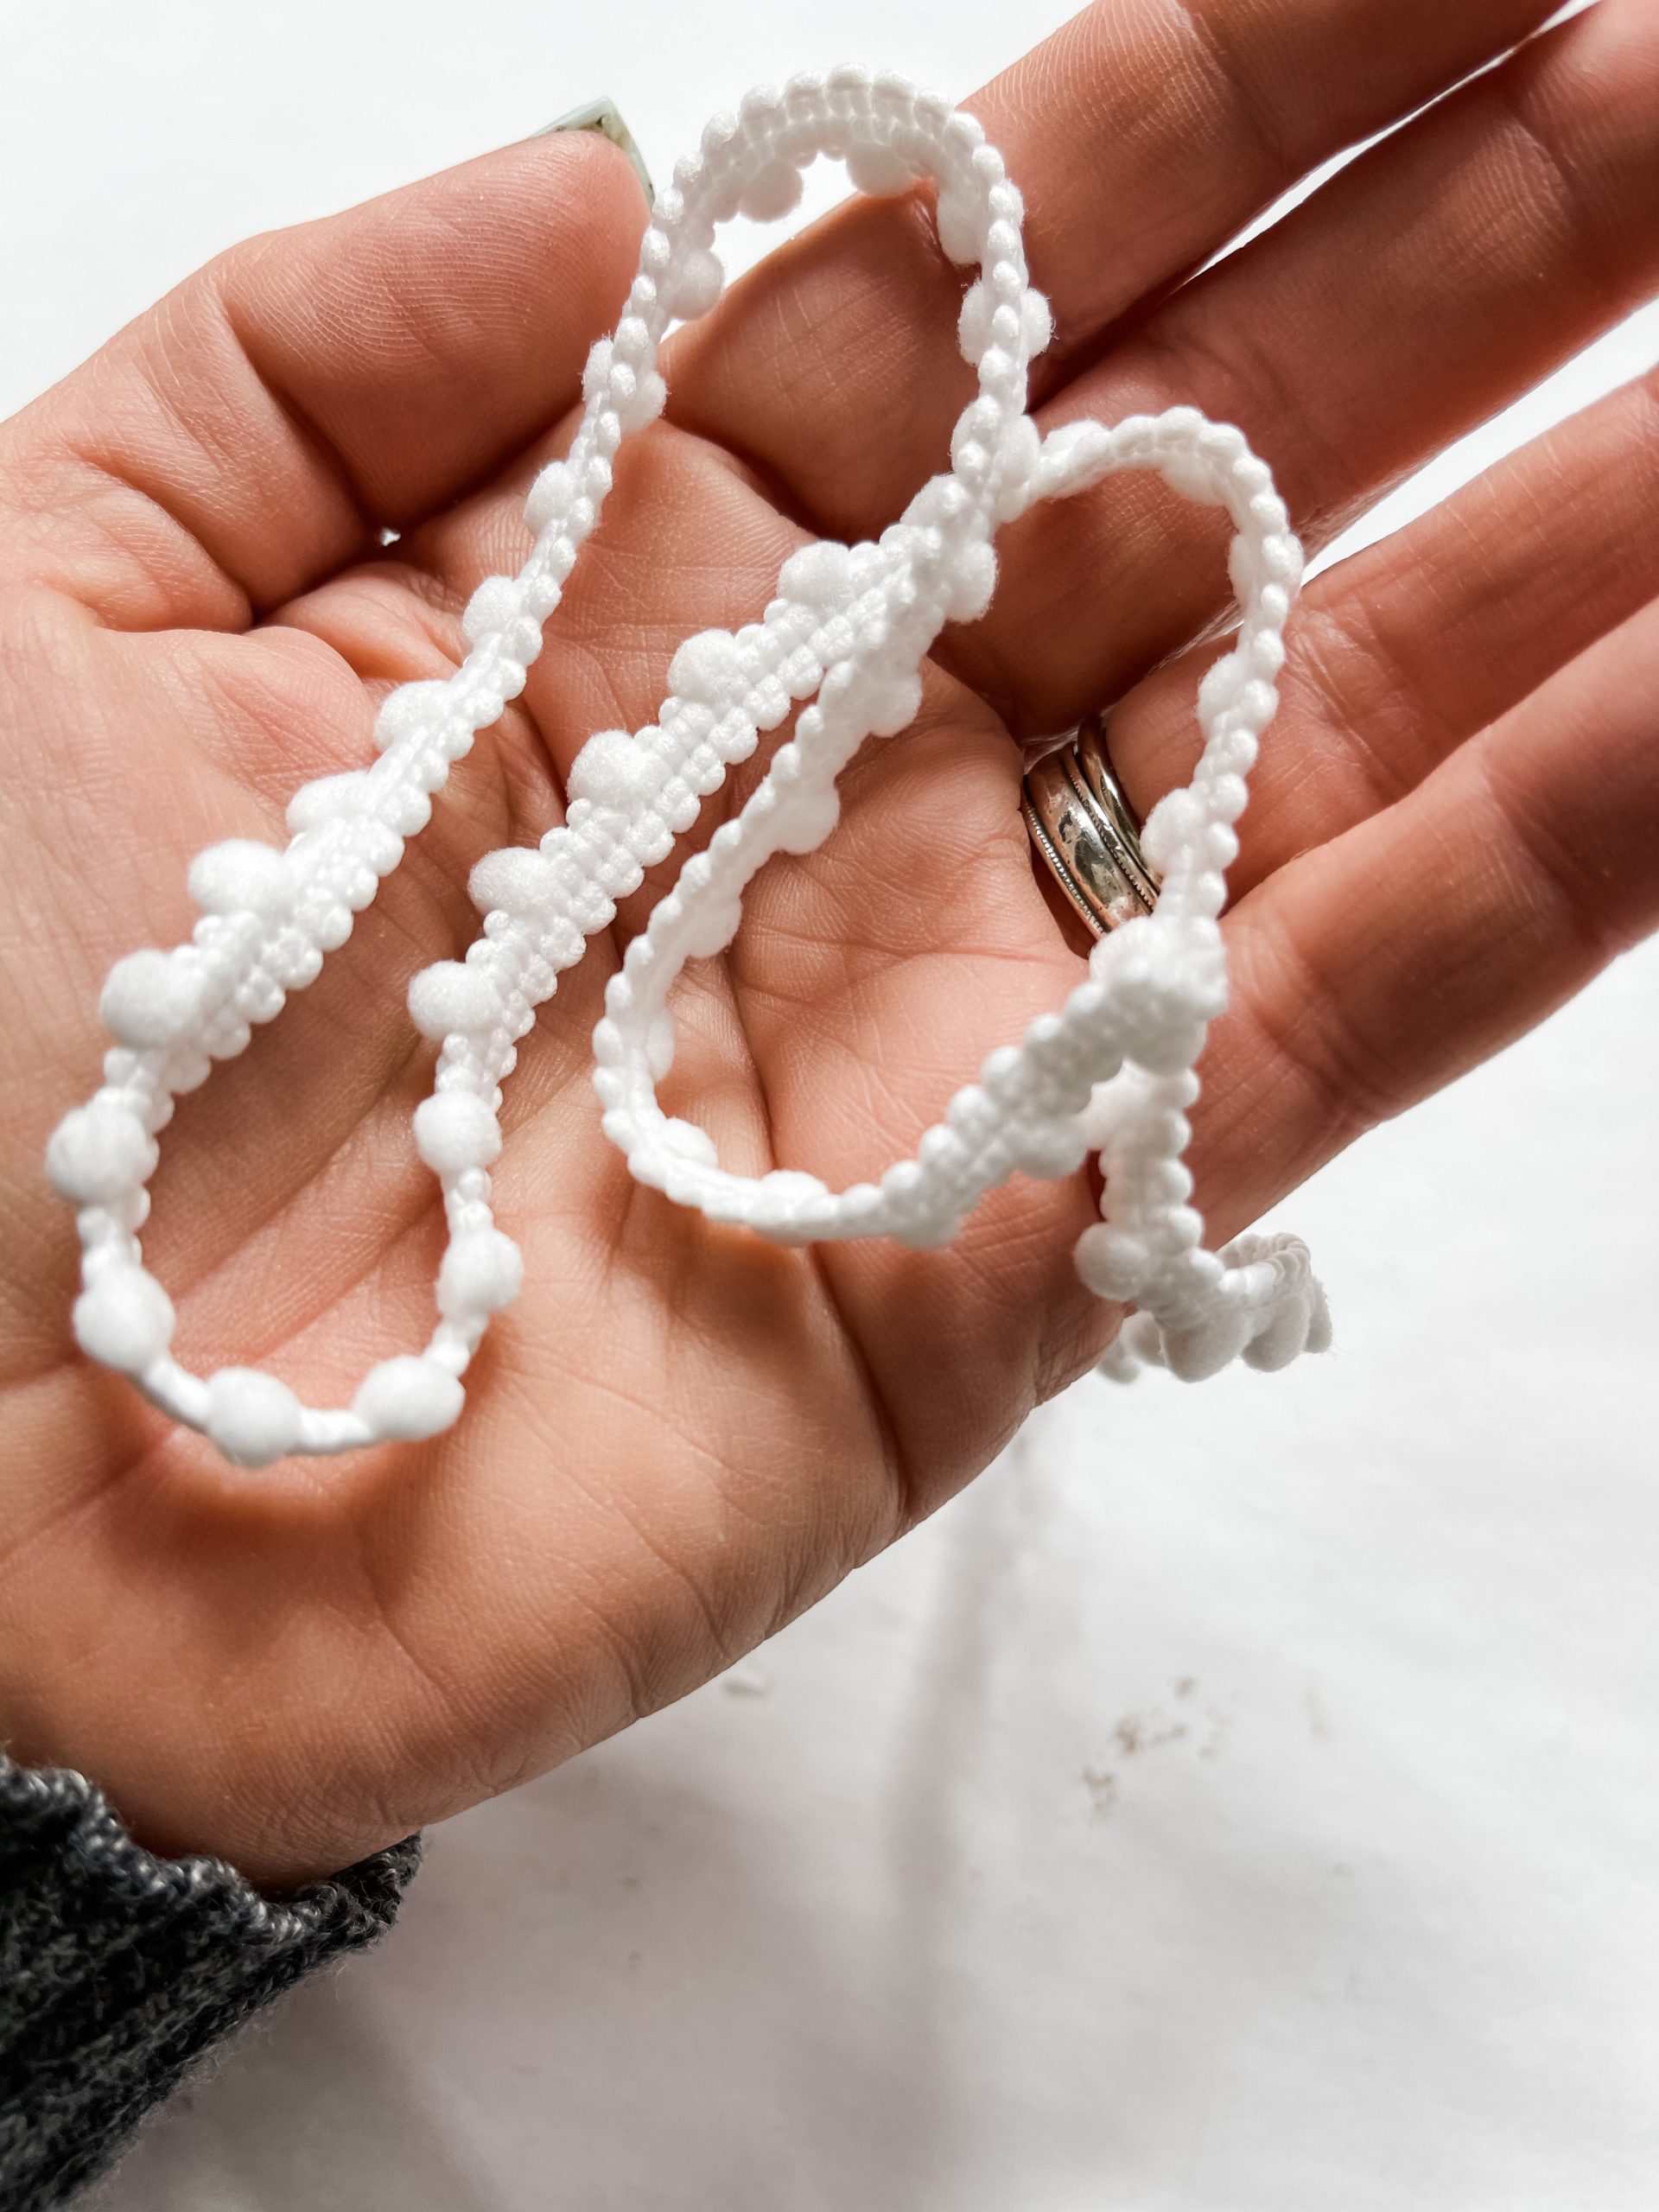
- White pompom ribbon
- Folkart Java Chalk Paint
- Waverly Antique Wax
- Baby’s Breath Greenery
- Wet wipes
- Hot Glue gun
- Glue Sticks
*I did not use the pink and orange flowers pictured below*
How to Make a Dollar Tree DIY Faux Metal Bucket Spring Decor
First, you’re going to cut a rectangle out of one half of the Dollar Tree grill topper. This is what you’re going to use to create the faux metal bucket portion of this DIY decor.
Cut the second rectangle off the other half of the grill topper, then cut the folded top off one long edge of the topper. I then used a rolling pin to smooth out the long piece I cut off the edge of the grill topper.
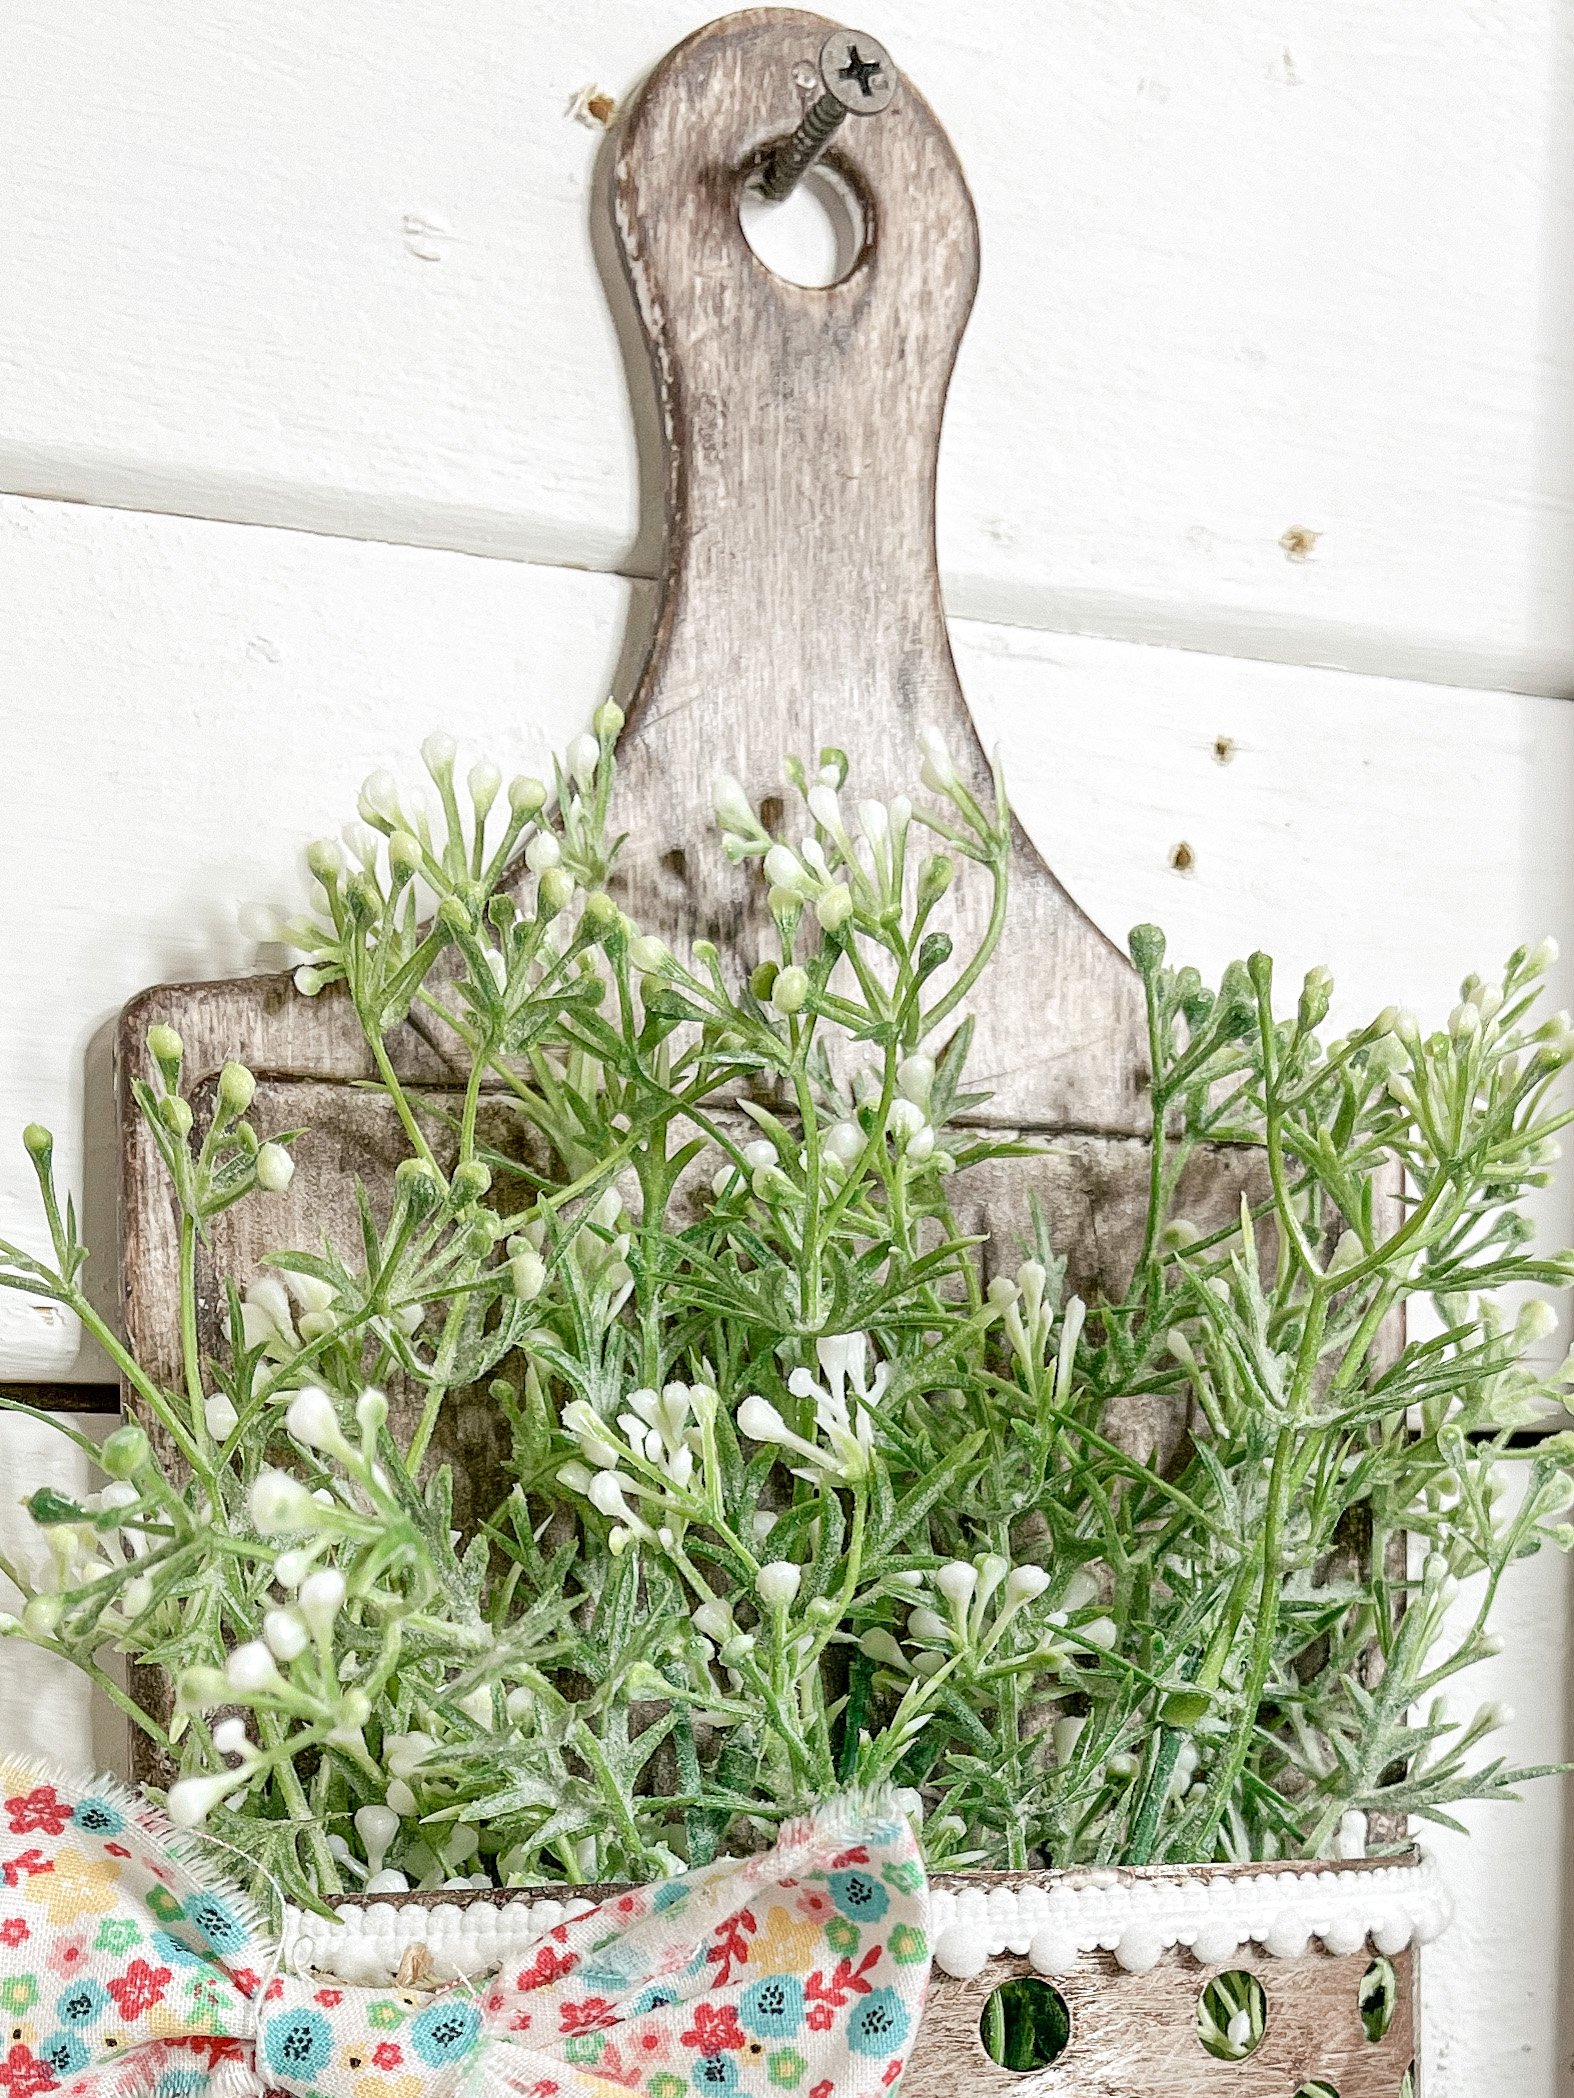
You can set your grill topper pieces to the side for now because next, you’re going to paint the Dollar Tree cutting board to give it an aged finish.
Dab some of the Waverly Antique Wax onto the cutting board, then use a paintbrush to spread the wax across the entire front surface of the cutting board.
It isn’t going to be an even coat of wax as it would be if you were using regular paint. I used my heat gun to quickly dry the coat of wax, but while it was still slightly wet, I used my fingers to smudge the wax.
Next, I lightly brushed over the cutting board with Folkart Java Chalk Paint (you can use whichever brown paint you already have) to add dimension to the cutting board.

I used my heat gun to dry the brown paint, then used my finger to wipe the wax and brown paint off in certain areas. The wax is able to wipe off with a bit of pressure because I didn’t use anything to bond the wax to the cutting board.
How to make a faux metal bucket
Then, brush back over the white areas with the paintbrush you used to apply the brown paint. The next step is to cut your grill topper rectangle to the right size to go over the bottom of the cutting board.
It needs to be slightly larger than the cutting board because you want it to bend outward and create the faux bucket look. I sanded the edges of the grill topper rectangle to get rid of any jagged edges.
Brush a very small amount of brown paint across the grill topper and allow it to dry. Double-check that your cutting board is dry, then flip it over.

Hot glue one side of the grill topper to the back of the cutting board at the bottom. You’re going to want finger protectors or something to press the grill topper into the hot glue because the metal is going to get hot.
Once that side is secured, bend the grill topper around the front of the cutting board and bend the edge so that it sits flat on the back of the cutting board. Hot glue that side down as well.
PIN IT FOR LATER! Be sure to follow me on Pinterest HERE!
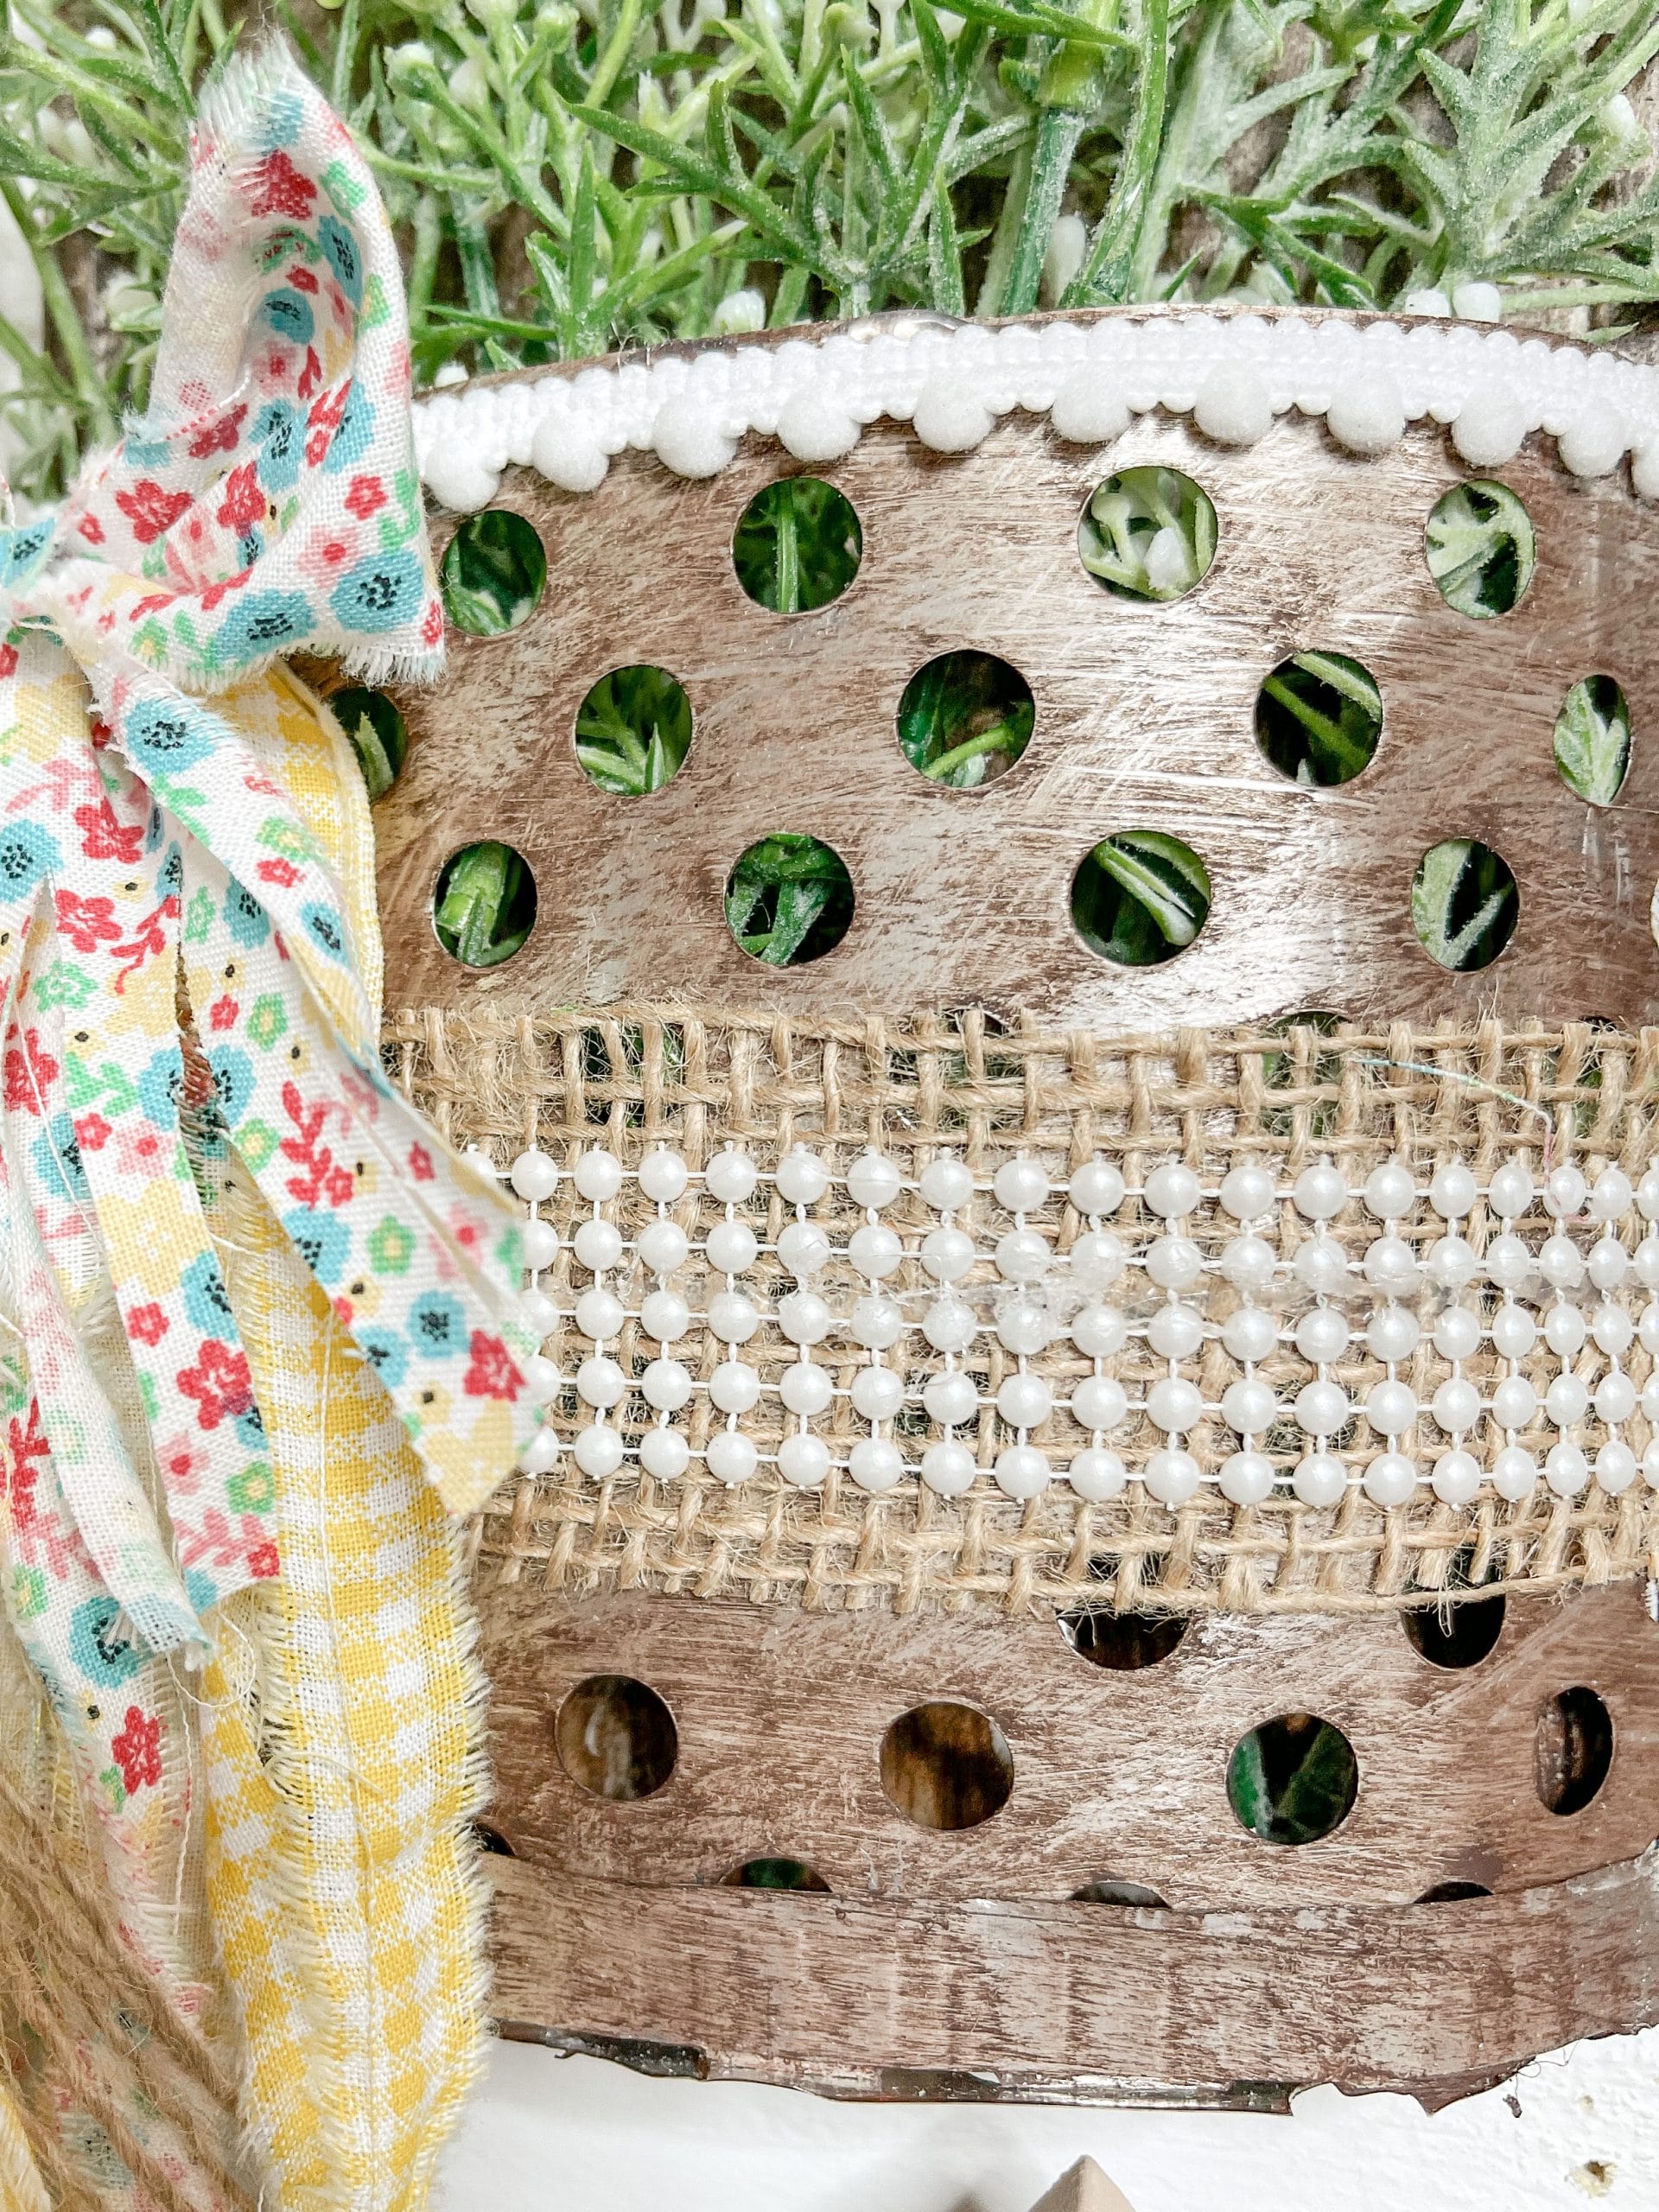
Cut a bottom for your fake bucket out of the second rectangle from the Dollar Tree grill topper, then hot glue it to the bottom of your faux bucket.
Take the piece of the grill topper that you cut from the edge and smoothed out with a rolling pin and hot glue it across the seam at the bottom of the bucket.
Brush brown paint across that piece of the grill topper until it matches the rest of the project. Next, I took a piece of sandpaper over the cutting board to distress out the painted finish.
Bring it all together
If you’re happy with the finish the paint and wax created, you don’t have to sand it off, but I wasn’t happy so I went back over the distressed cutting board with dark brown spray paint.
I sprayed the paint into a small mixing bowl and then painted it over the top portion of the cutting board. Do what works best for you and makes you the happiest with the way your project looks!
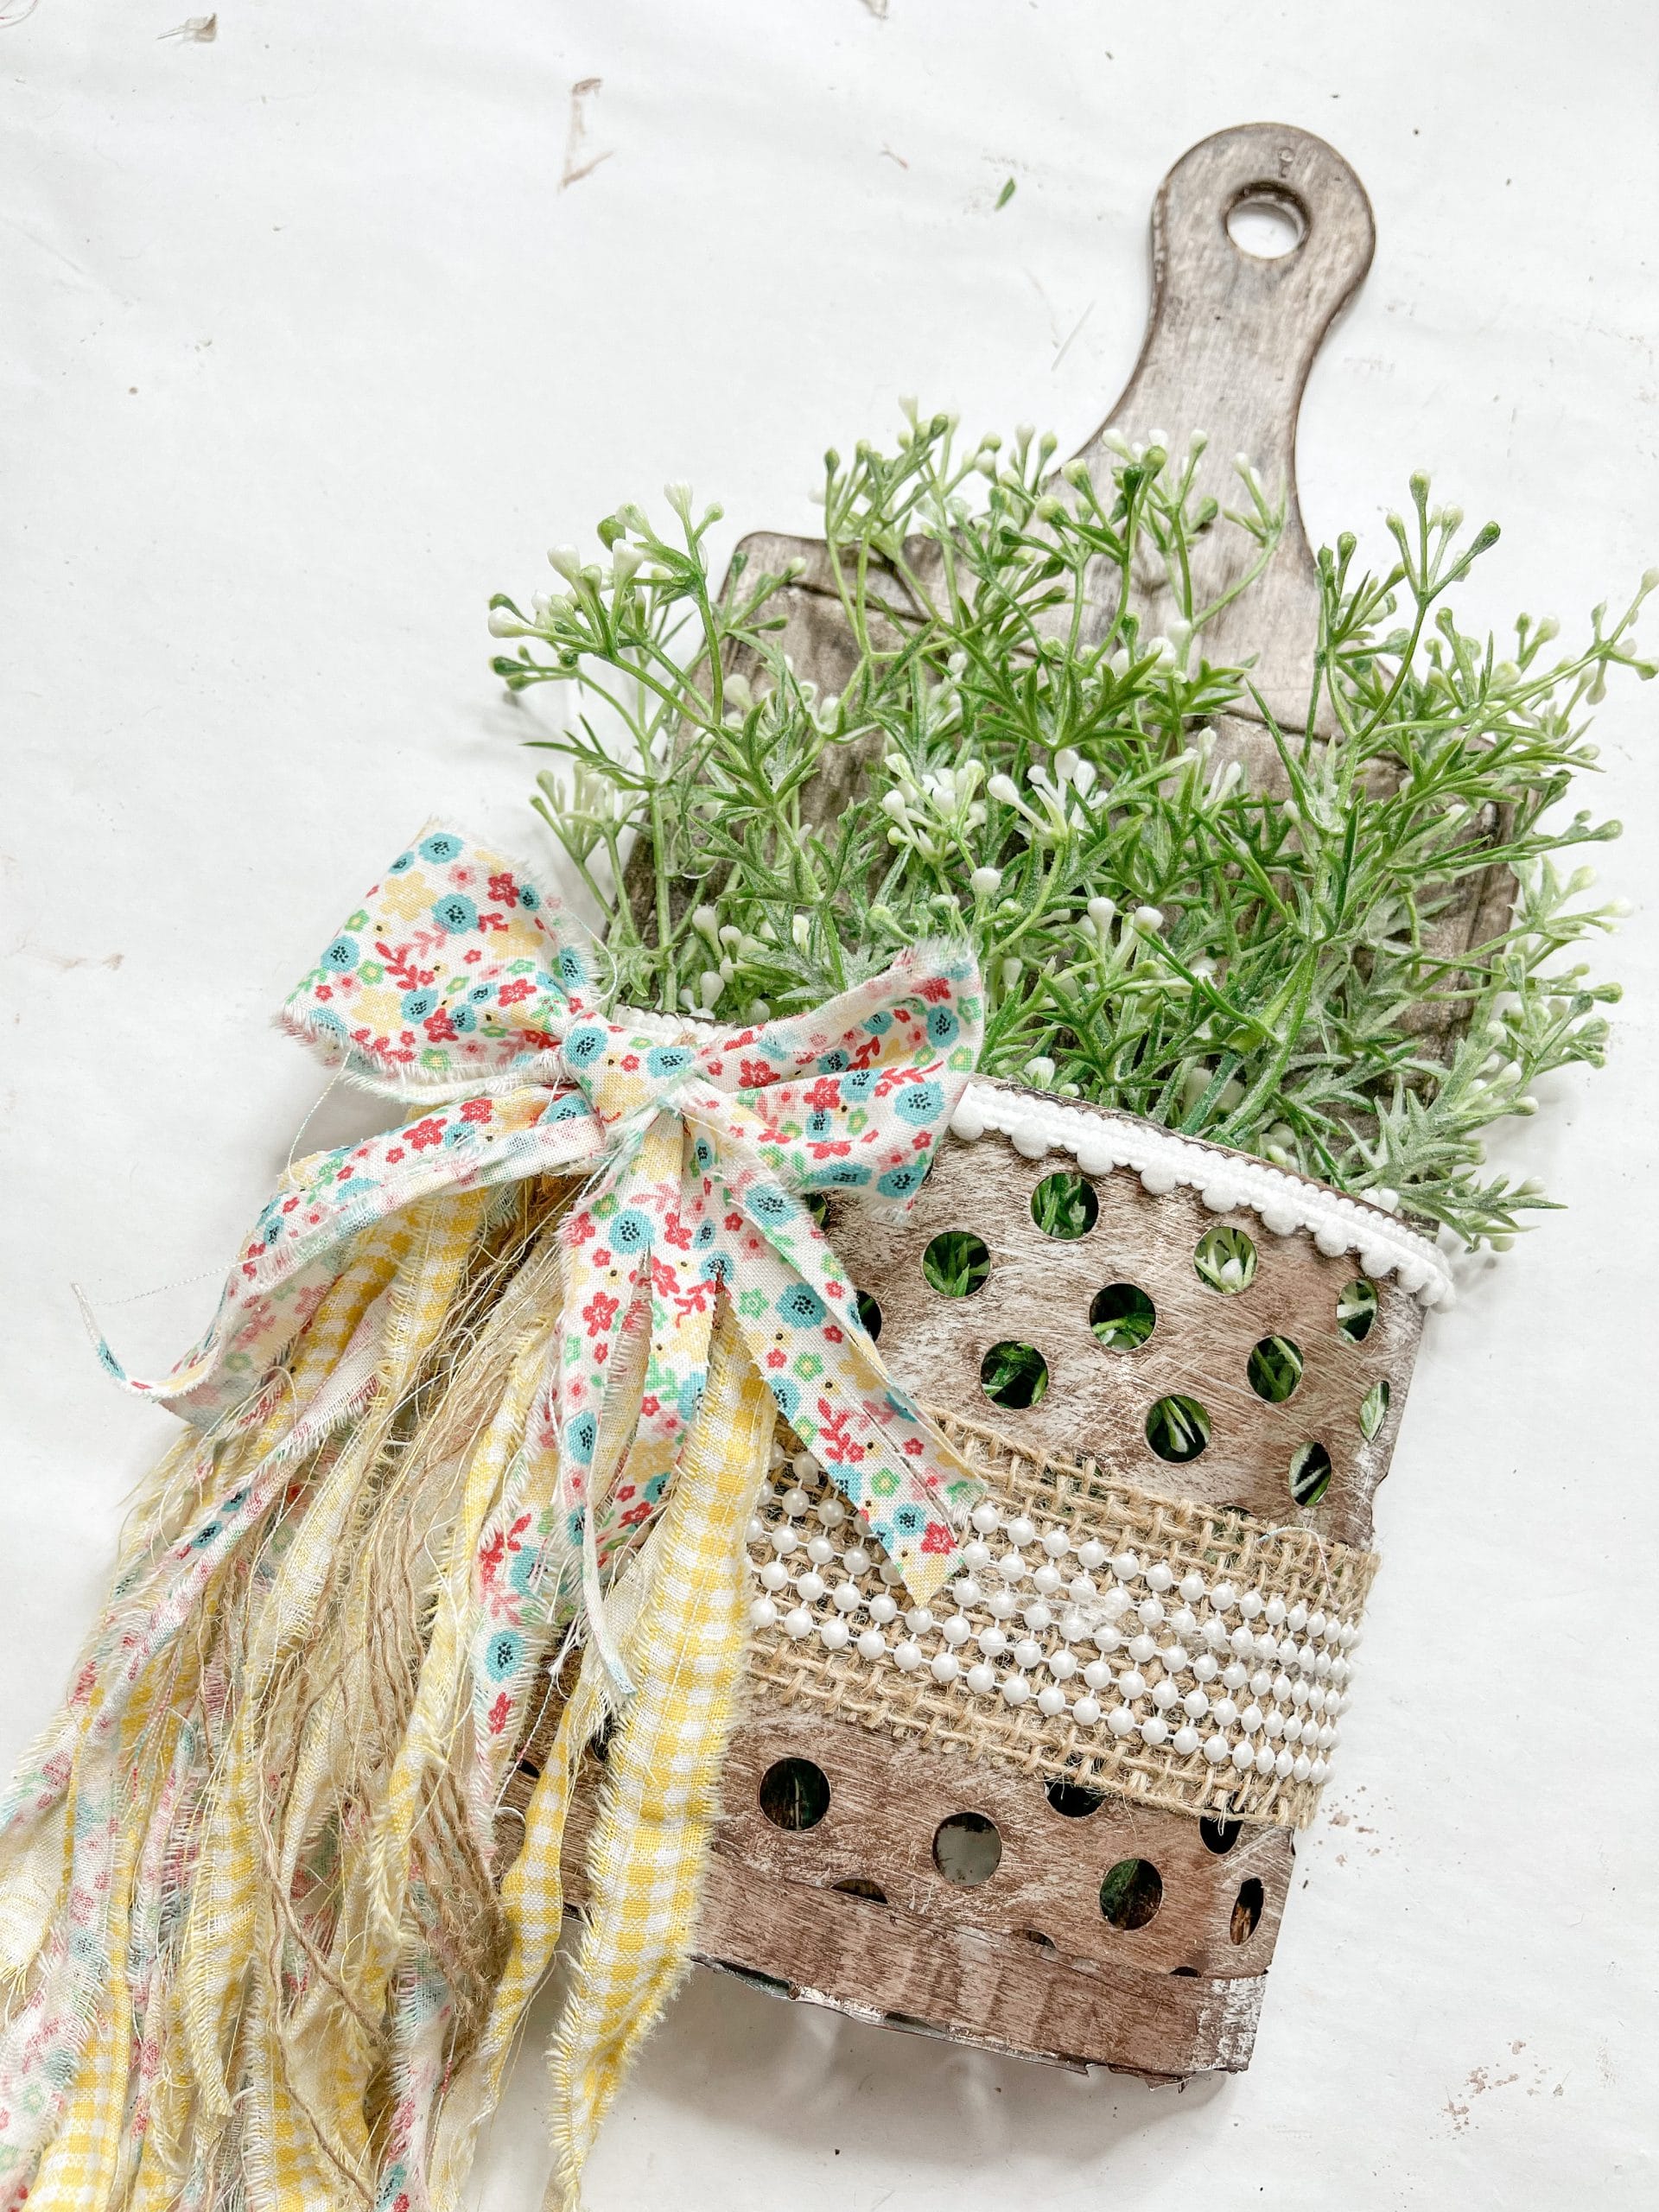
Allow all your paint to dry, then cut your piece of ribbon that will fit across the center of the faux metal bucket. Wrap the ends of the burlap ribbon around the sides of the cutting board and hot glue it in place.

Then, cut a piece of the pearl wrap ribbon that will fit over the center of the burlap ribbon strip and hot glue it the same way you did the burlap ribbon.
Next, you’re going to make your adorable DIY spring bow! I used Dollar Tree spring floral fabric and yellow buffalo check fabric to make my bow.
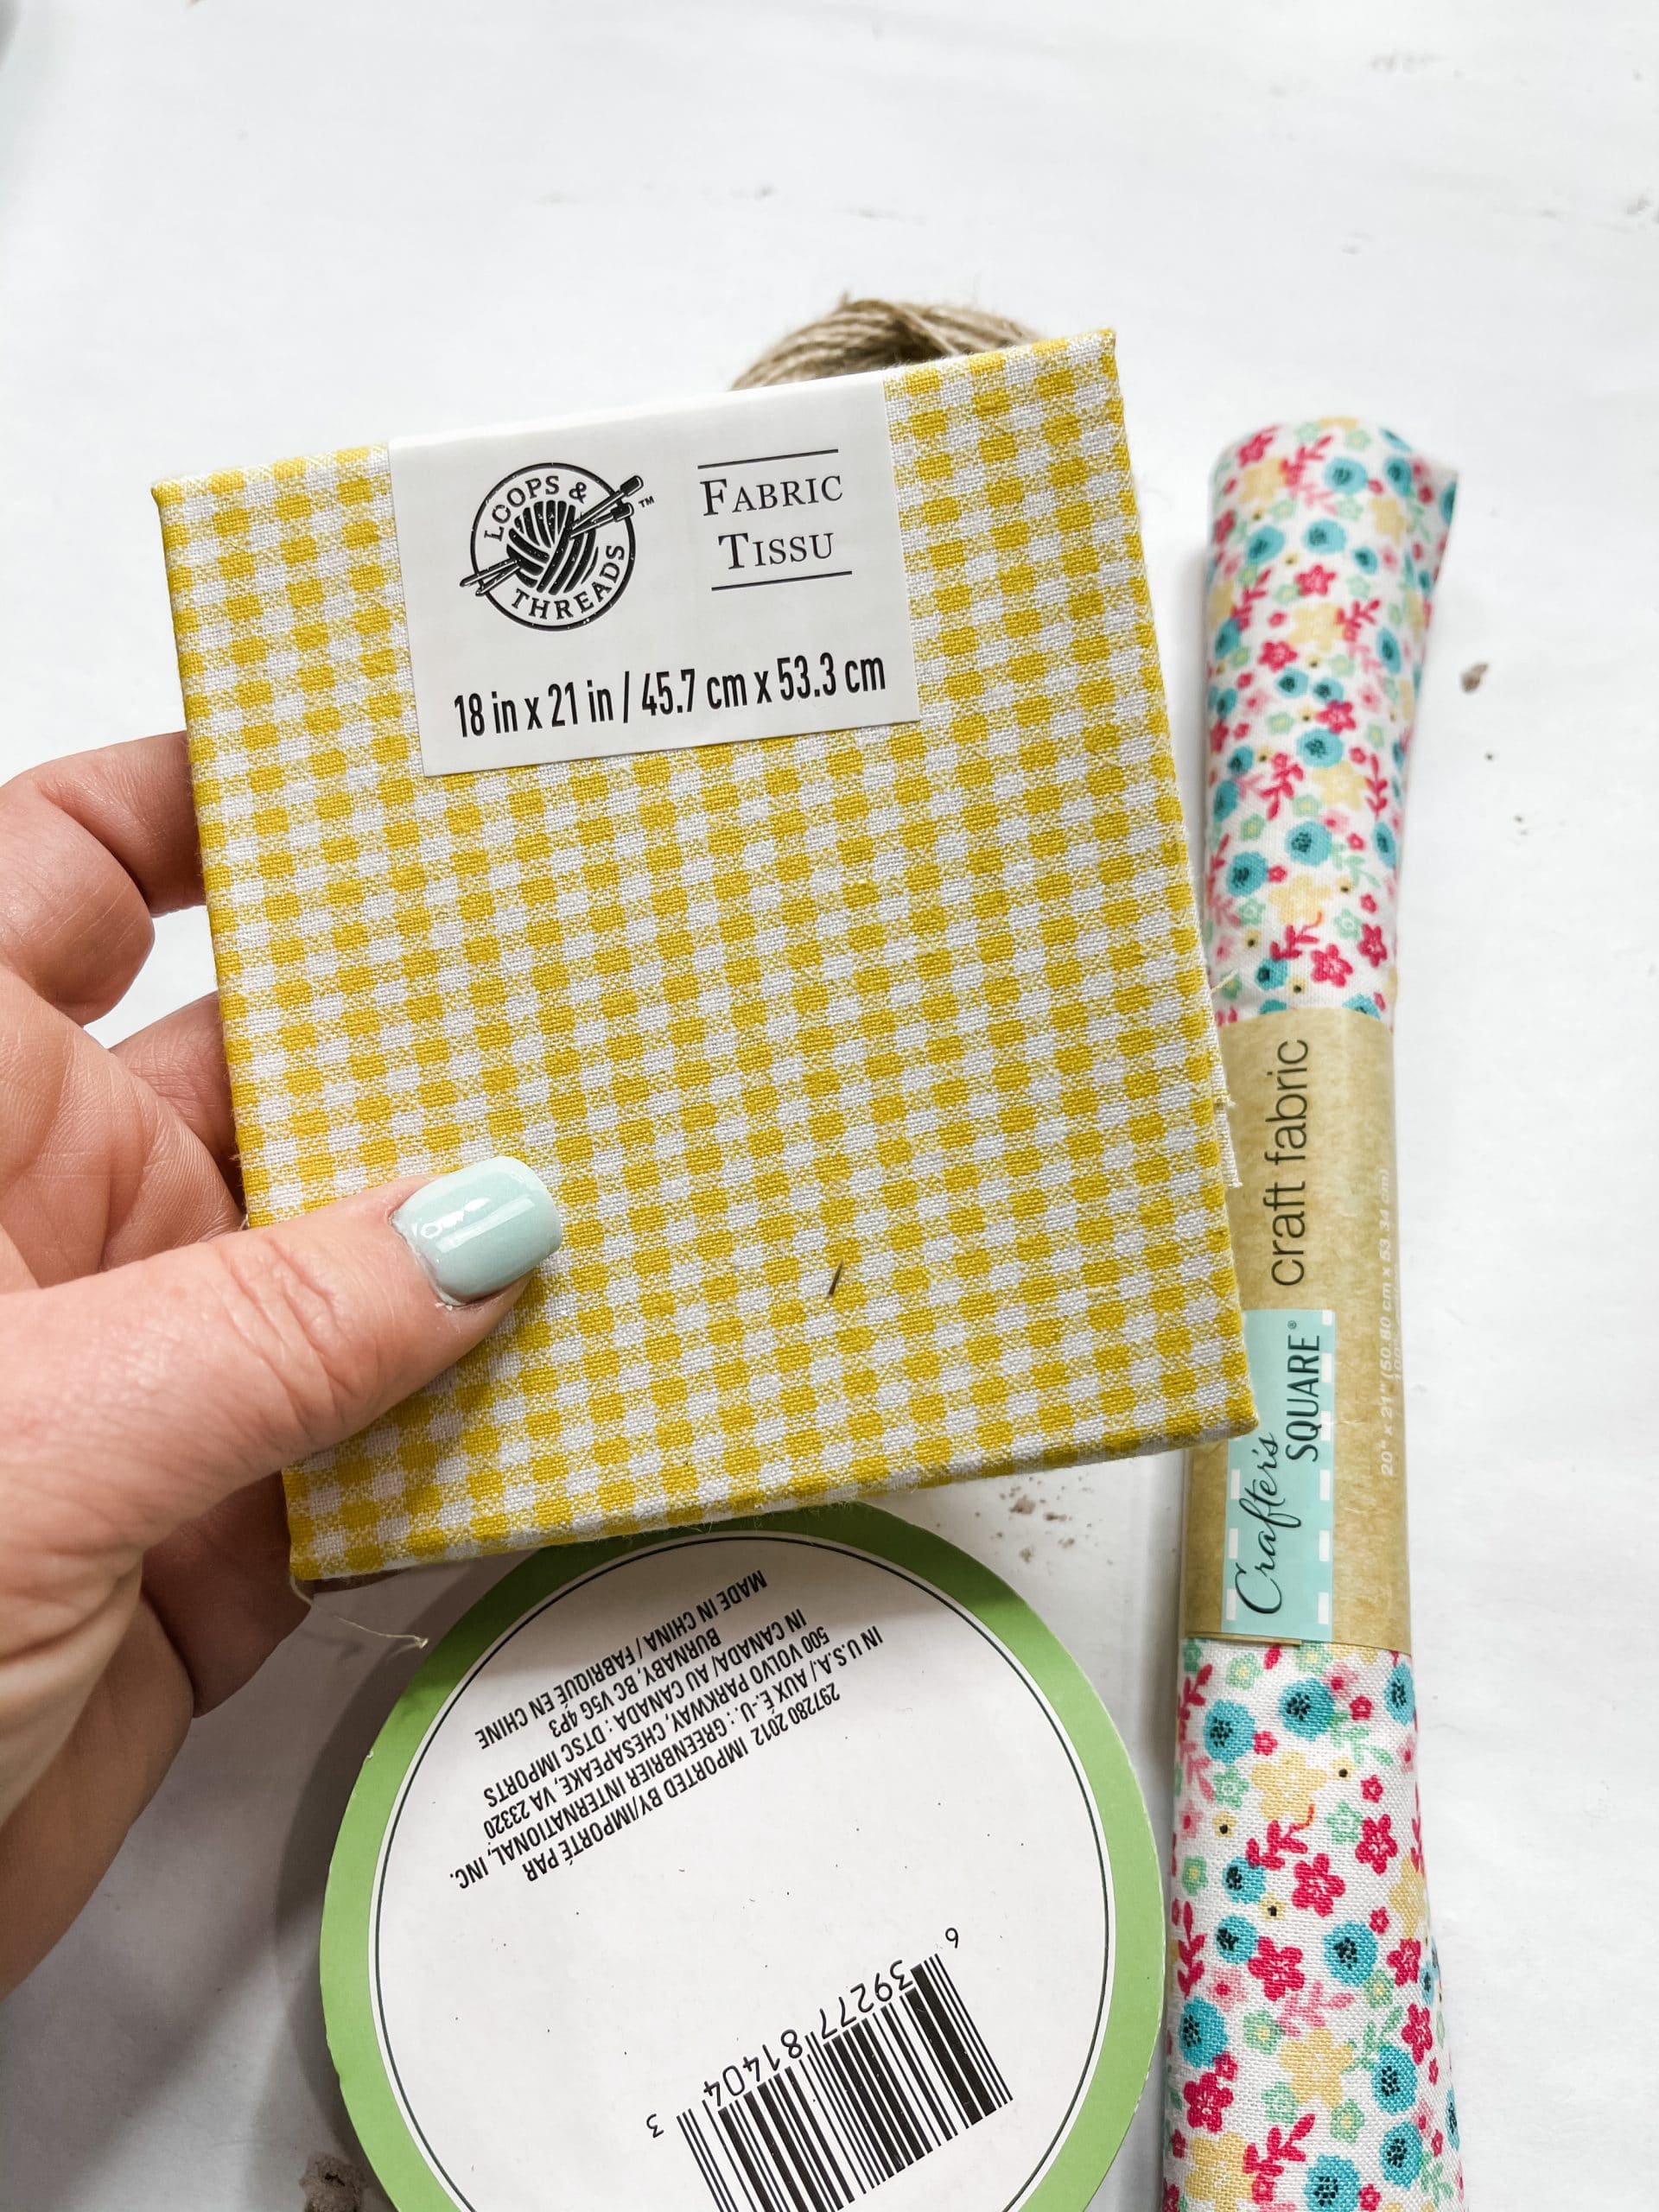
Cut a long strip of spring floral fabric and tie it into a bow. Adjust the tails so the pattern is facing front on both of them. The tails might not be even lengths, but you can trim them so they are.
I deconstructed two strands of the burlap ribbon and then started ripping several long, thin strips of both the spring floral fabric and the yellow buffalo check fabric.
I mixed the fabric strips together and placed the deconstructed burlap ribbon pieces behind the fabric strips. Then, I secured the fabric and burlap in the center with a piece of jute twine.
The finishing touches
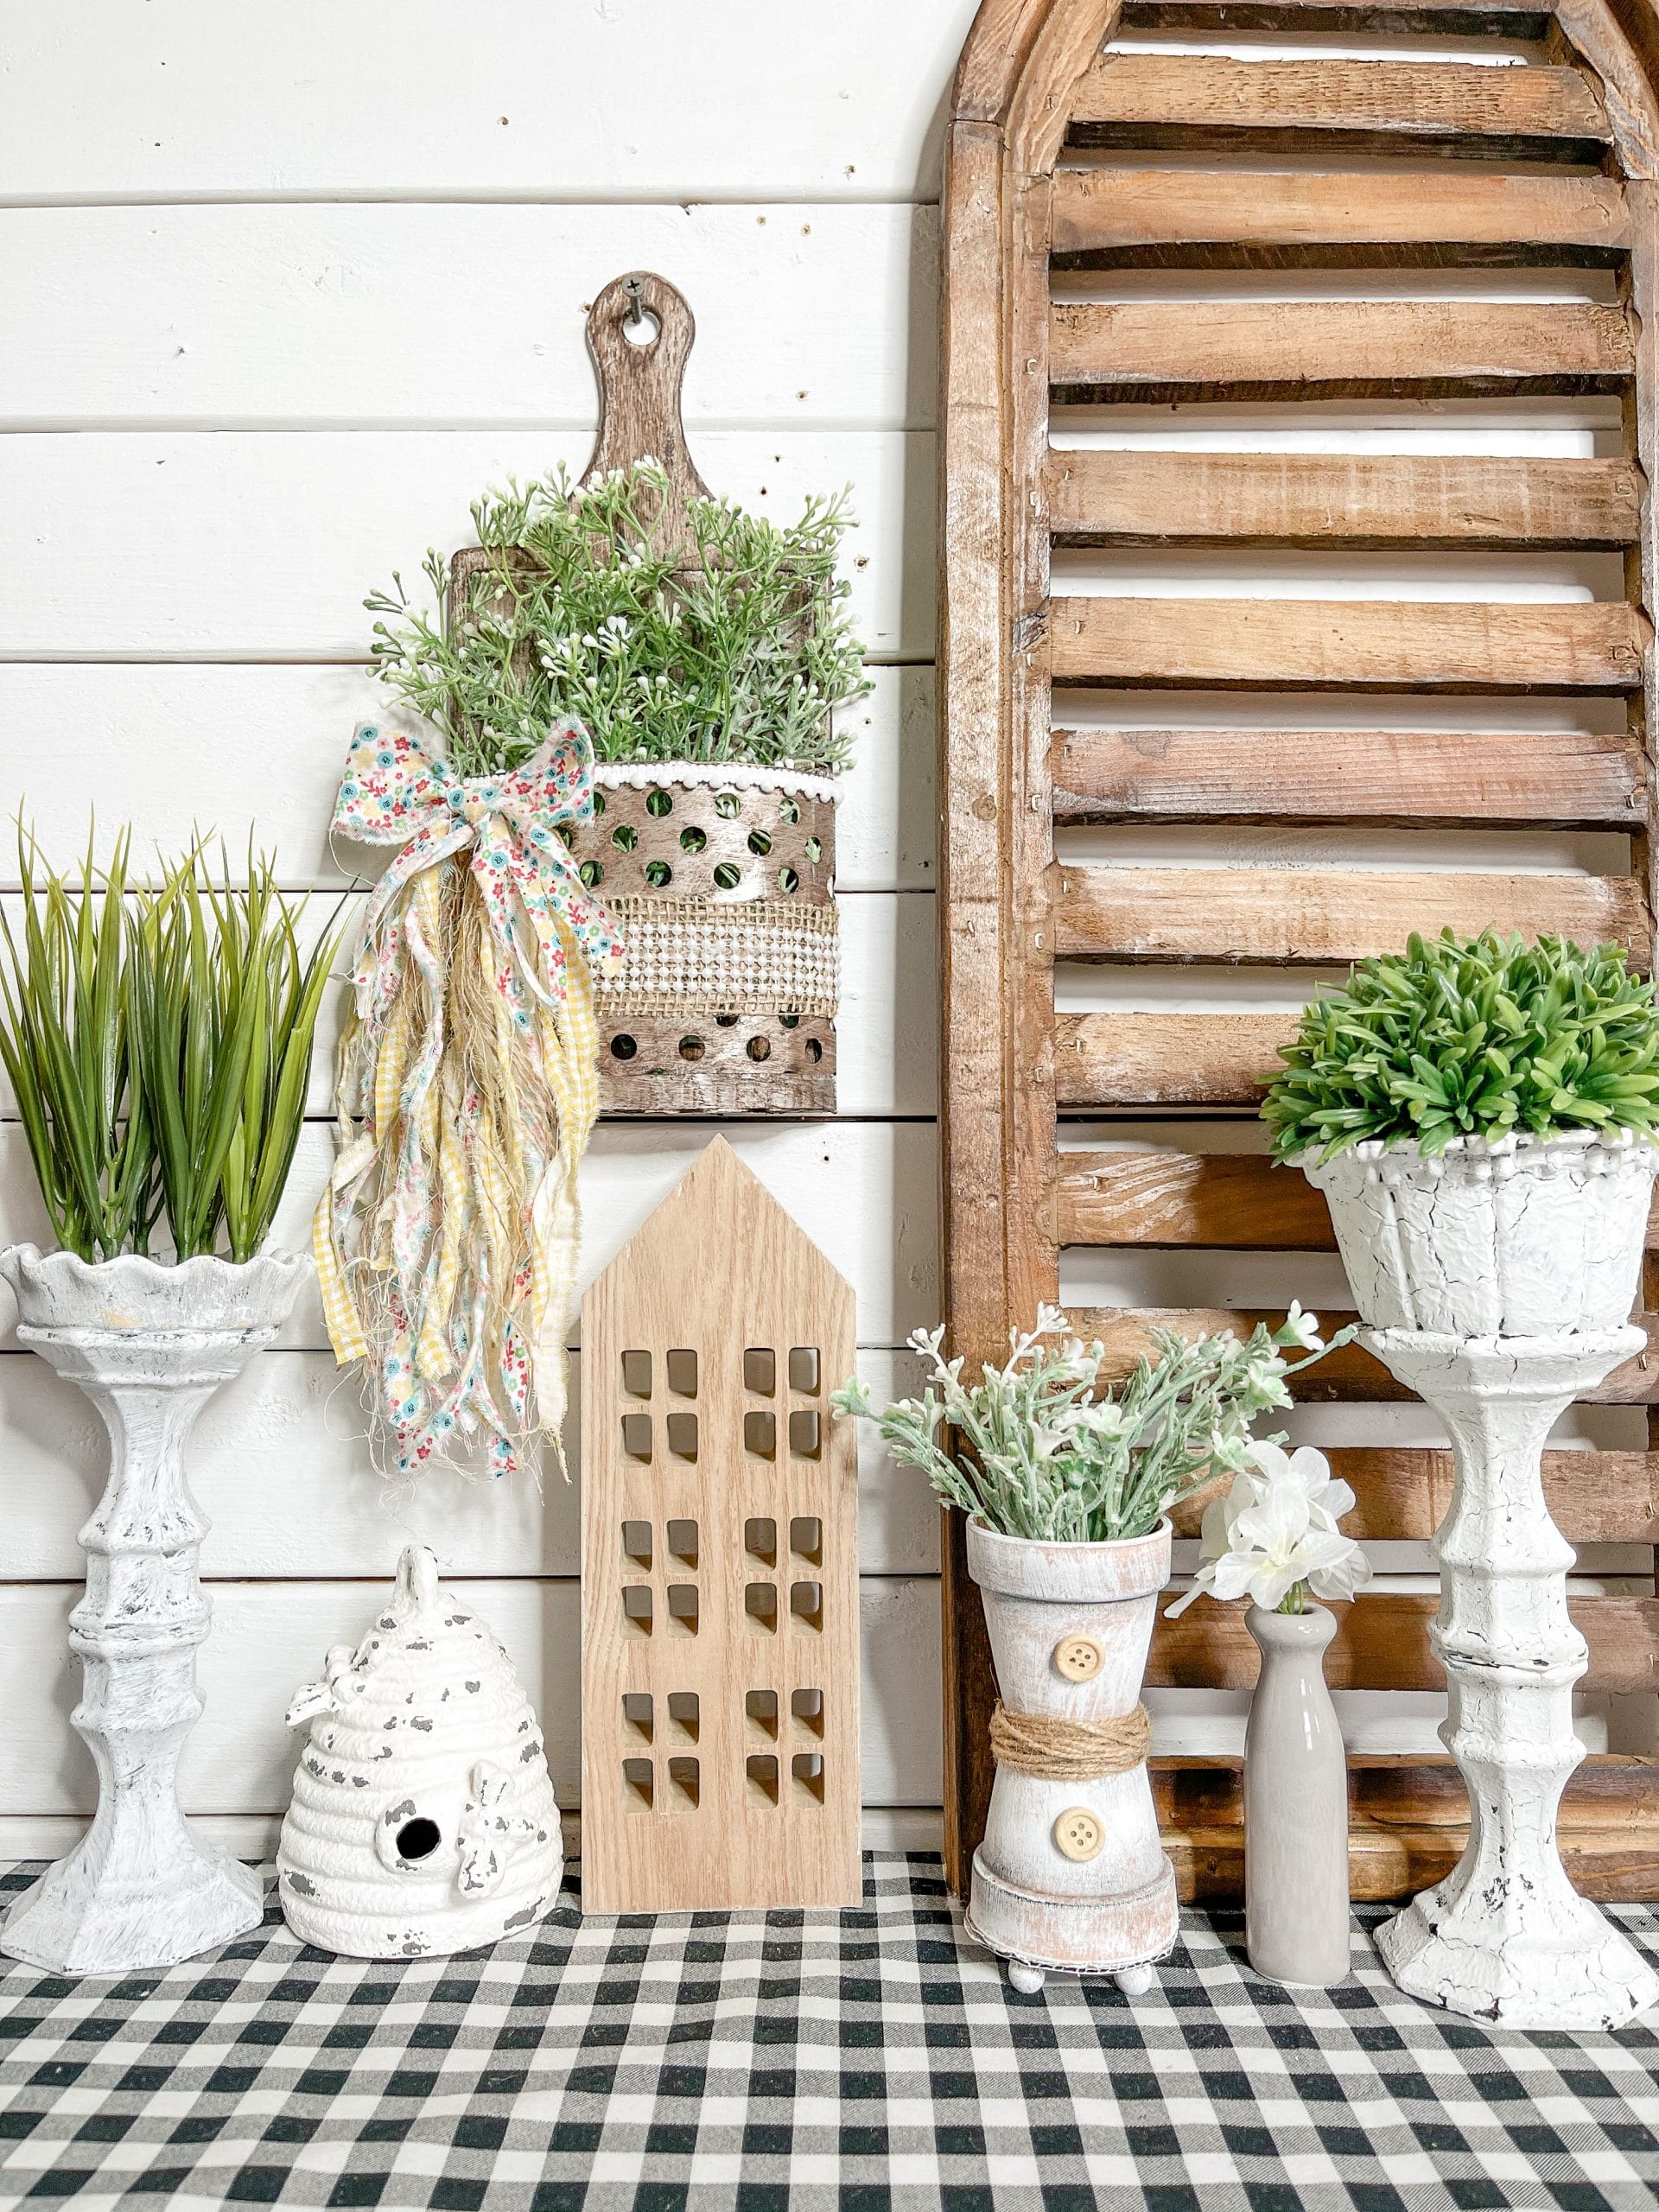
Before I put the bow onto the project, I added in the baby’s breath greenery. I was going to also use pink and orange flowers, but I decided against it while I was bringing all the pieces together.
Once the greenery was in place, I hot glued a piece of white pompom ribbon across the top of the faux metal bucket. Then, I hot glued the long pieces of fabric and ribbon at the top right of the bucket, and finally, hot glued the bow over the top of the fabric and ribbon strips.
I hope you enjoyed this Dollar Tree DIY Faux Metal Bucket Spring Decor as much as I did and decide to make one for yourself! If you do, I would love to see how yours turns out!
You should totally join my FREE Facebook group called On A Budget Crafts! It is a judgment-free community for DIY crafters to show off their projects and ideas.
If you loved this DIY you might also like this one too!
Thanks for stopping by! XOXO Amber
You can also shop my ENTIRE AMAZON Favorites shop just click here! It’s packed full of all the things I use and love. Here is the supply list I highly recommend every creative have on hand!!
Would you also pin my blog for later and get on my newsletter alerts? I would love to have you join my #craftycrew.
Inspired? Leave me a comment below! I love hearing from my readers!

Join my free “ON A BUDGET CRAFTS” Facebook group!

I made one, love it
I just love this craft!!I have everything but the board. Going to make this for sure. Thanks Amber