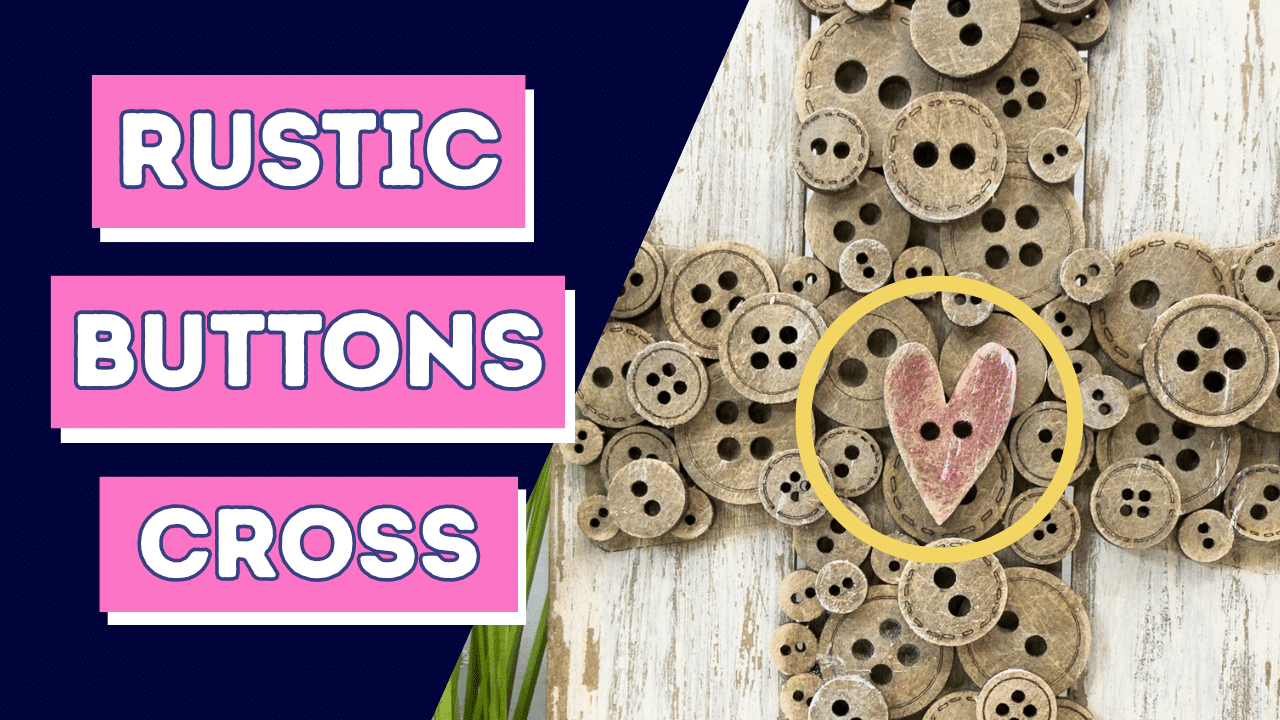
Easy Faith-Based Wall Decor Tutorial: Rustic Buttons Cross DIY Kit
Today I’m going to give you an easy faith-based wall decor tutorial featuring our Rustic Buttons Cross DIY Kit! It is a blank, hdf wood craft kit that you get to fully personalize and customize to match your own home decor aesthetic or give as a sentimental, hand-made gift!
Watch the Easy Faith-Based Wall Decor Tutorial: Rustic Buttons Cross DIY Kit!
DIY Home Decor Supplies
My business offers affordable and beginner friendly unfinished craft kits for each season and major holiday to empower creatives to decorate their home uniquely and affordably.
These wood blank craft kits are precisely cut on a laser machines and made of mdf. You get to choose your own paints, ribbons, twine, fabrics, and MORE to personalize your DIY home decor.
We offer a variety of craft kits including shelf sitters, hanging signs, wreath attachments, paint your own earrings, swinging kits, interchangeable bases with inserts as well as sun catcher outlines, crushed glass, and resin!
No matter what your home decor aesthetic or crafting ability is, we have something for you, I’m sure!
Let’s get started with the Easy Faith-Based Wall Decor Tutorial: Rustic Buttons Cross DIY Kit!
The first thing you should do when crafting anything is inspect all your supplies. Make sure each piece is free of damage and in the condition you want.
If you ever have any issue with our craft kits, do not hesitate to reach out to us at info@themakersmap.com so we can assist you!
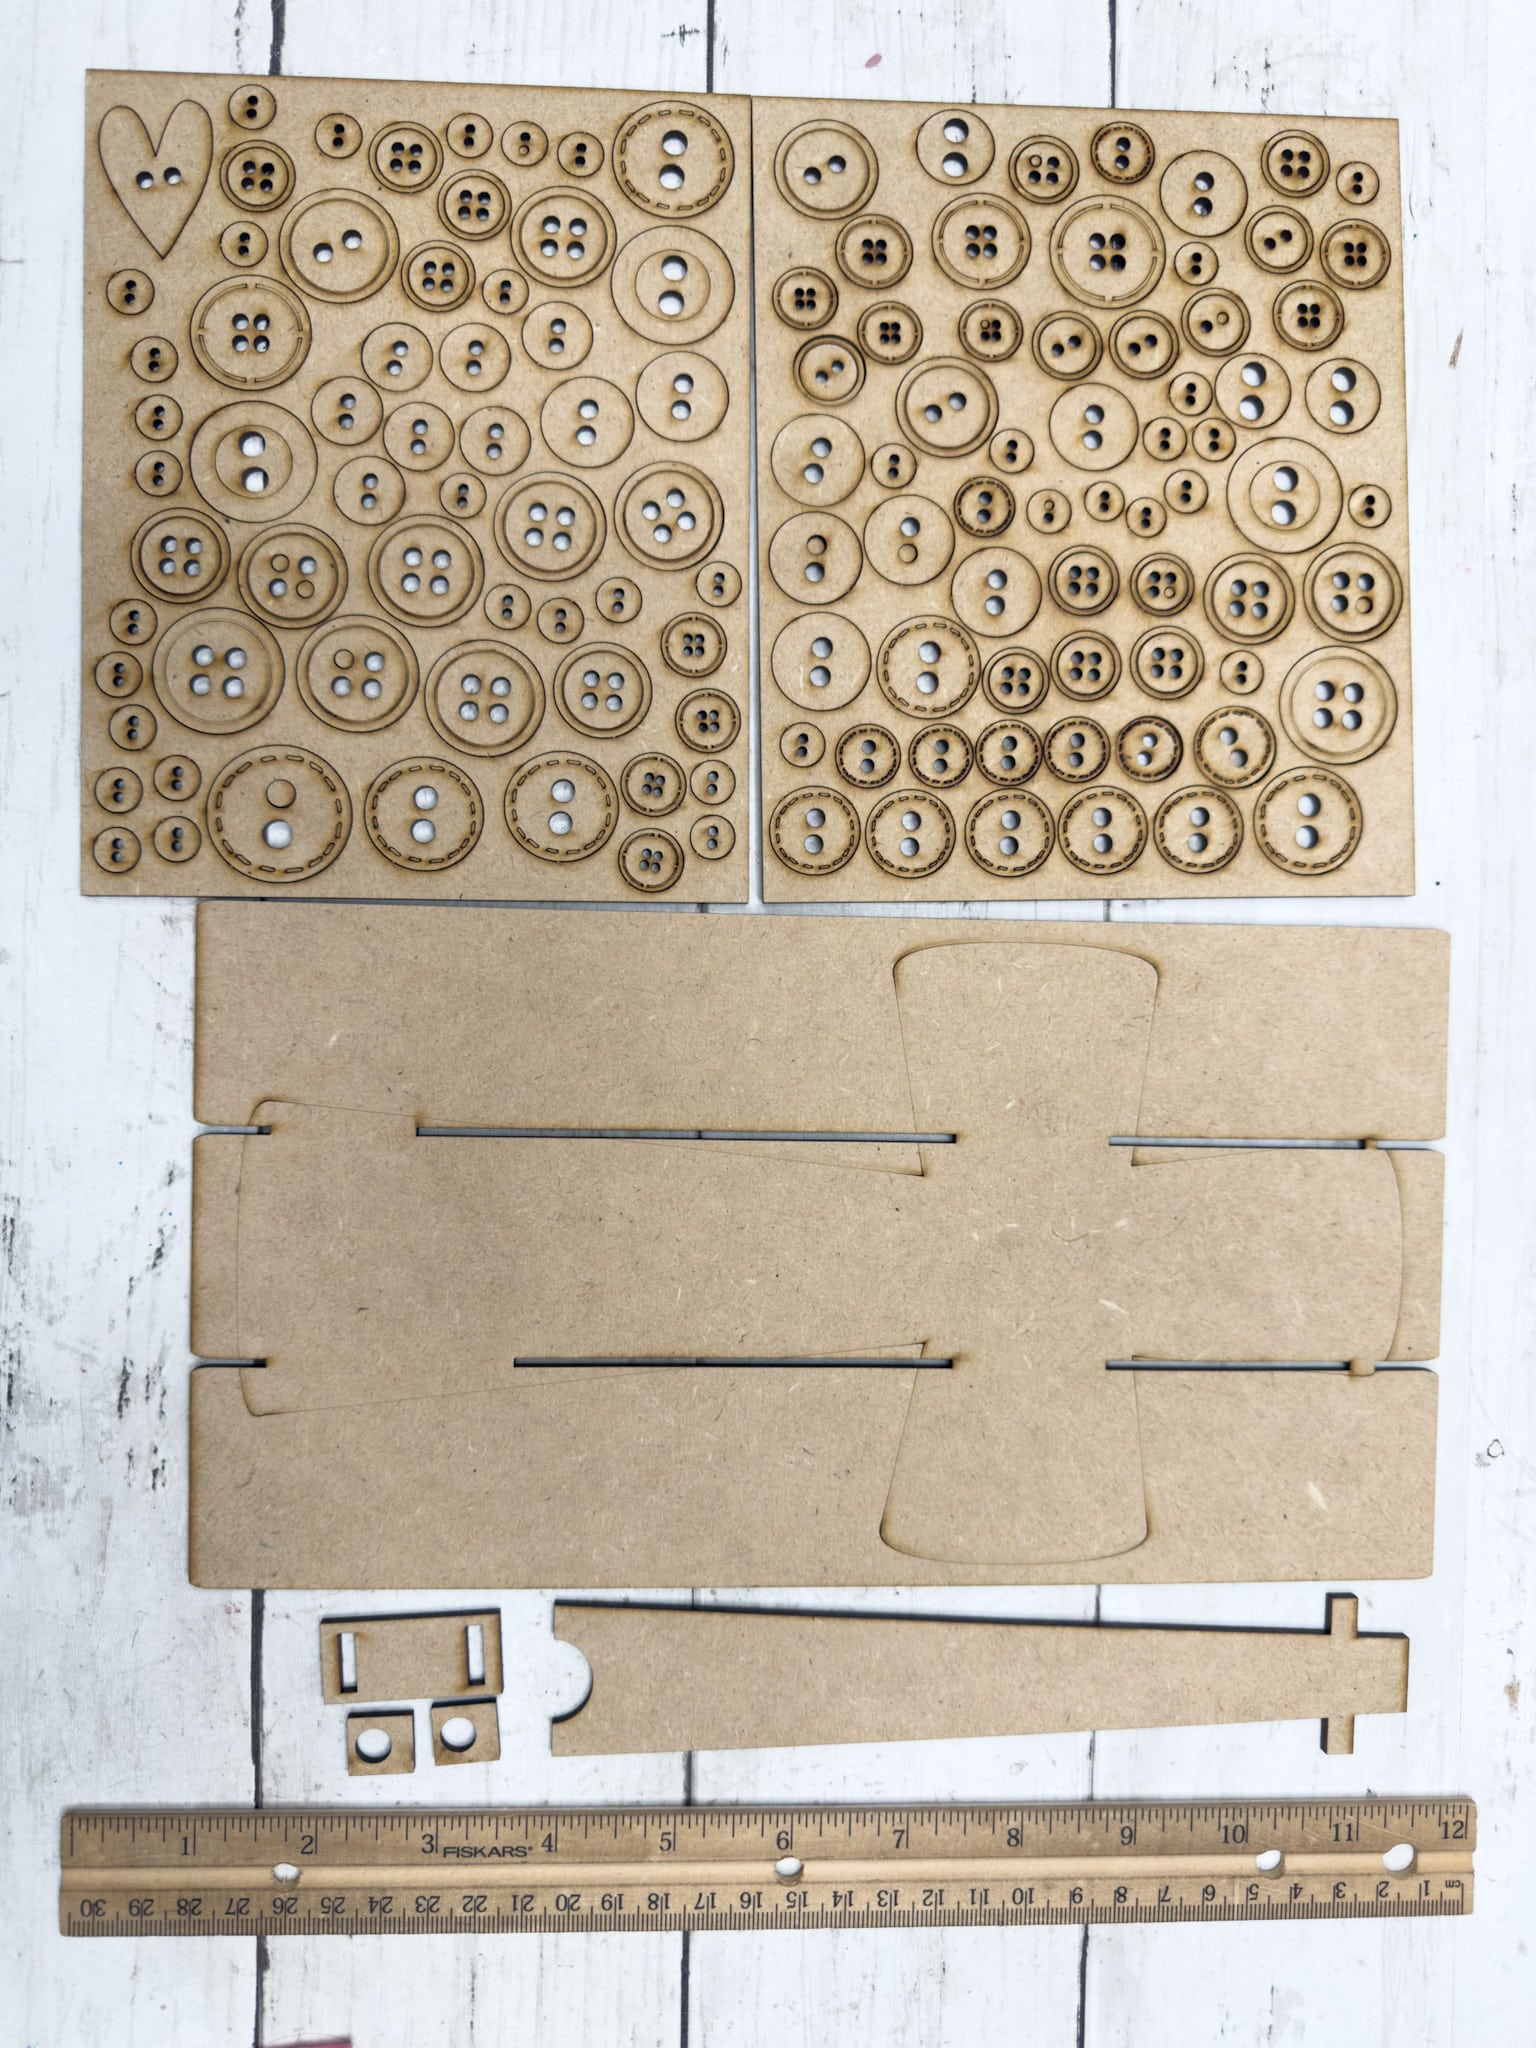
Once you’re sure all of your hdf wood craft kit pieces for the rustic button cross easy faith based wall decor is in good condition, you’ll want to sand each piece.
When these craft kits are being cut onour laser machines, it can cause ‘splash back’ which leaves a semi-sticky residue on the surfaces.
Sanding removes this splash back and ensures easier and more complete coverage when you’re painting, staining, or decoupaging.
Stain your rustic button cross pieces
I almost always do a quick stain with brown paint before I start painting to make sure I have a darker base if I choose to distress (which I usually do!).
To stain these pieces easily, don’t pop the buttons out of their sheet just yet. Use a wet wipe to spread a small amount of brown paint across the tops of your buttons and backer board.
Allow the pieces to dry completely. You can reapply to create a darker stain if desired.
Add dimension
Once the stain is completley dry on the backer board, you’re ready to start adding dimension to this easy faith based wall decor!
I used a dry paint brush to very lightly, and unevenly, apply an off-white/beige paint to the backer board. The coverage was light enough to see large spaces of the brown stain still showing through clearly.
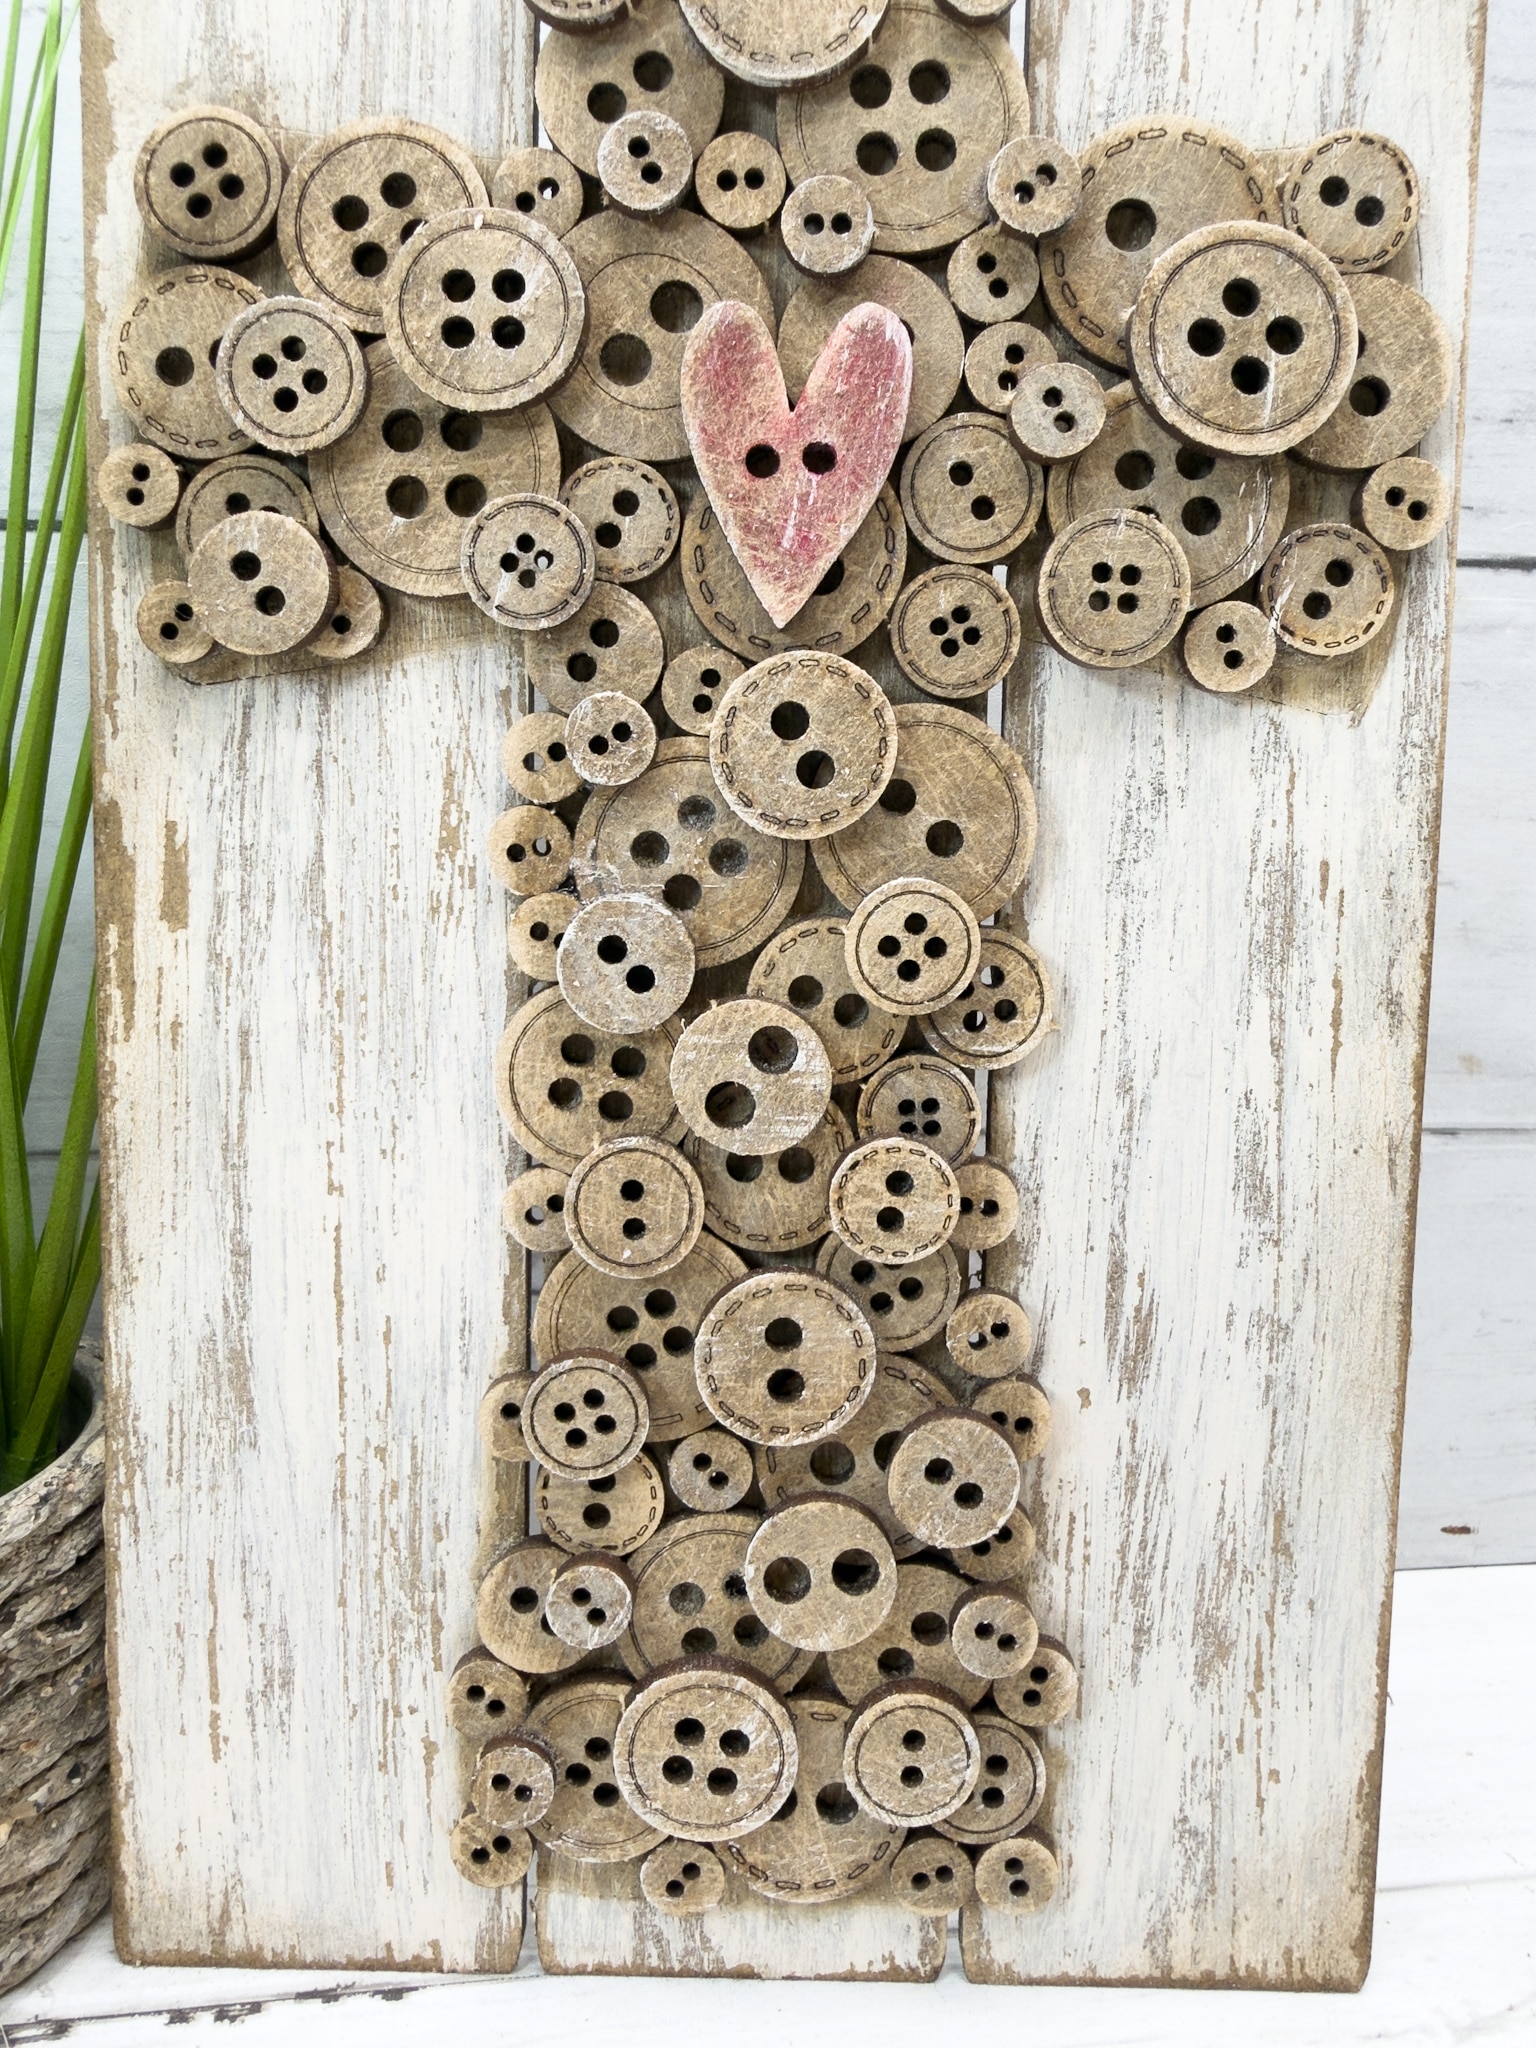
Next, I repeated that step using a light grey paint, and used a heat gun to quickly dry the paint. This next step is optional, but I would highly recommend it, especially for beginner crafters.
I used a bit of wax to mark out where I wanted my buttons cross to sit on the backer board. This helps make sure that we don’t lay and glue our buttons into a wonky cross!
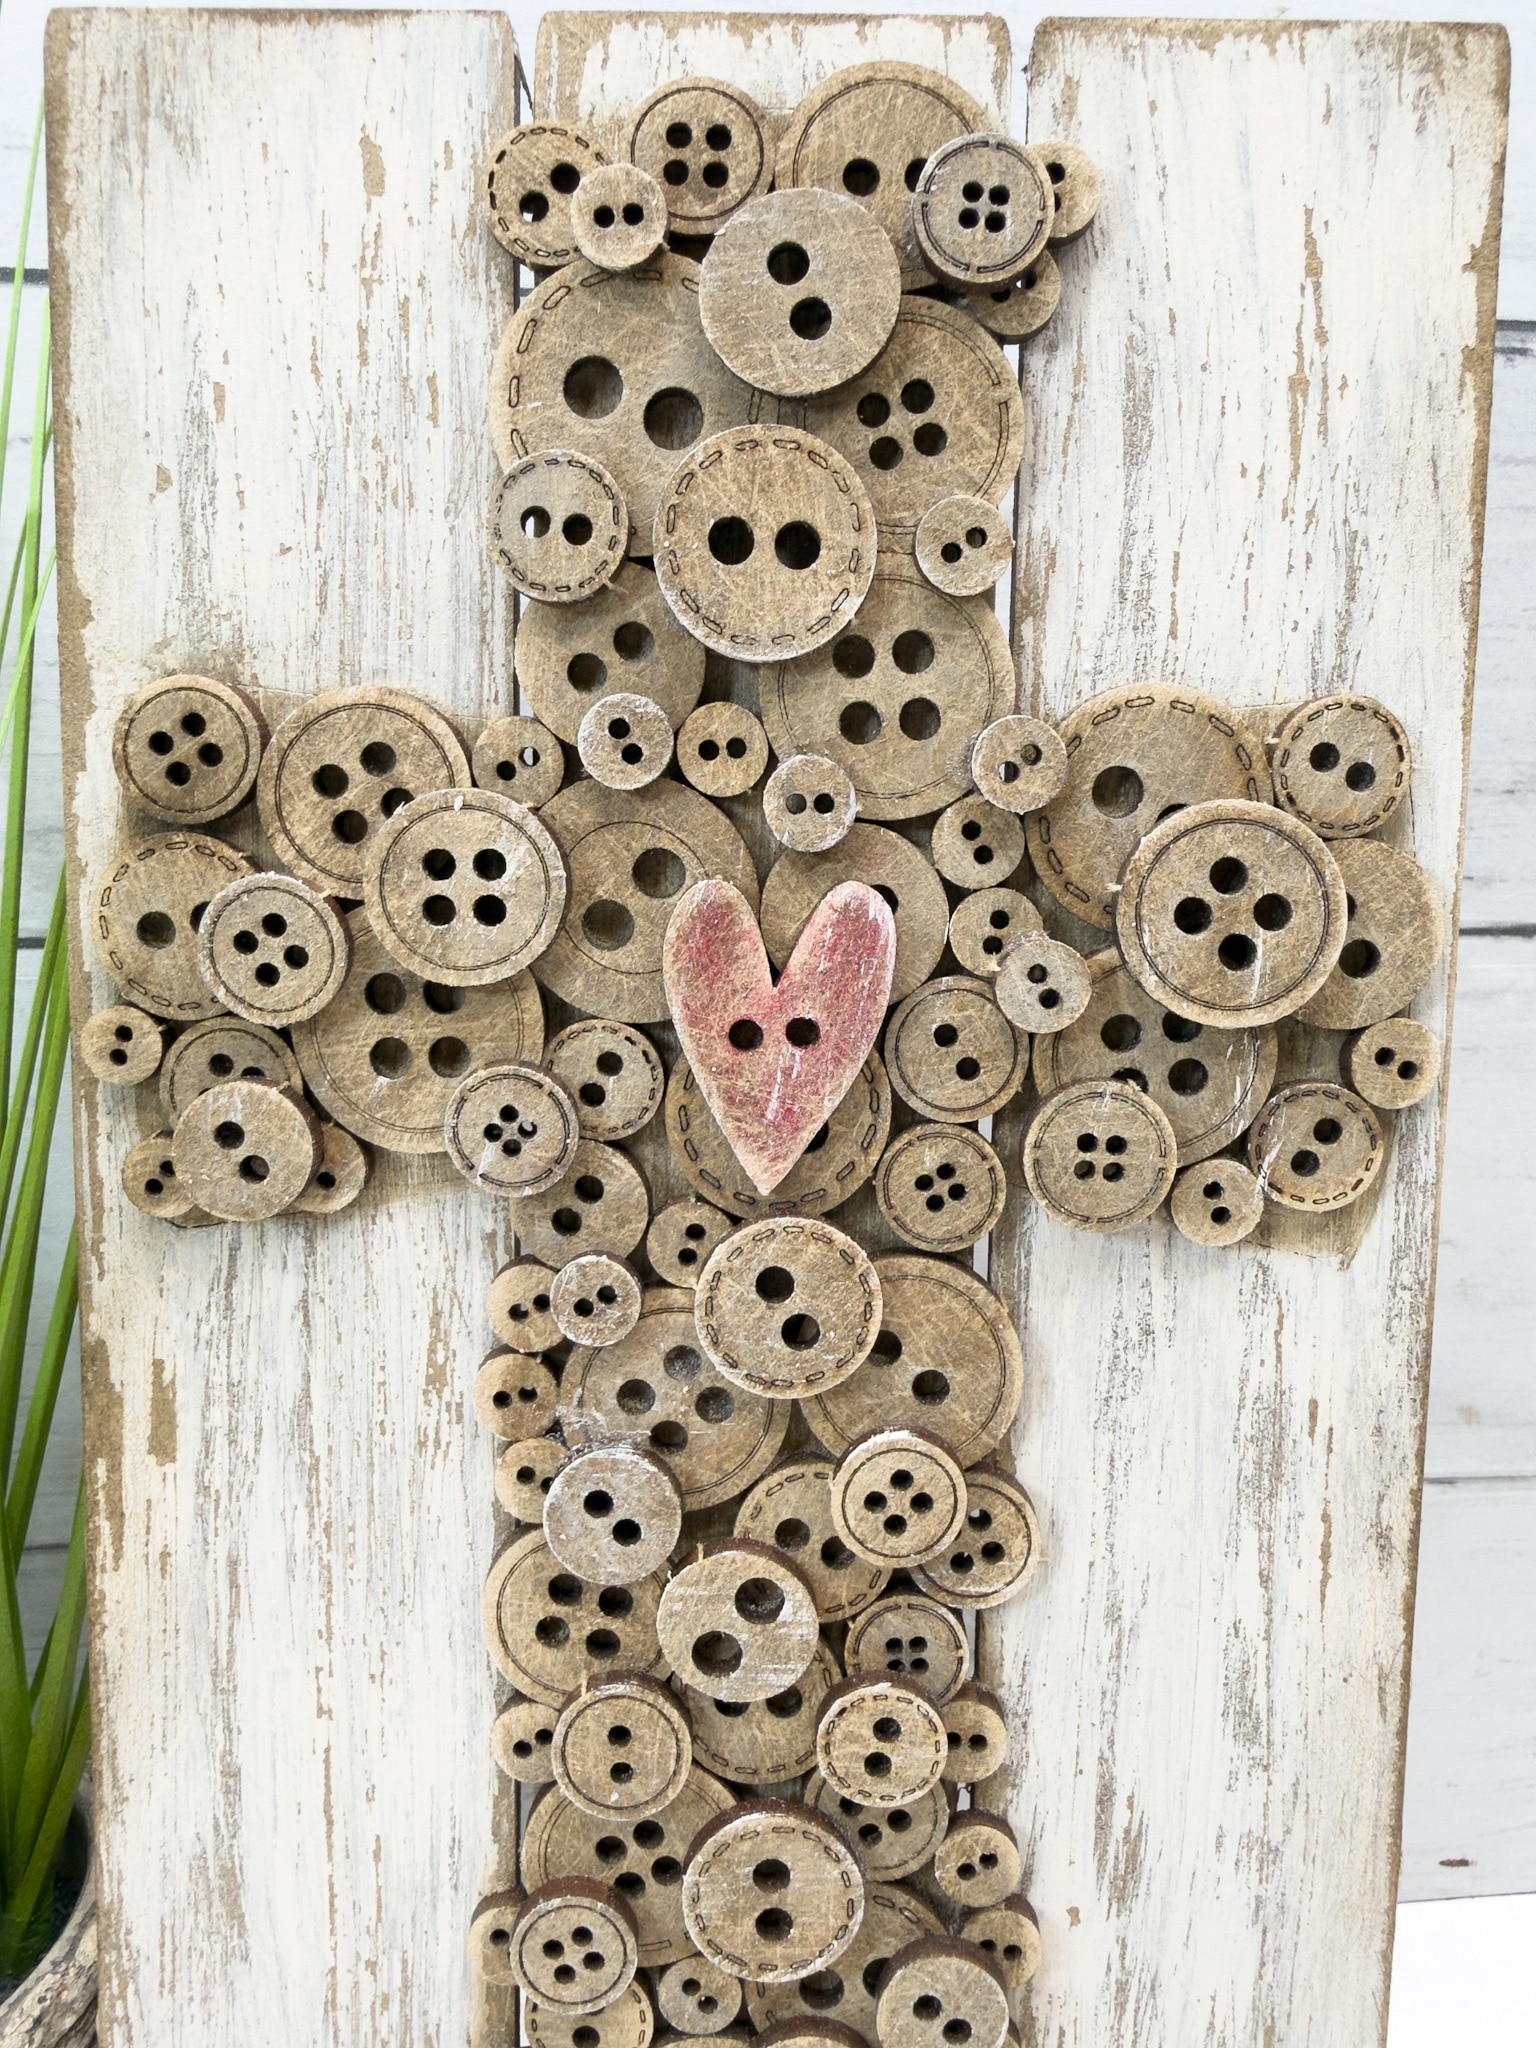
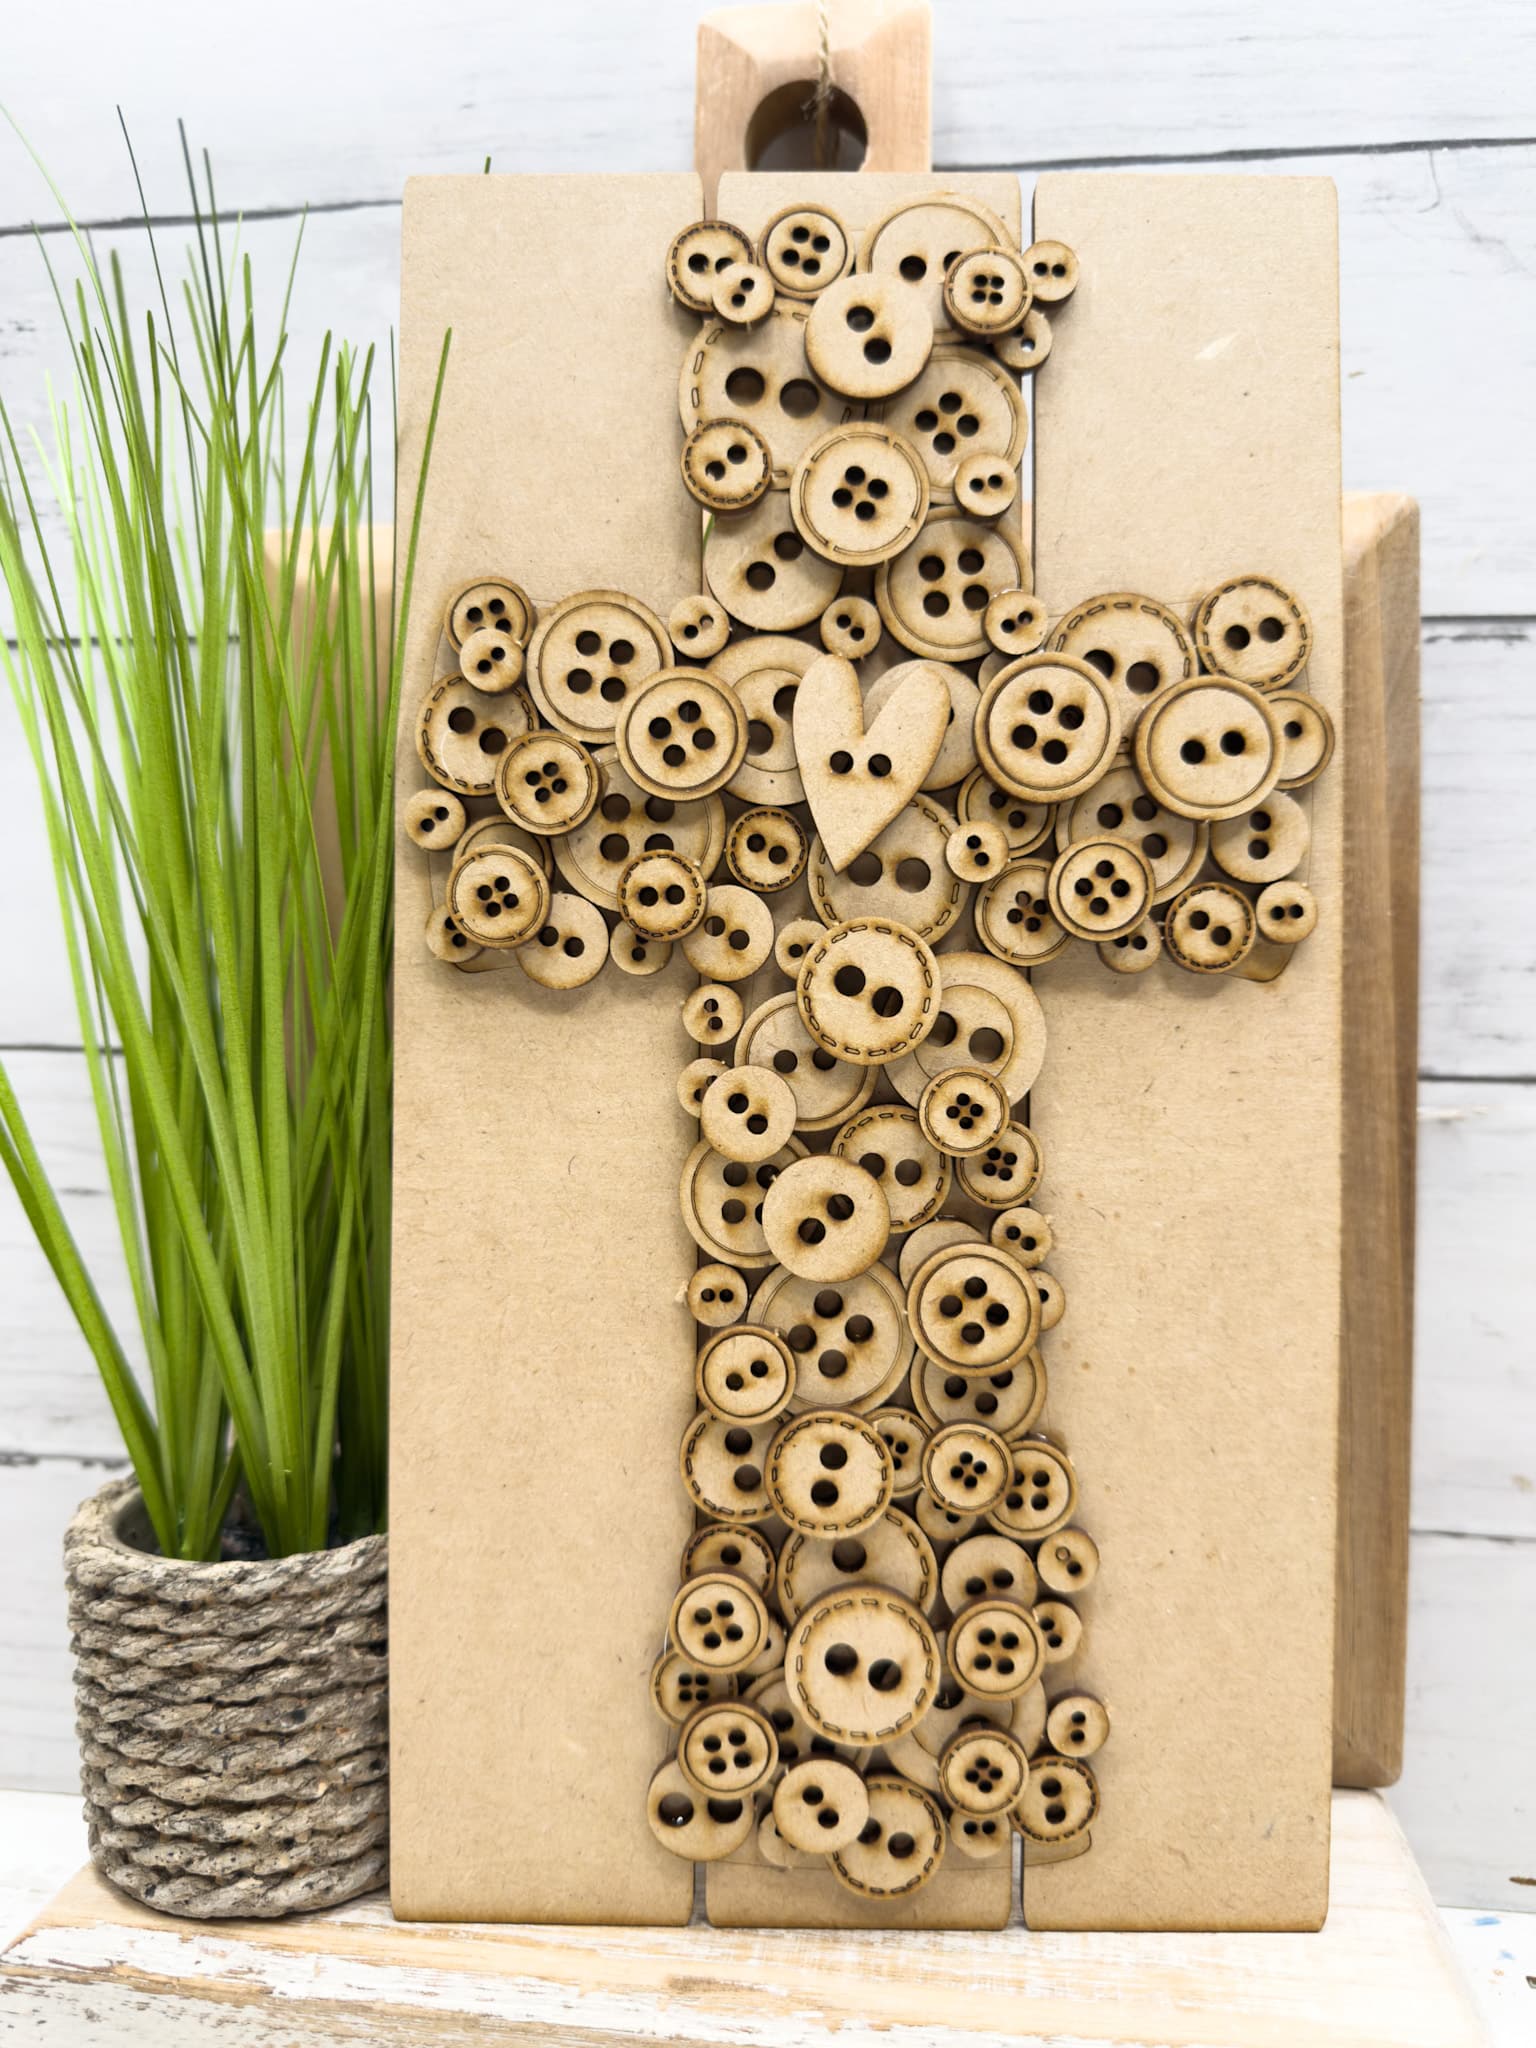
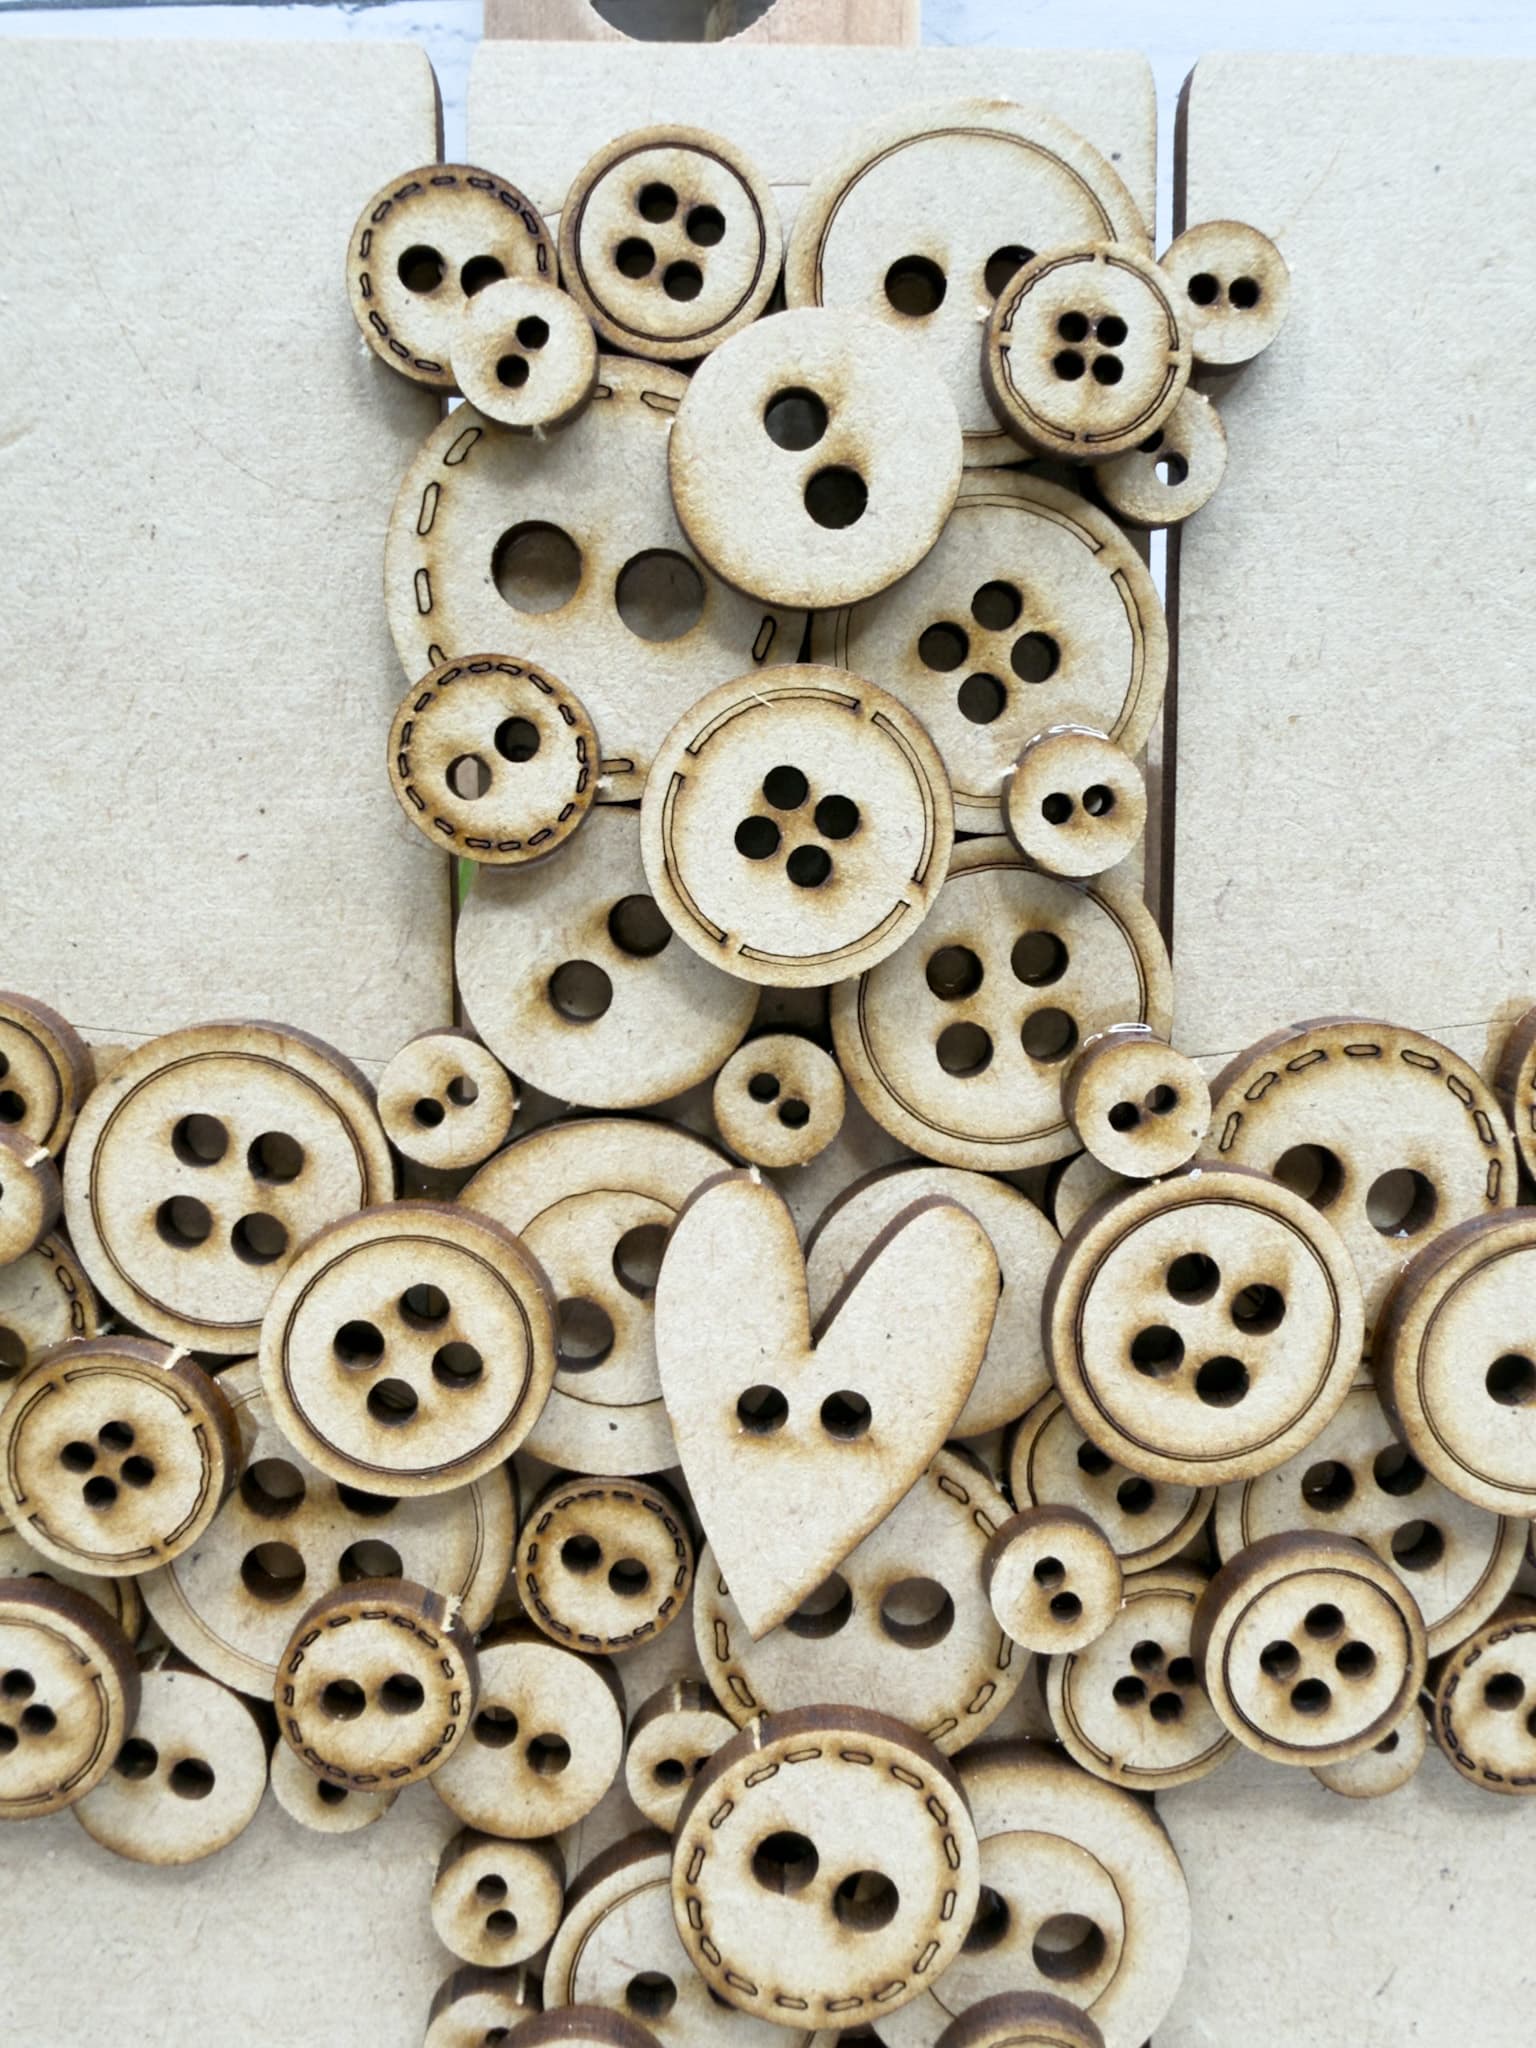
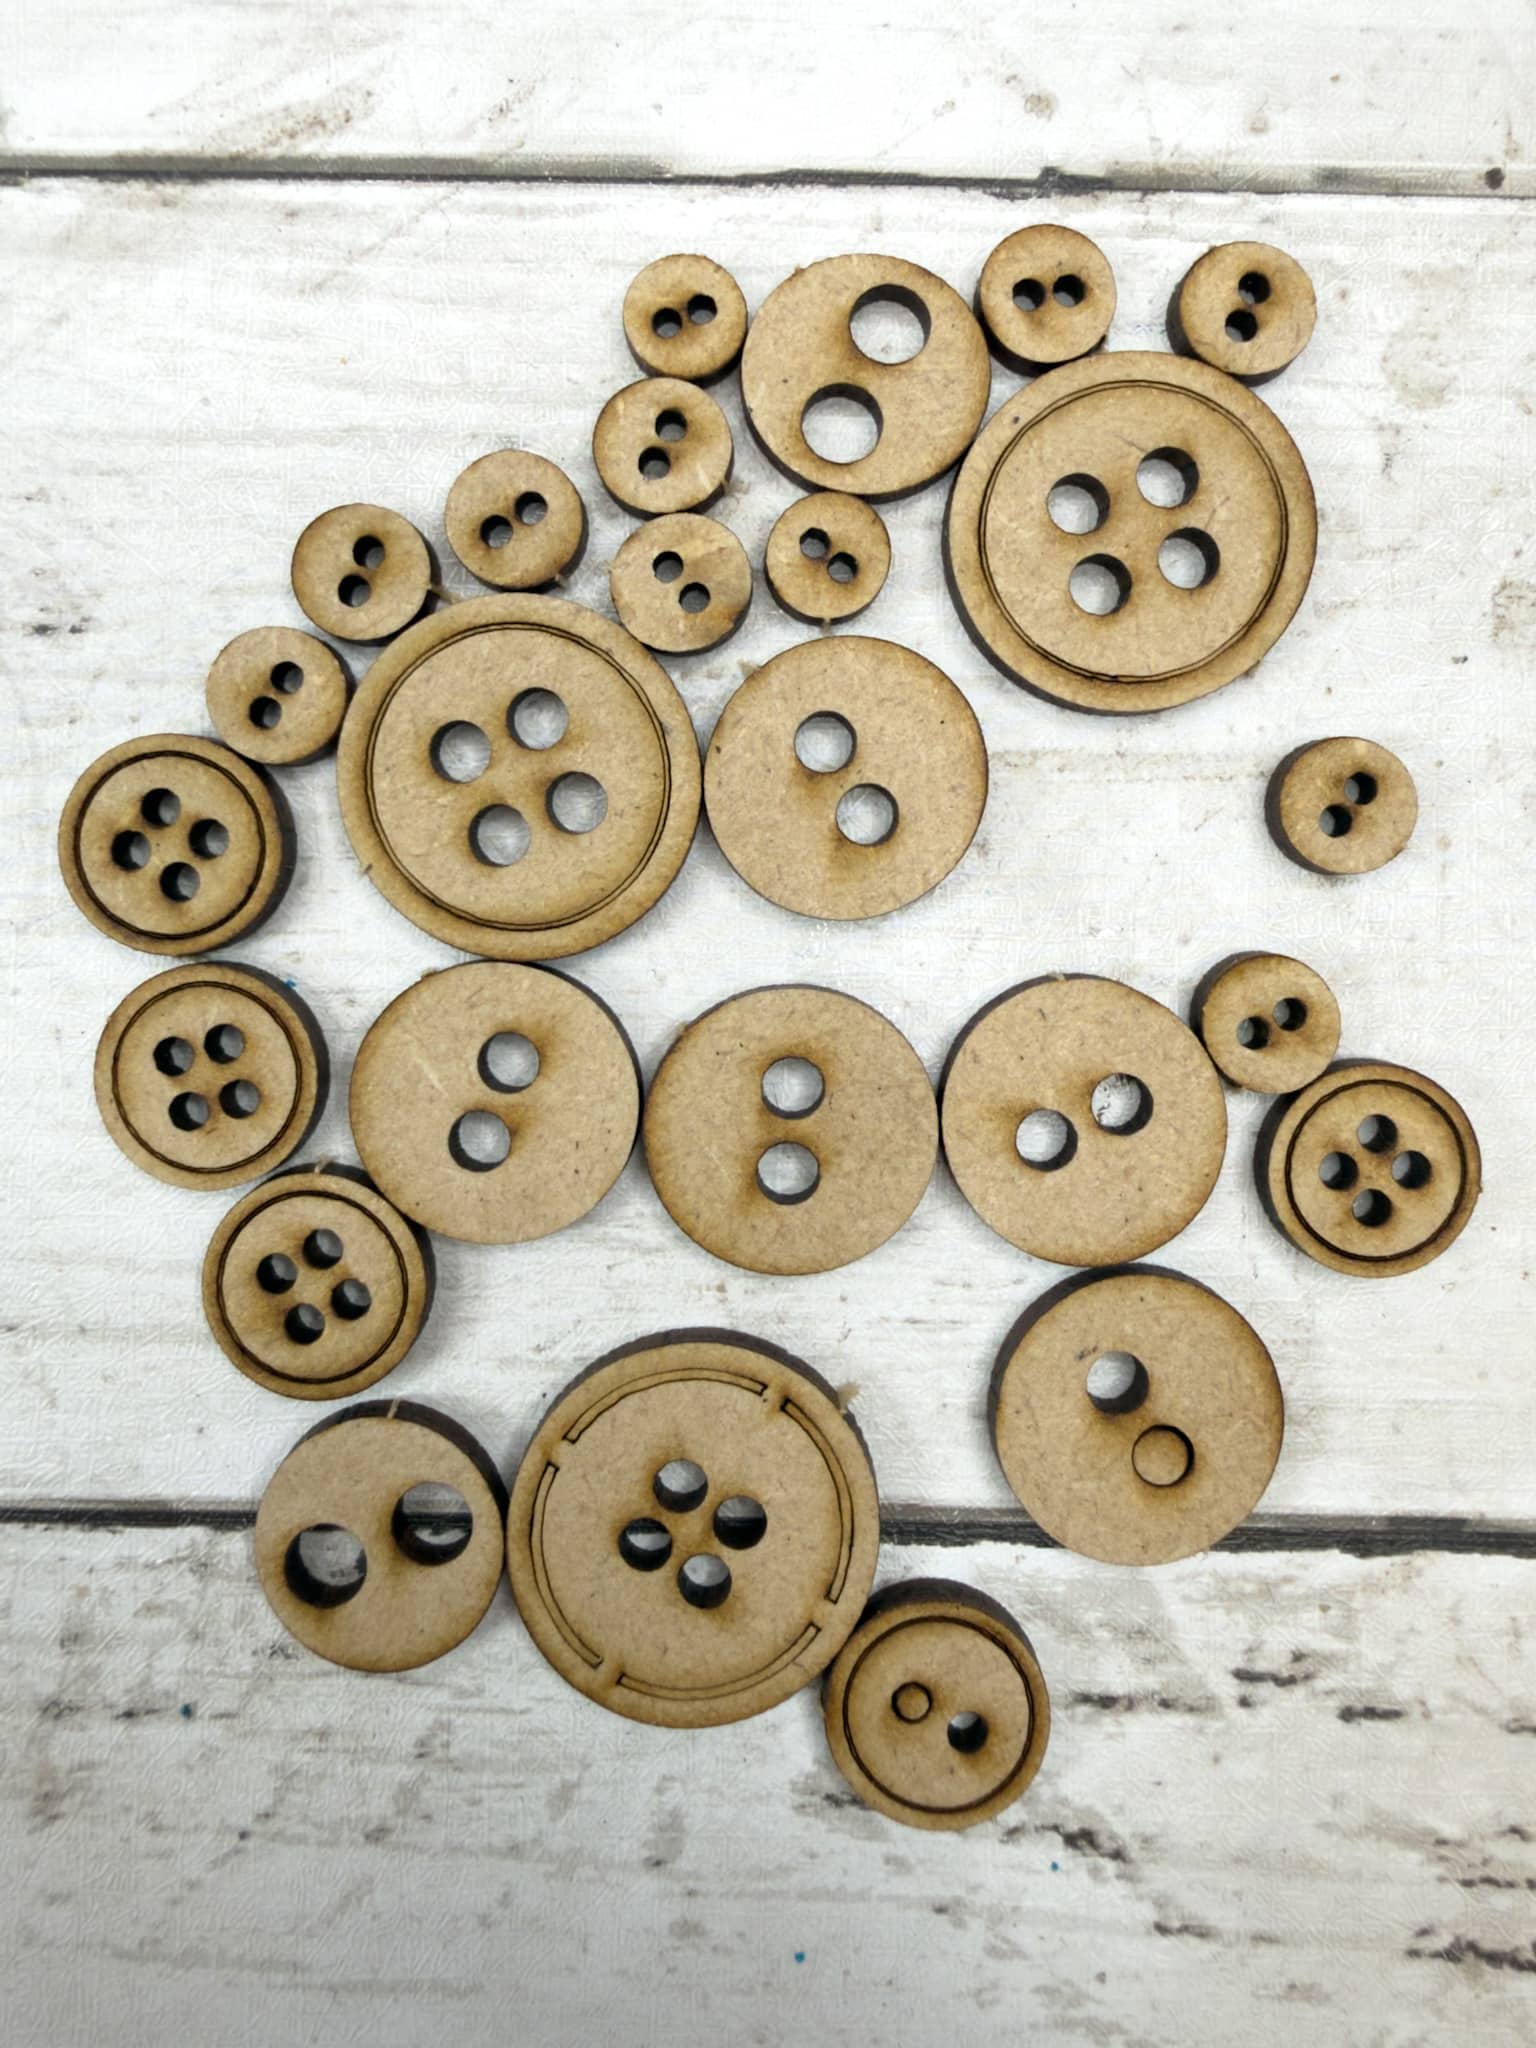
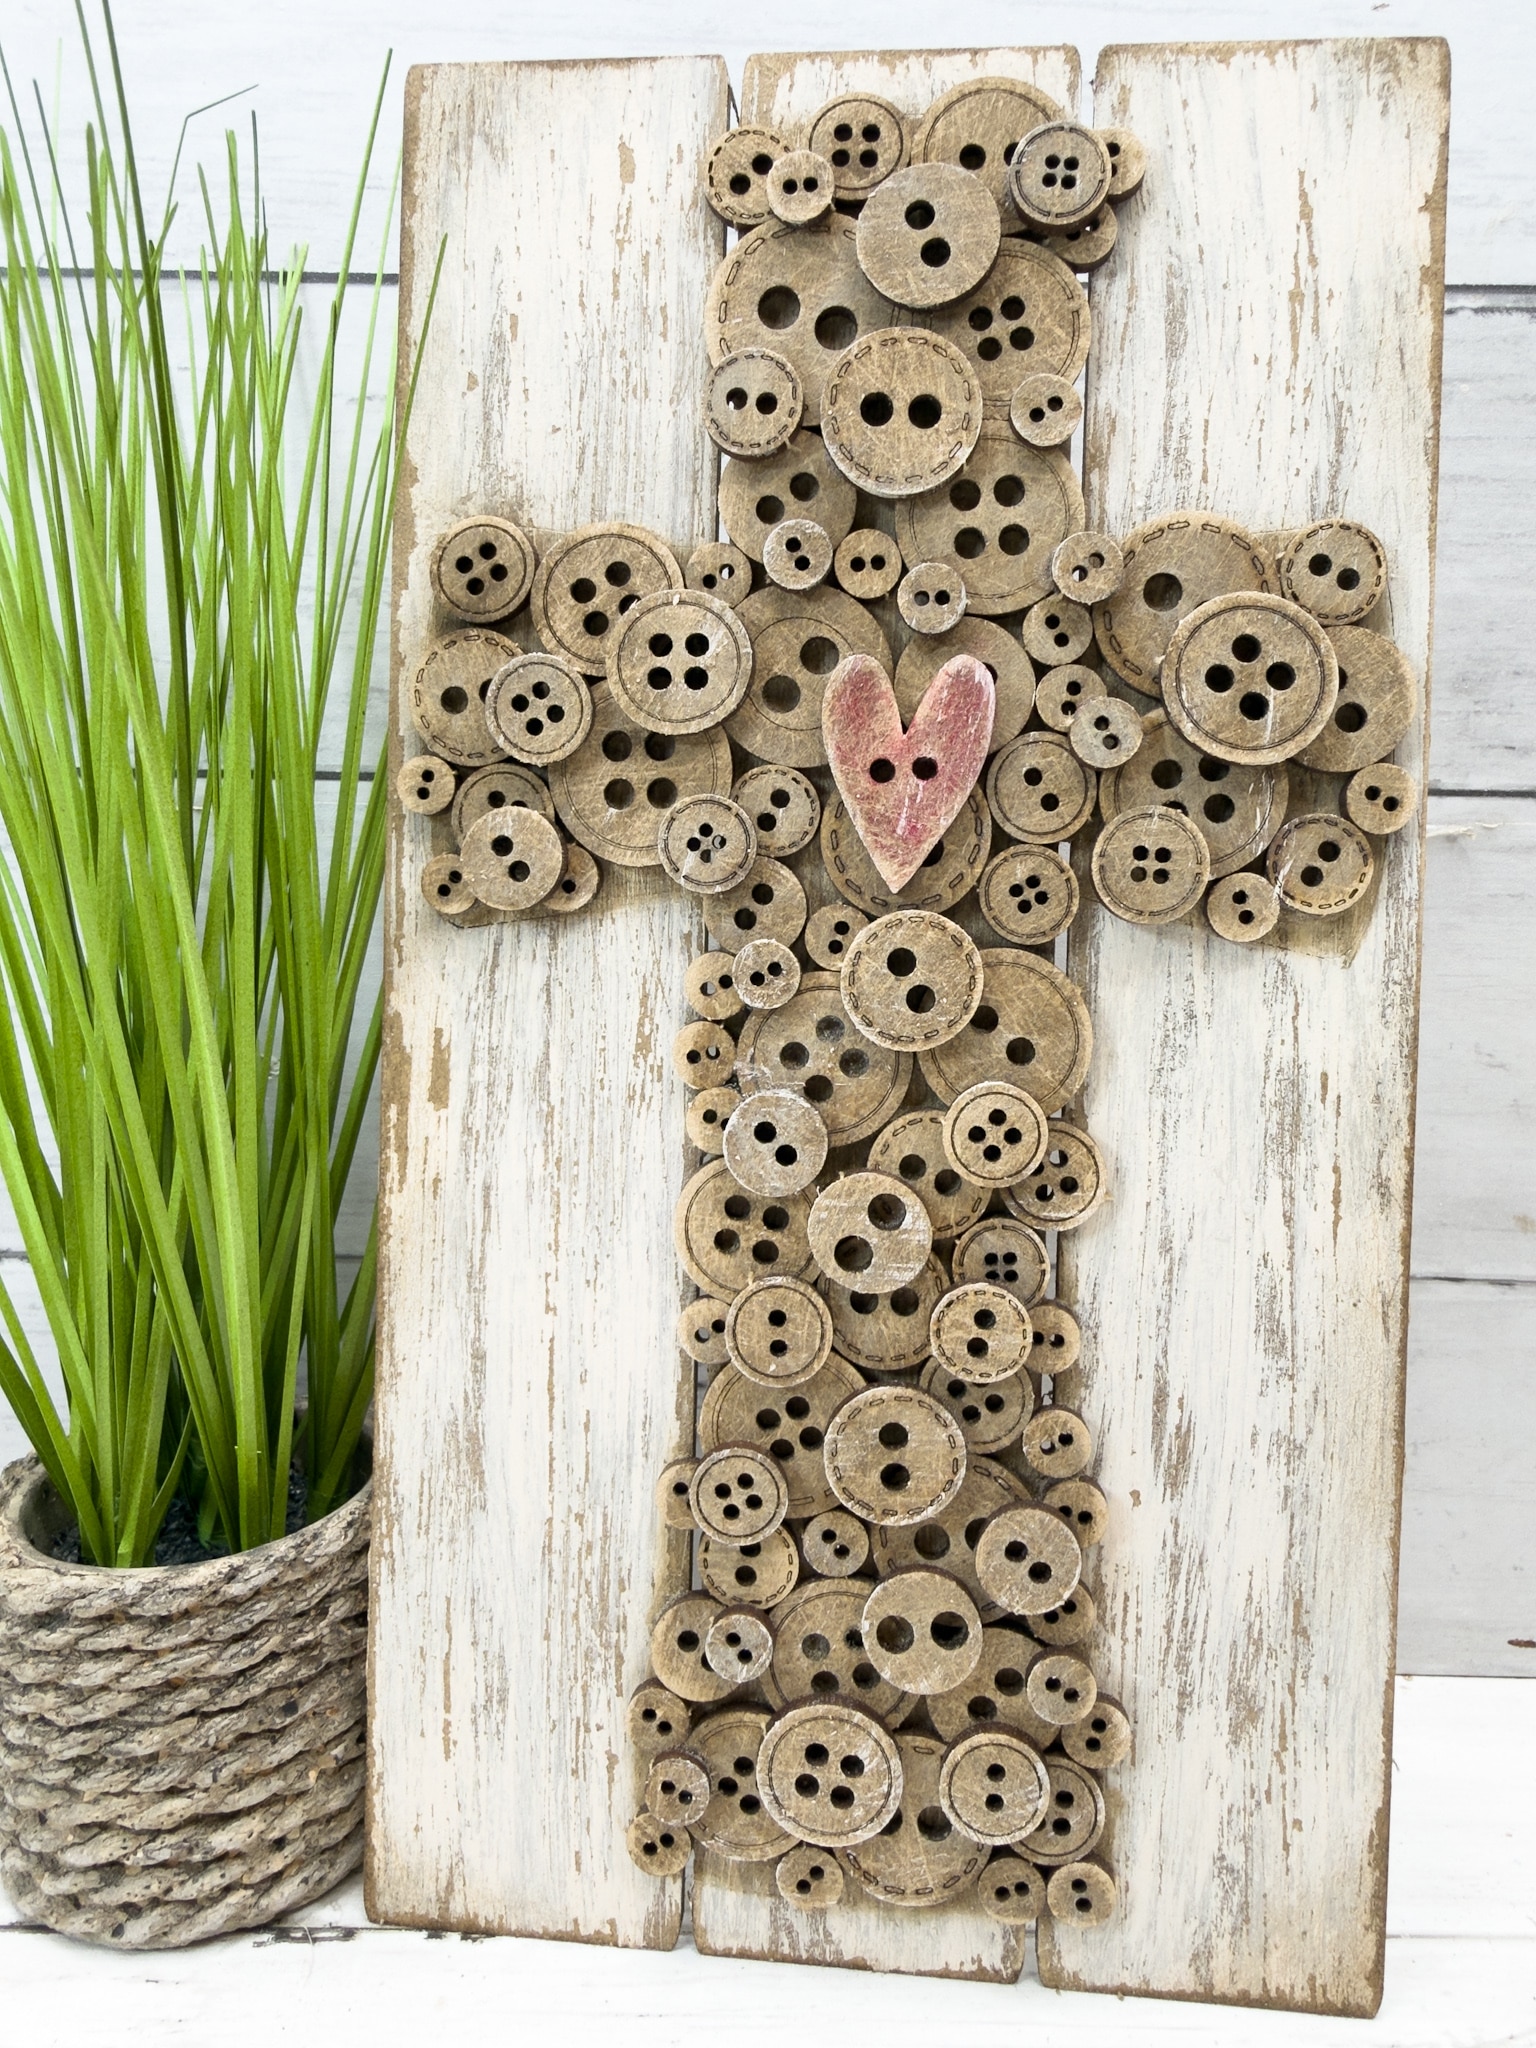
Build the rustic buttons cross
You’re ready now to pop out the buttons from the sheet they came on and sort them by size. Now start building the bottom layer of your buttons cross!
When you’re happy with the placements of each button, use a small drop of StickFast super glue to secure each button in place.
You can layer the buttons however you choose to create the finished rustic buttons cross that you love!
Watch the Easy Faith Based Wall Decor Tutorial: Rustic Buttons Cross DIY Kit!
Thanks for stopping by! XOXO Amber
You can also shop my ENTIRE AMAZON Favorites shop just click here! It’s packed full of all the things I use and love. Here is the supply list I highly recommend every creative have on hand!!
Would you also pin my blog for later and get on my newsletter alerts? I would love to have you join my #craftycrew.
Inspired? Leave me a comment below! I love hearing from my readers!

Join my free “Crafting and Sharing” Facebook group!